


ENGAgements
tips for brides
editorial
weddings
categories
And thanks for stopping by! My work reflects my desire to add some whimsy, enchantment and beauty to the world. It is my way of sharing a bit of my heart. I love the laughter and smiles, but I am also drawn to the quiet, intimate moments that are filled with emotion. My goal is to capture the essence of your wedding day, all the little things that come together to paint the big picture.
welcome to my blog...
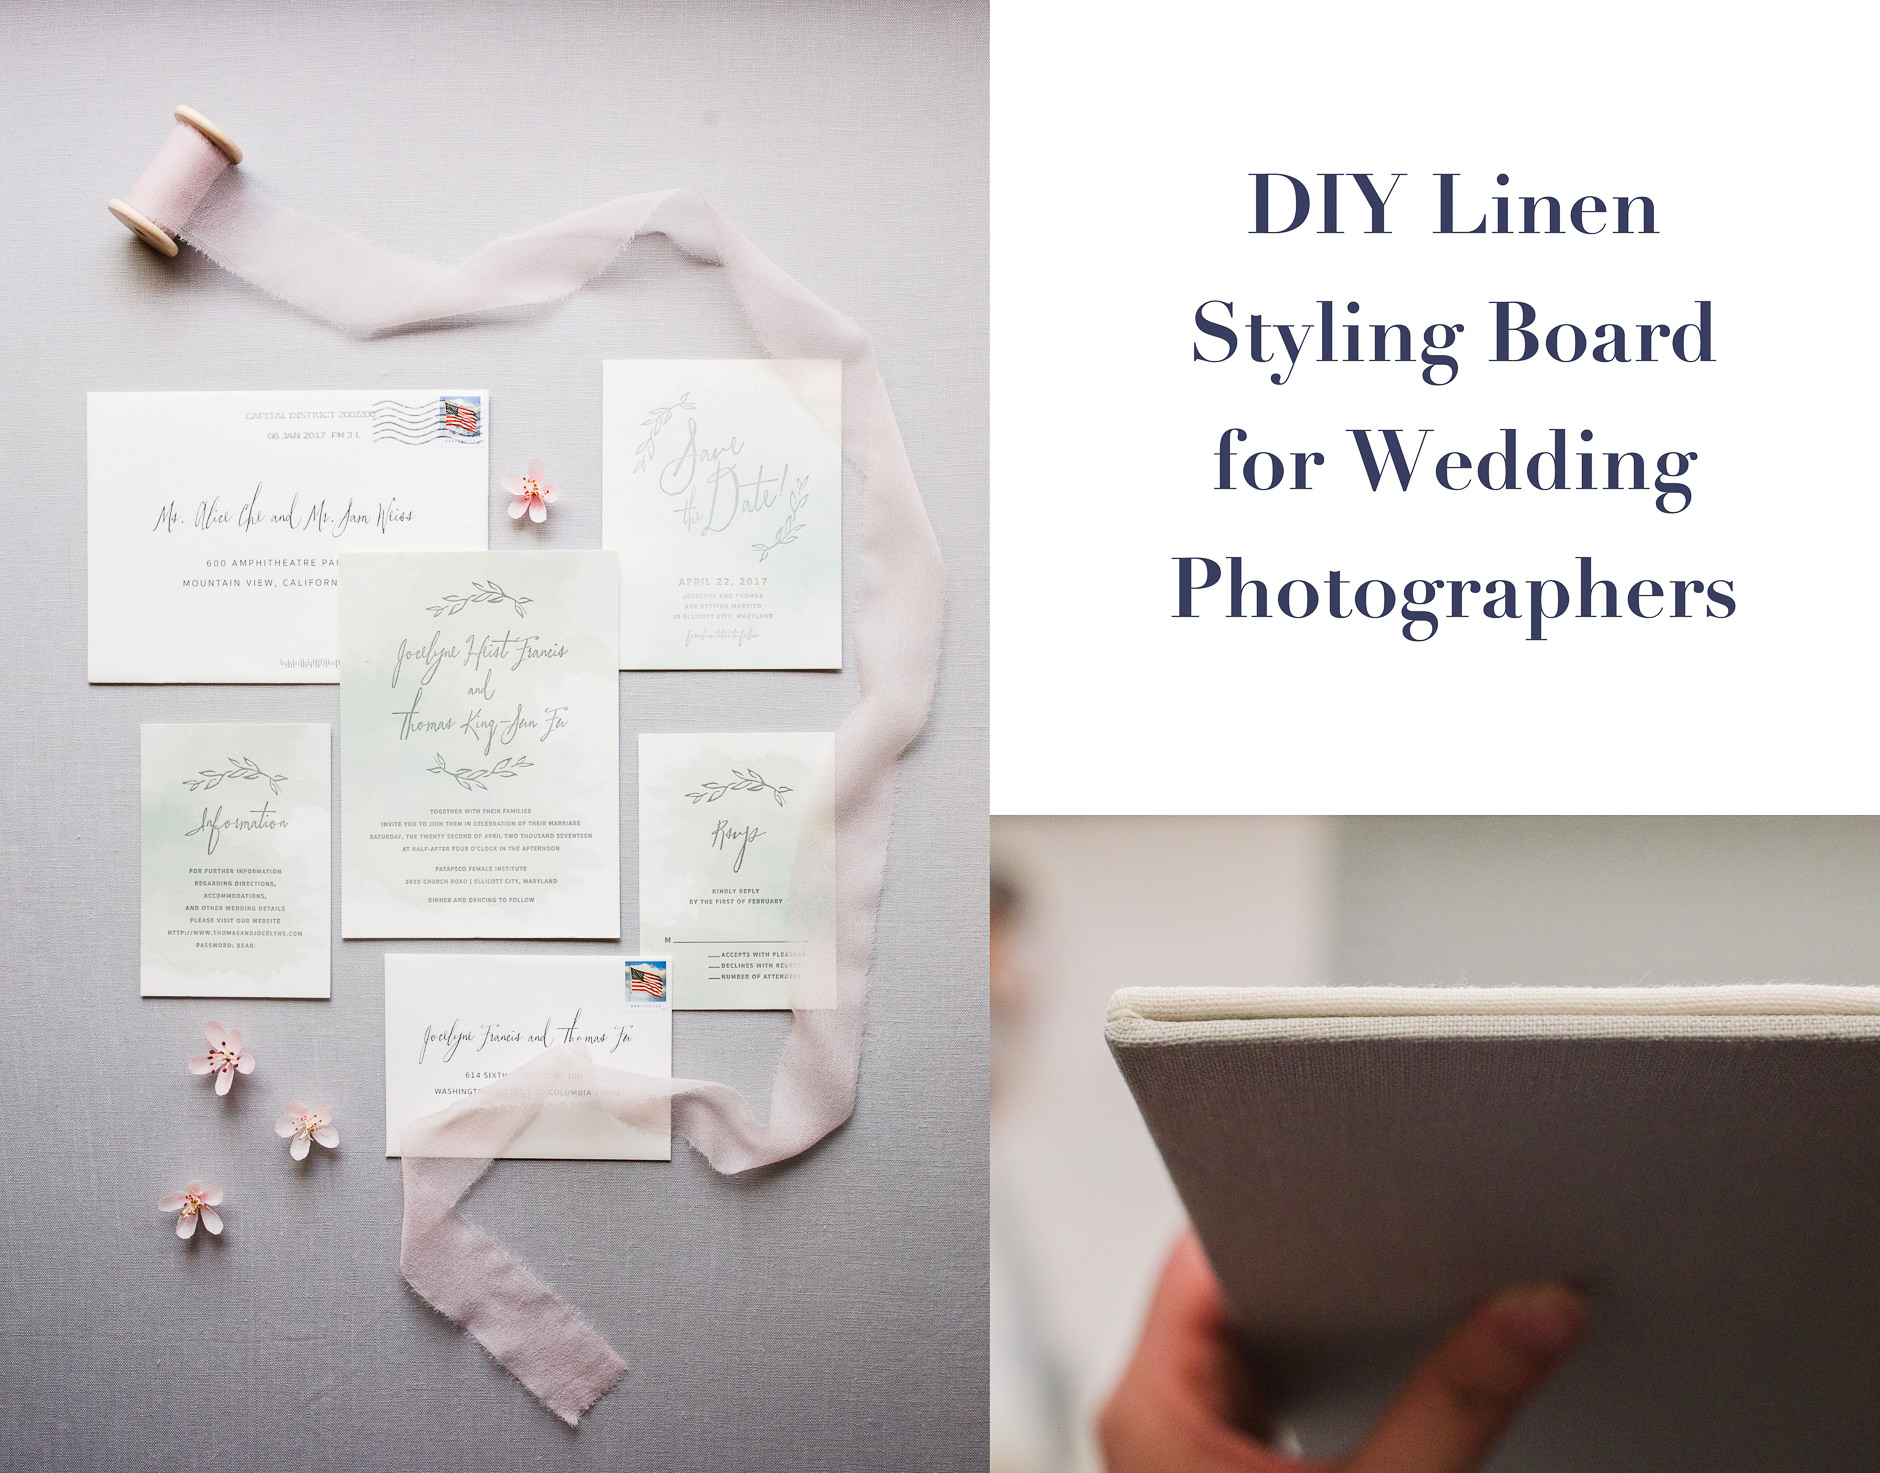
As a wedding photographer, I realized quickly that the little details of a wedding are incredibly important. I got tired of smoothing out wrinkles from bed sheets or trying to make ugly carpets look better and decided to make my own DIY linen styling board so I had a consistent, clean background for my detail shots. I found a couple tutorials out there on making linen styling boards, but I really wanted a double-sided board with nice edges, so I figured out my own method!
Hunter’s Photographic has a youtube tutorial on double sided DIY linen styling boards, which is where I got the idea to use the Wunder Under (fusible interfacing). However, he finished the edges off using electrical tape, which I didn’t love. If you are only looking to make a one-sided DIY linen styling board, you can check out this tutorial by Elisa Anne Calligraphy, which uses hot glue instead of fusible interfacing. I think this technique is probably a bit faster than using fusible interfacing, but it makes for slightly bulkier edges on the back. You can also use spray glue instead of hot glue, and I’ll give my thoughts on that at the end of the post.
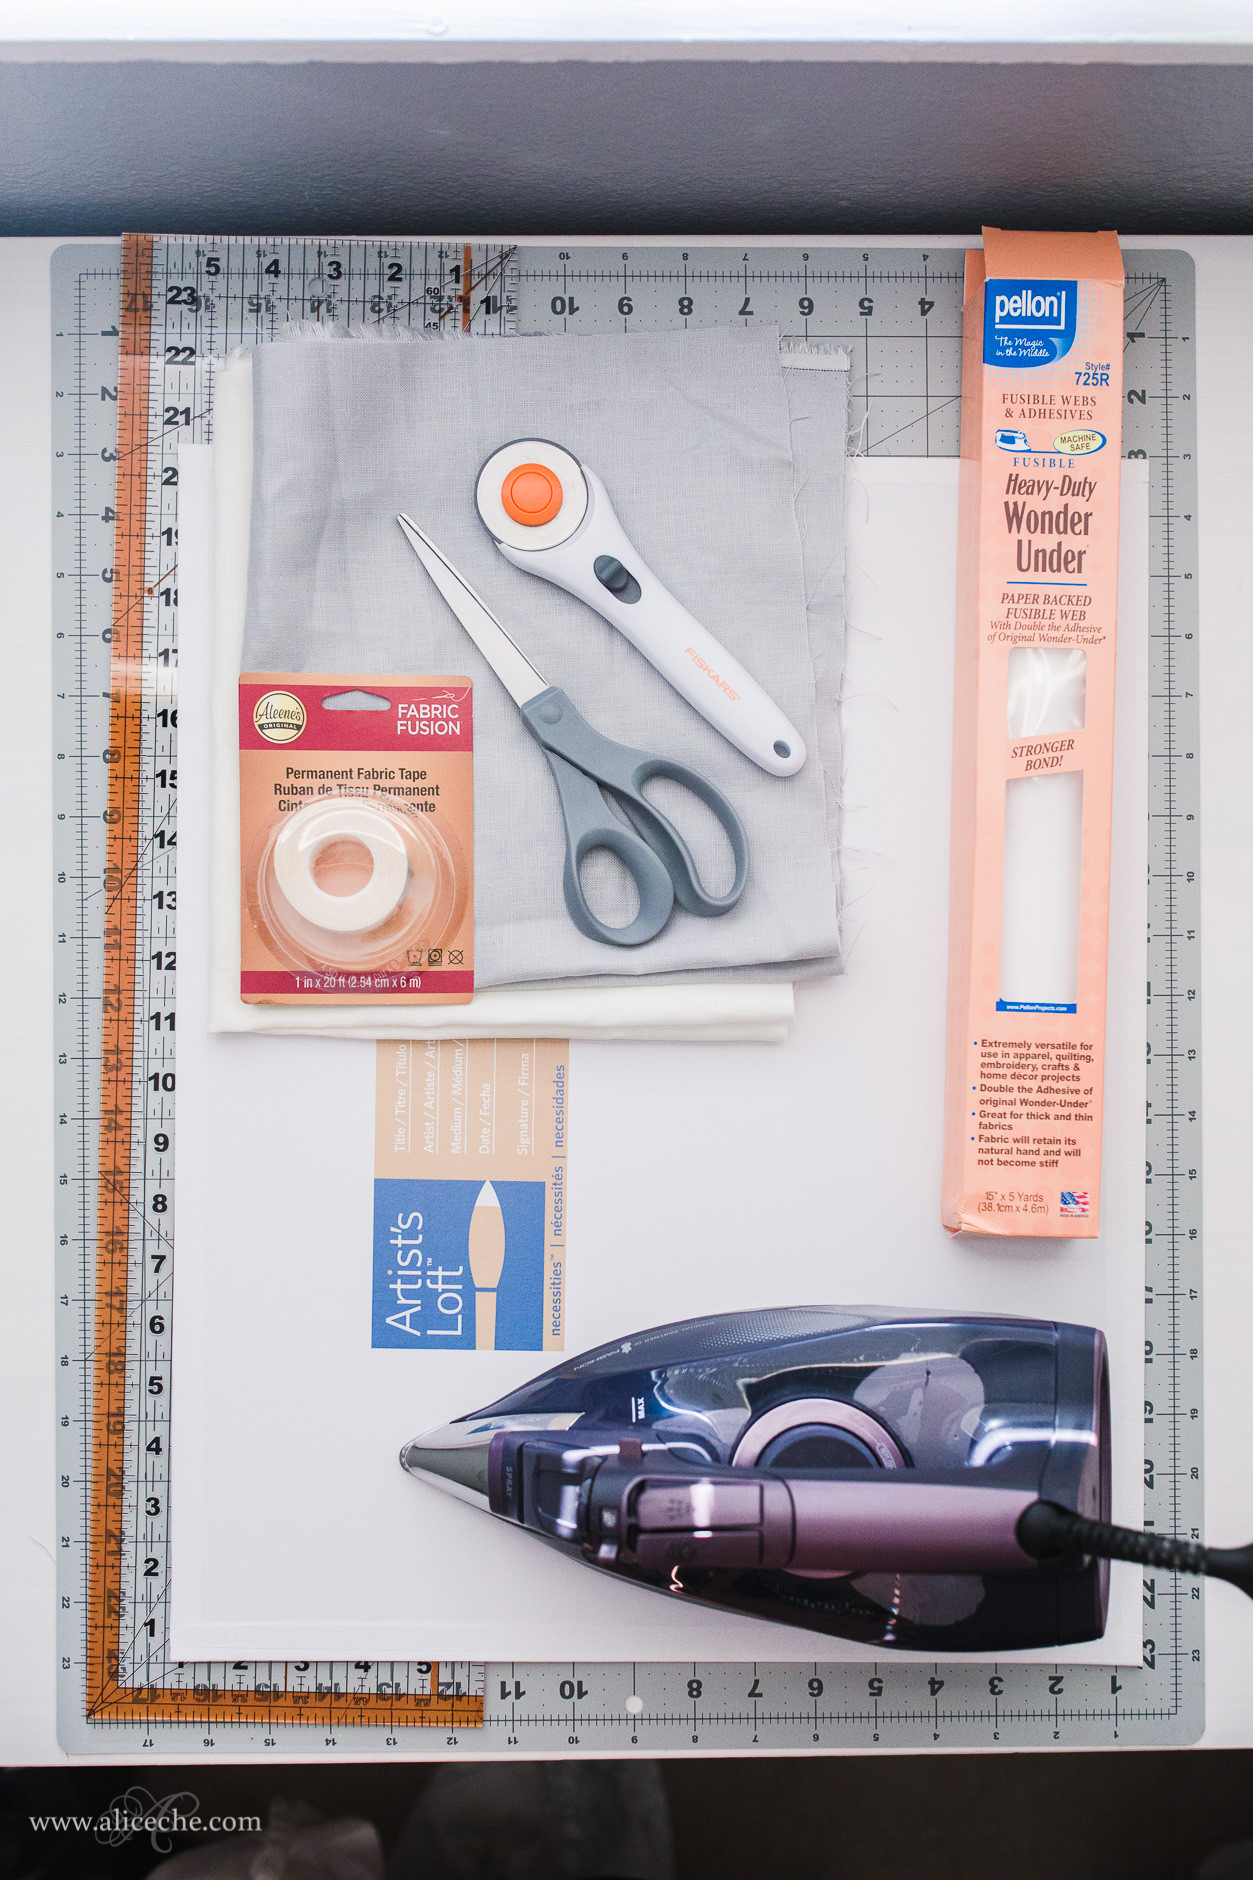
Materials
- Artist’s Canvas Panel (more expensive, but larger options at Blick)
- Wunder Under or other fusible interfacing
- 1 yard of linen or other fabric (1 yard should be enough to cover one side of 2 16 x 20 boards + 1 20 x 30 board or 2 20 x 30 boards)
- iron
- cutting mat + rotary cutter or sharp scissors
- permanent fabric tape (if making a double sided board)
How to make a DIY Linen Styling Board
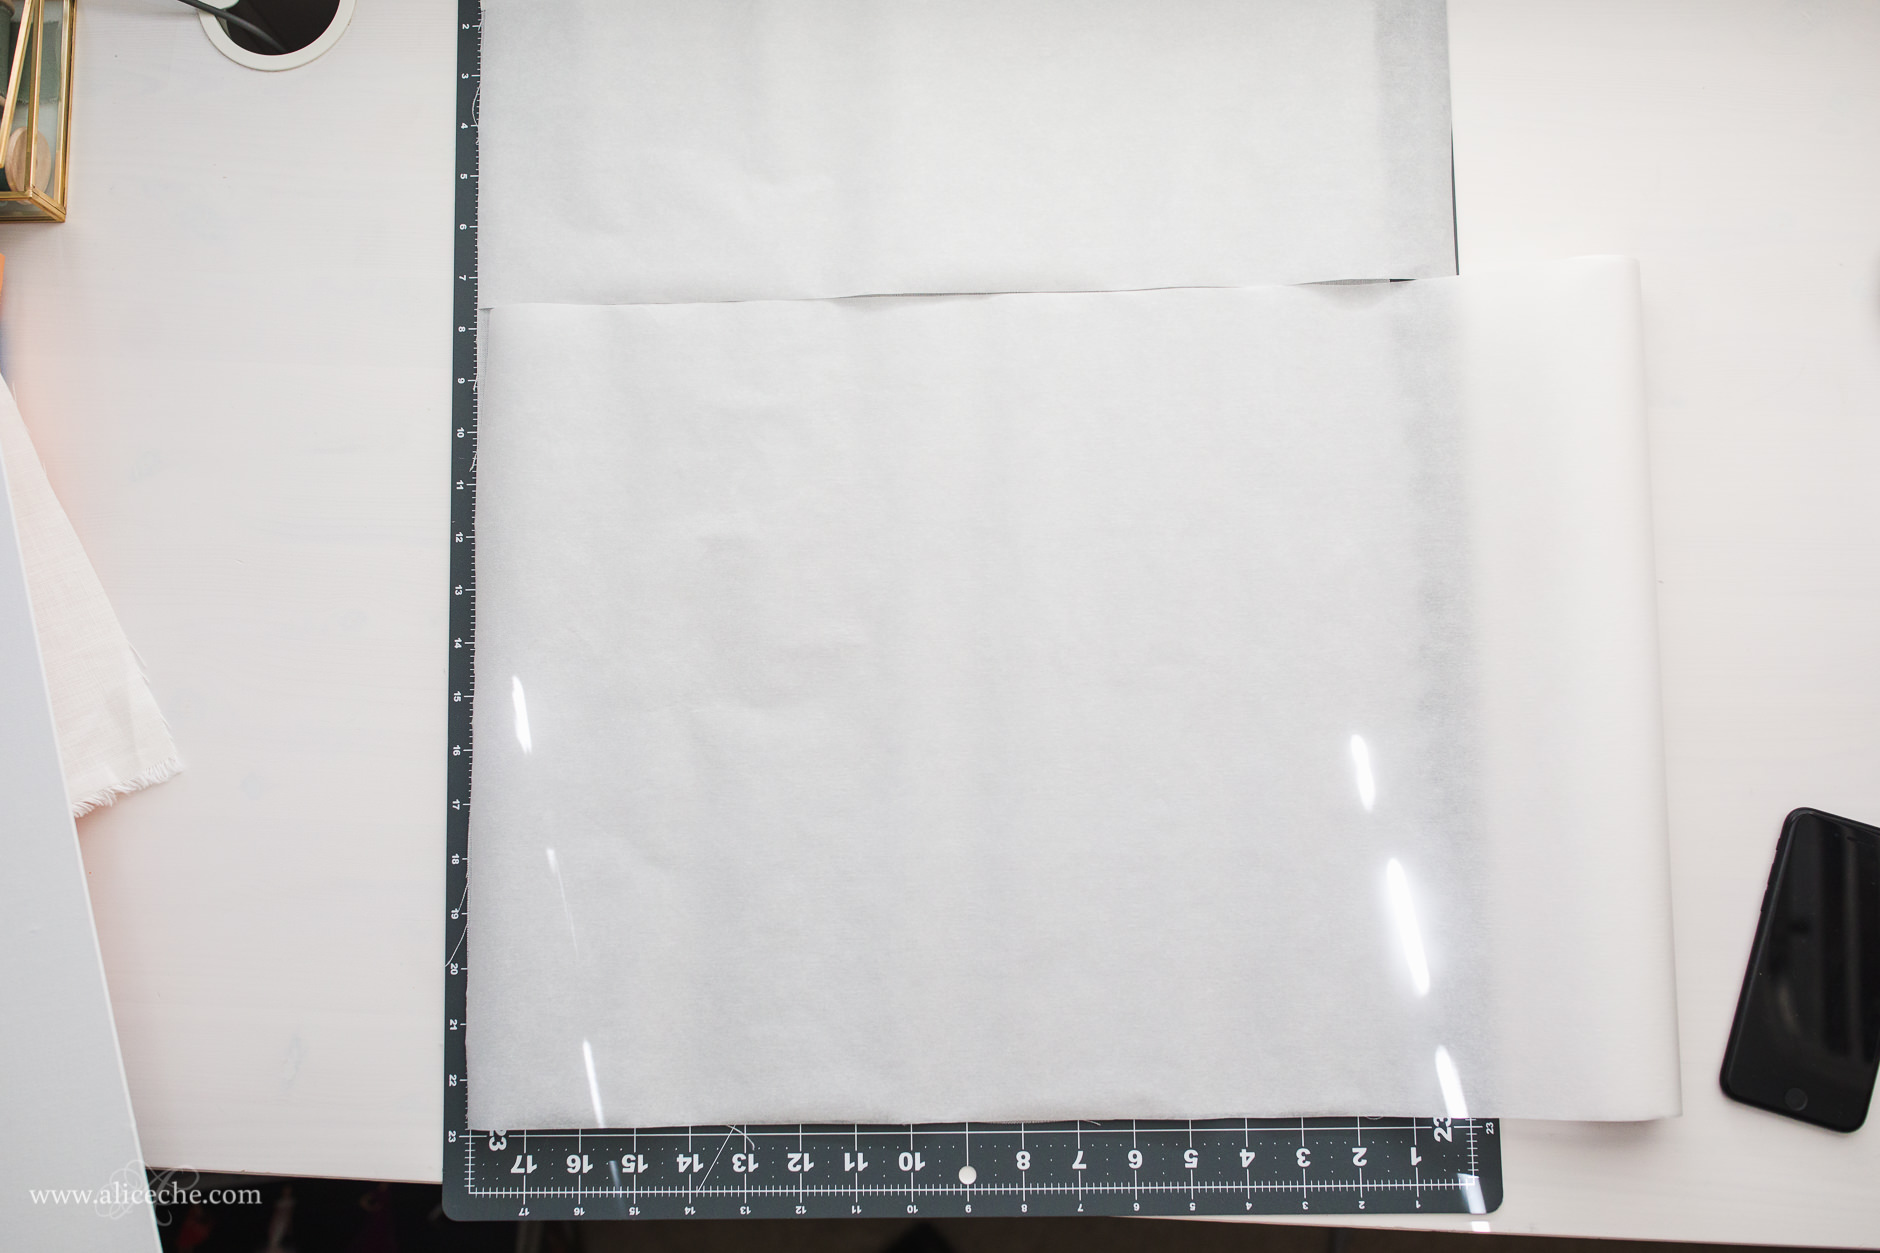
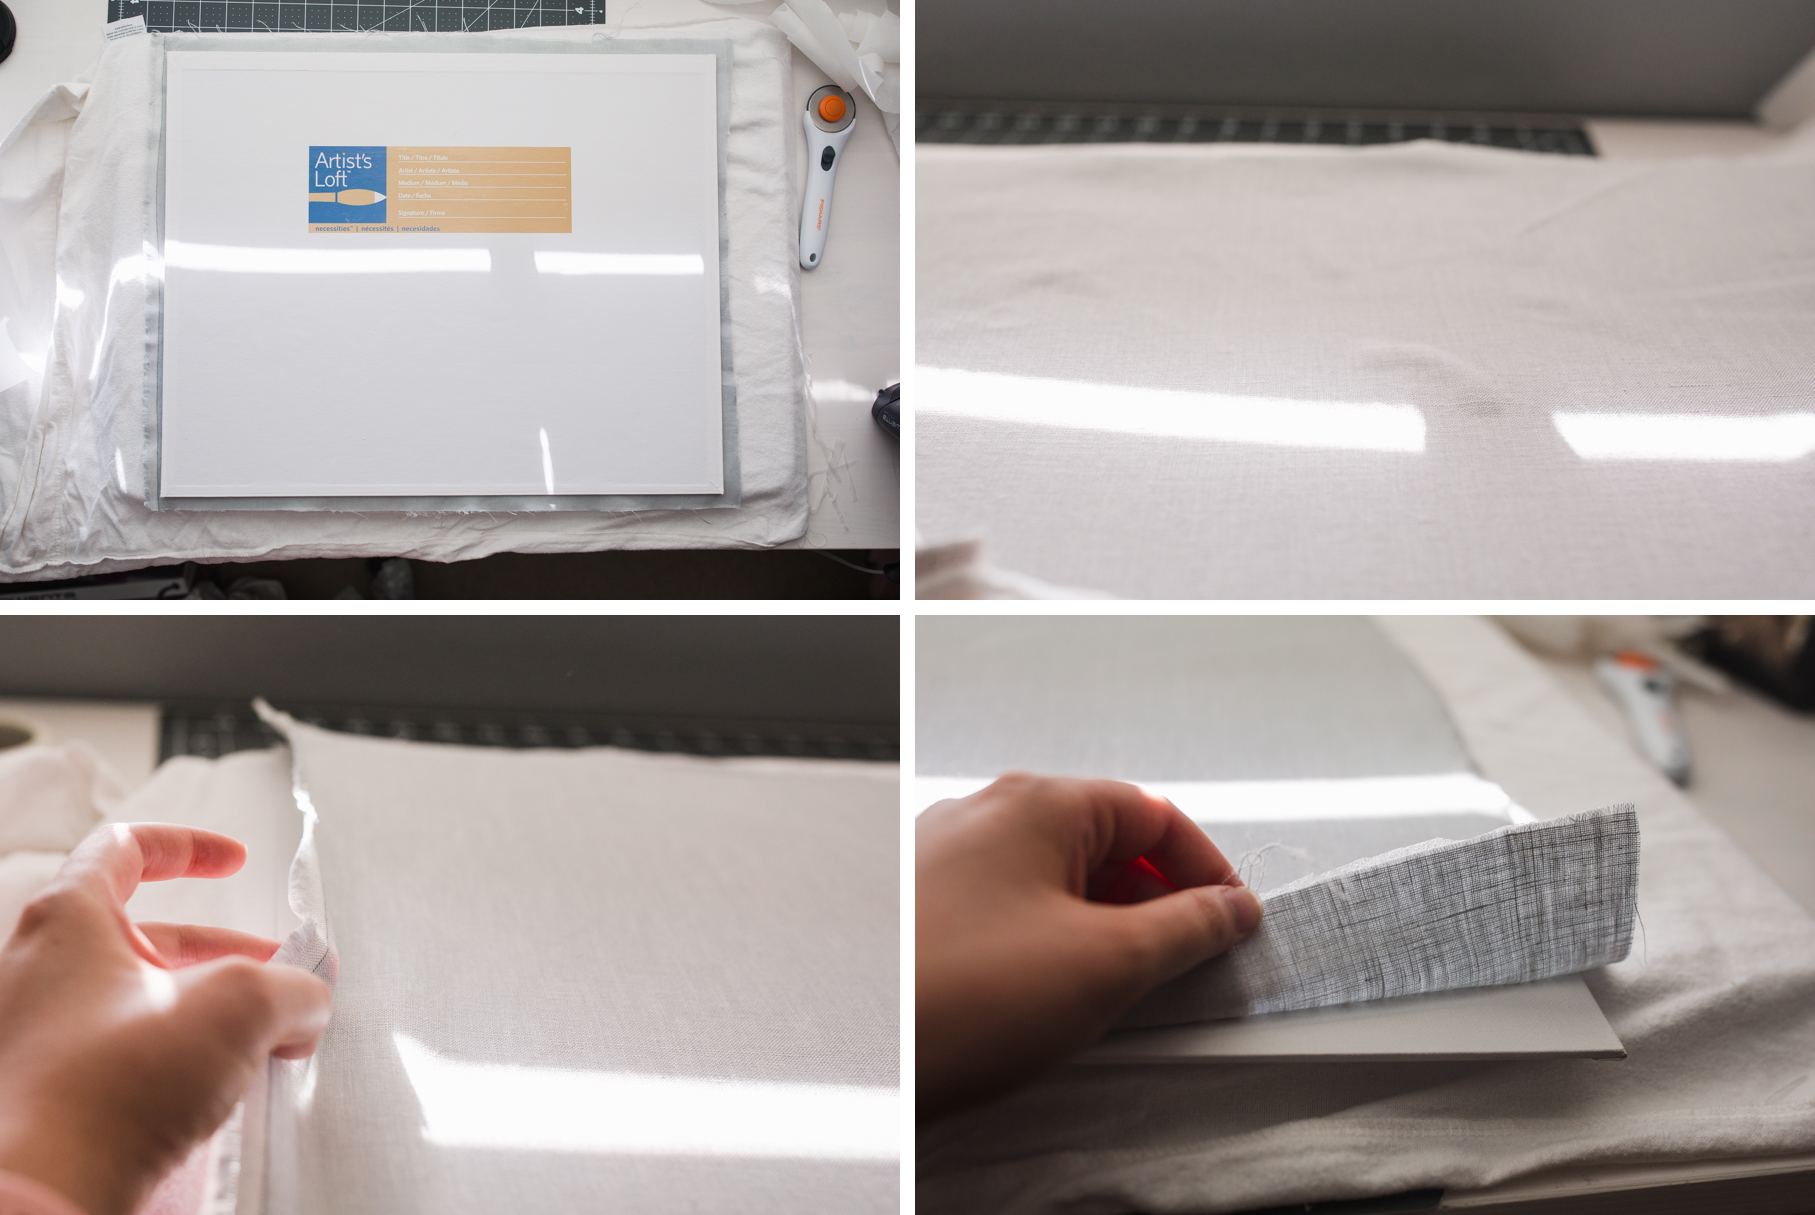
1 – Cut the linen to size.
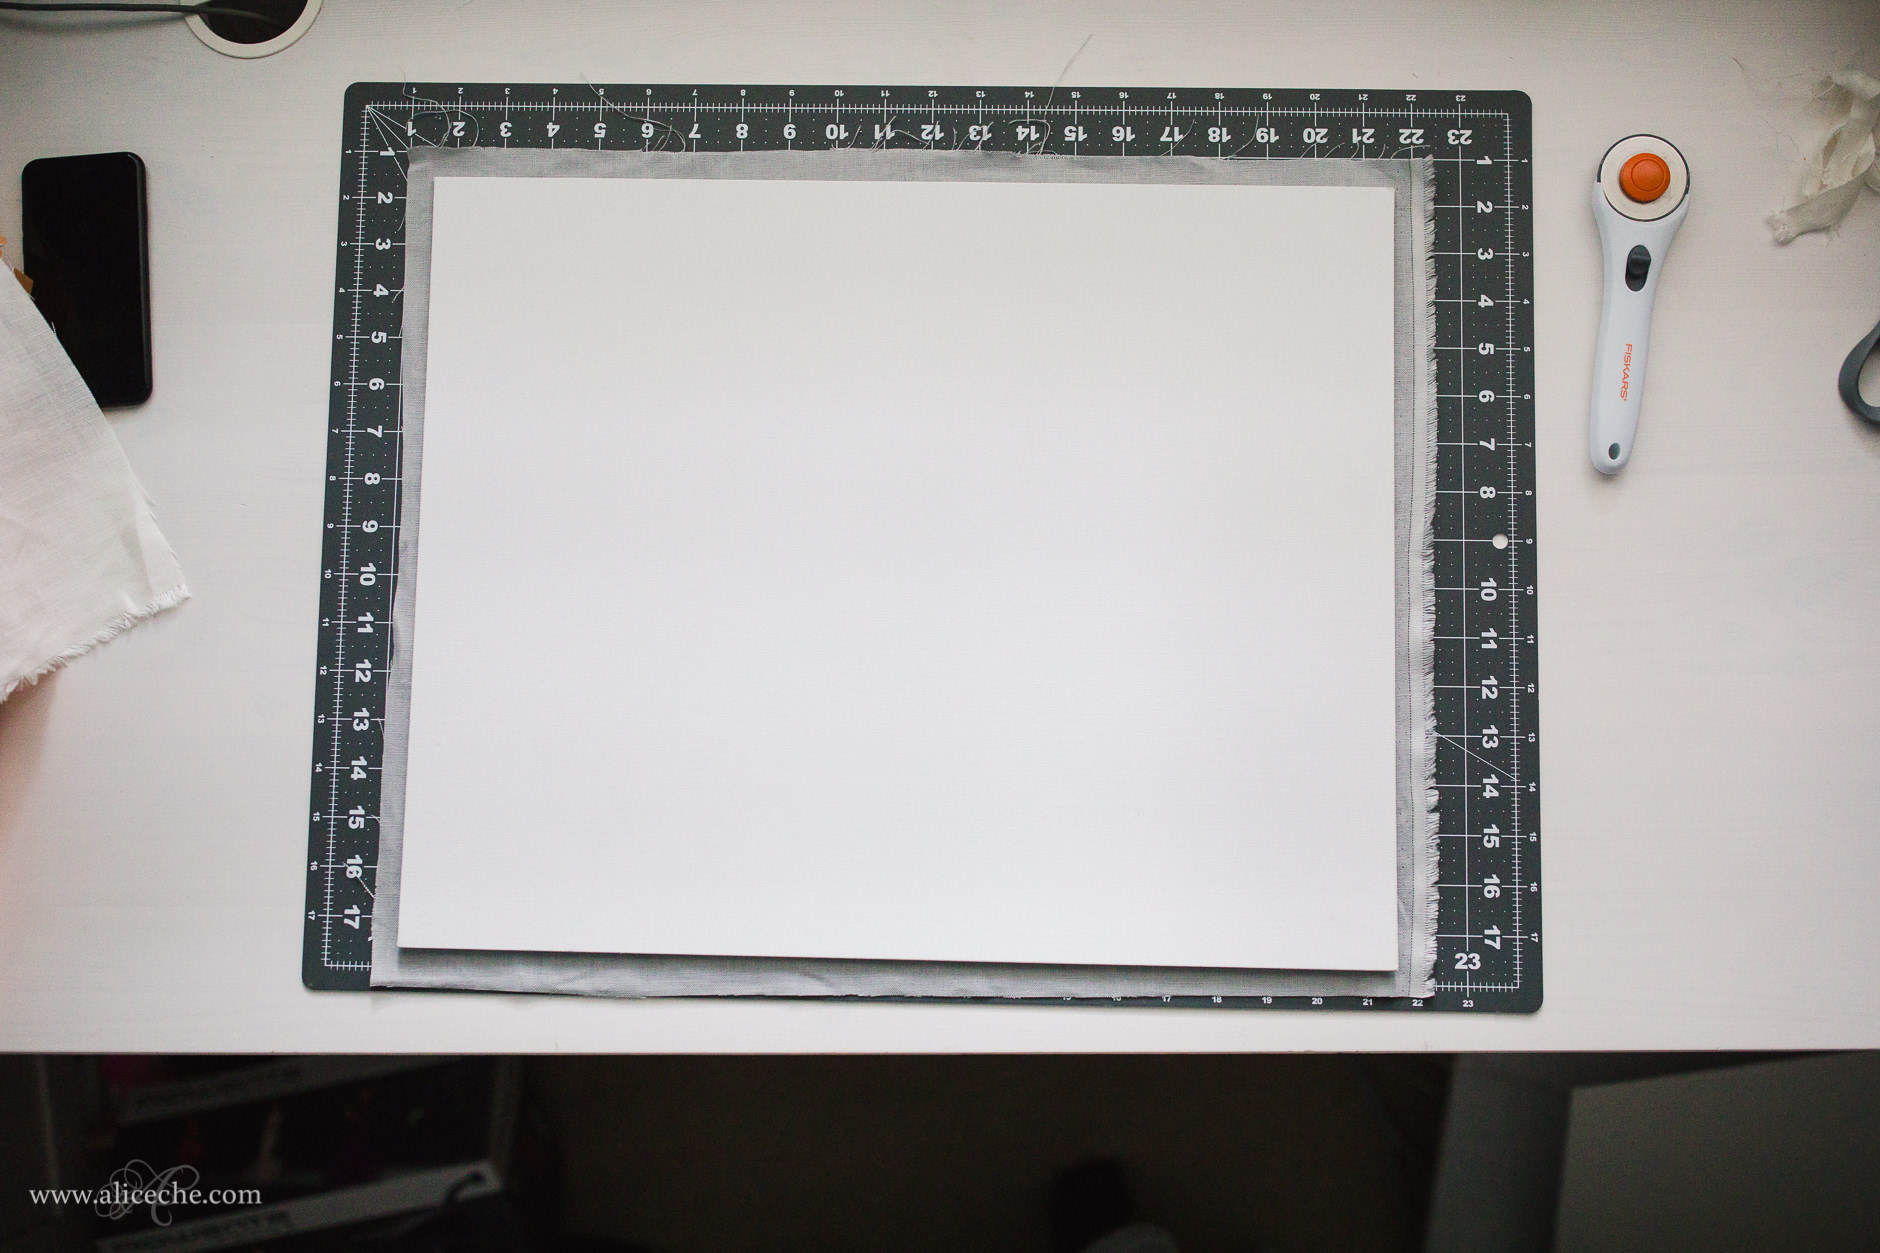
The nice thing about using Wunder Under/fusible interfacing instead of hot glue is you don’t need much fabric overhang. I left 3/4″ on each side for my 16 x 20 board, so I cut the linen and the fusible interfacing to 17.5″ x 21.5″. If you have the fabric, leaving 1″ on each side will probably make your life a little easier. A rotary cutter will make it easy to cut the linen in straight lines. Scissors will work, if you don’t have a rotary cutter, but they won’t be as precise.
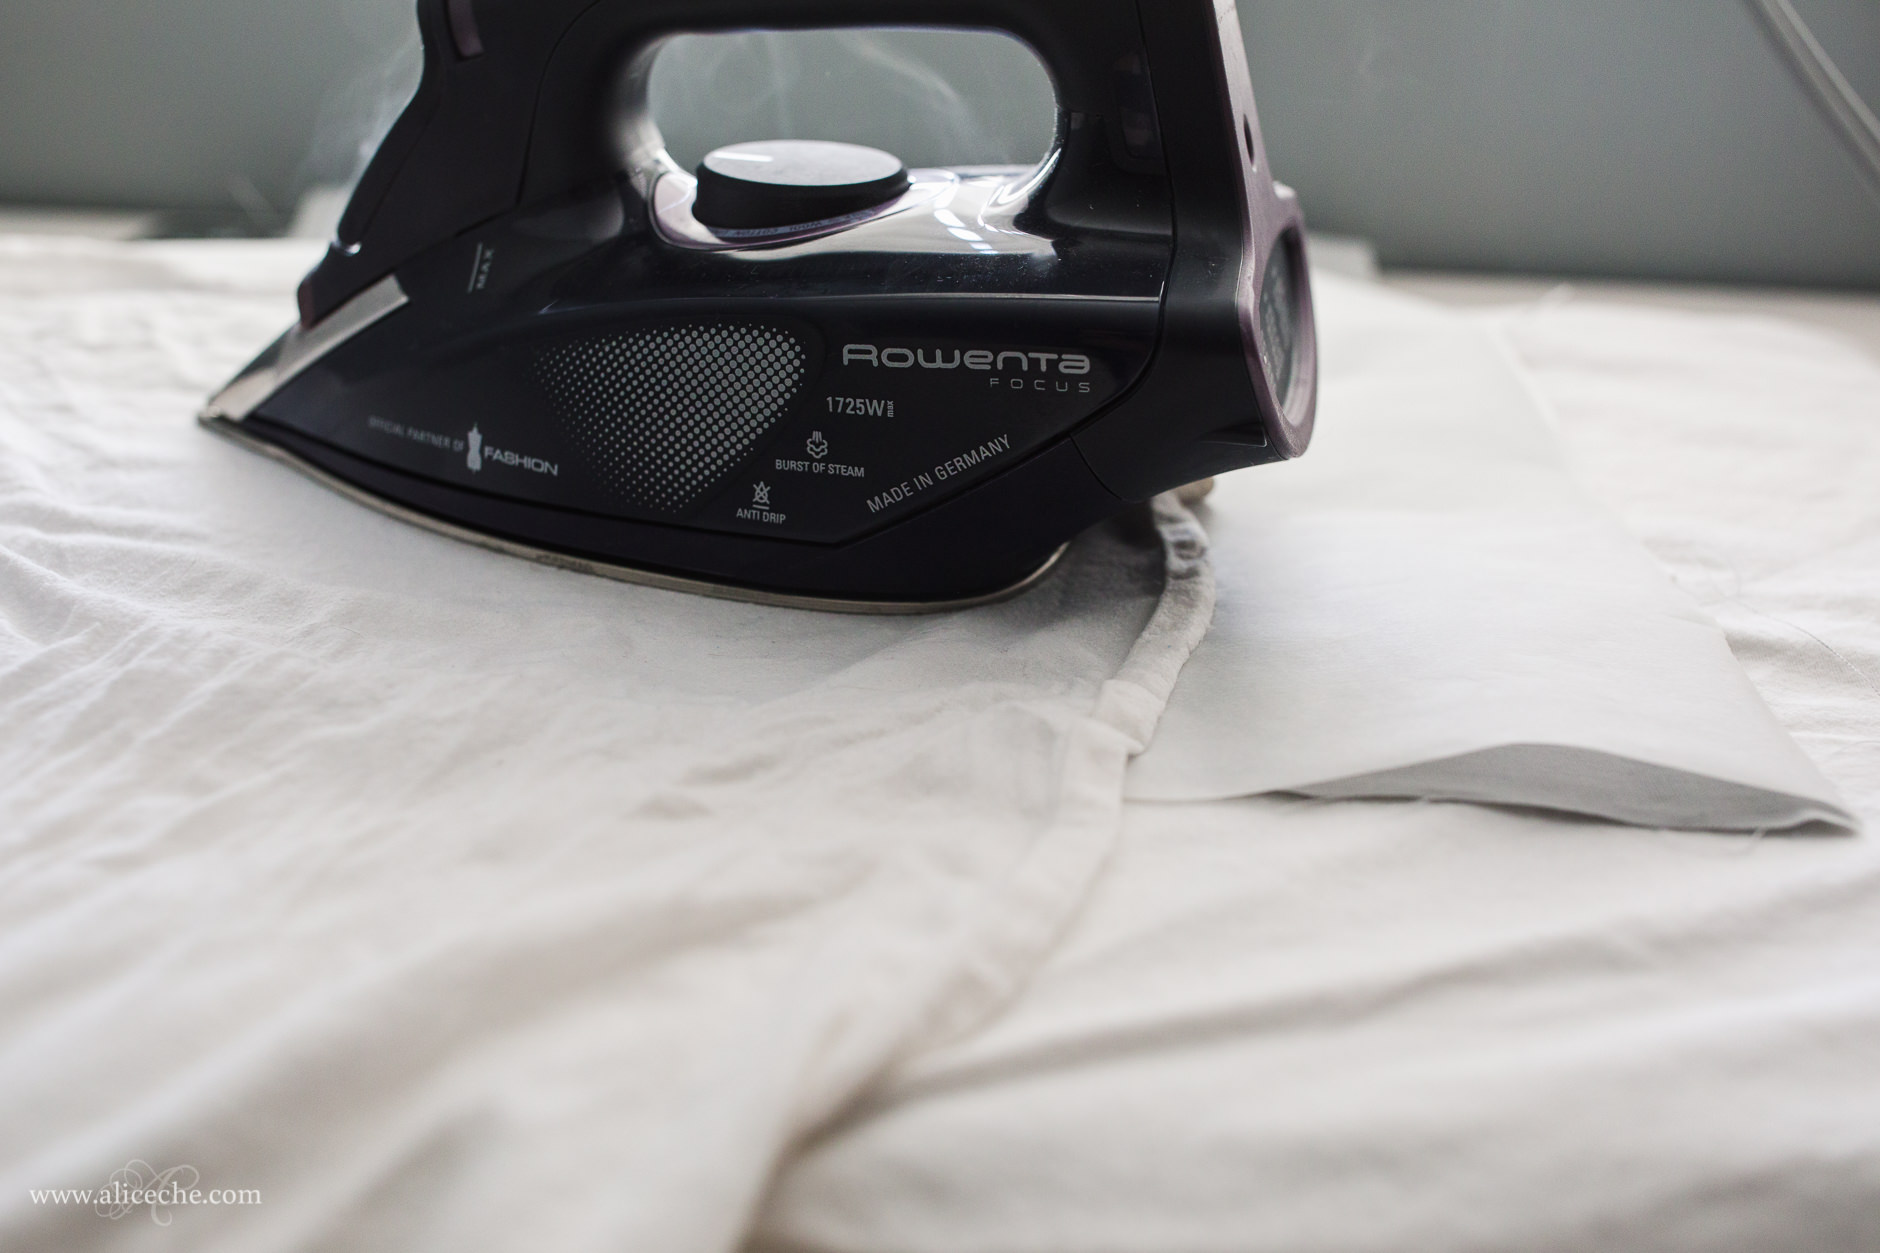
2 – Iron the wrinkles out of the linen.
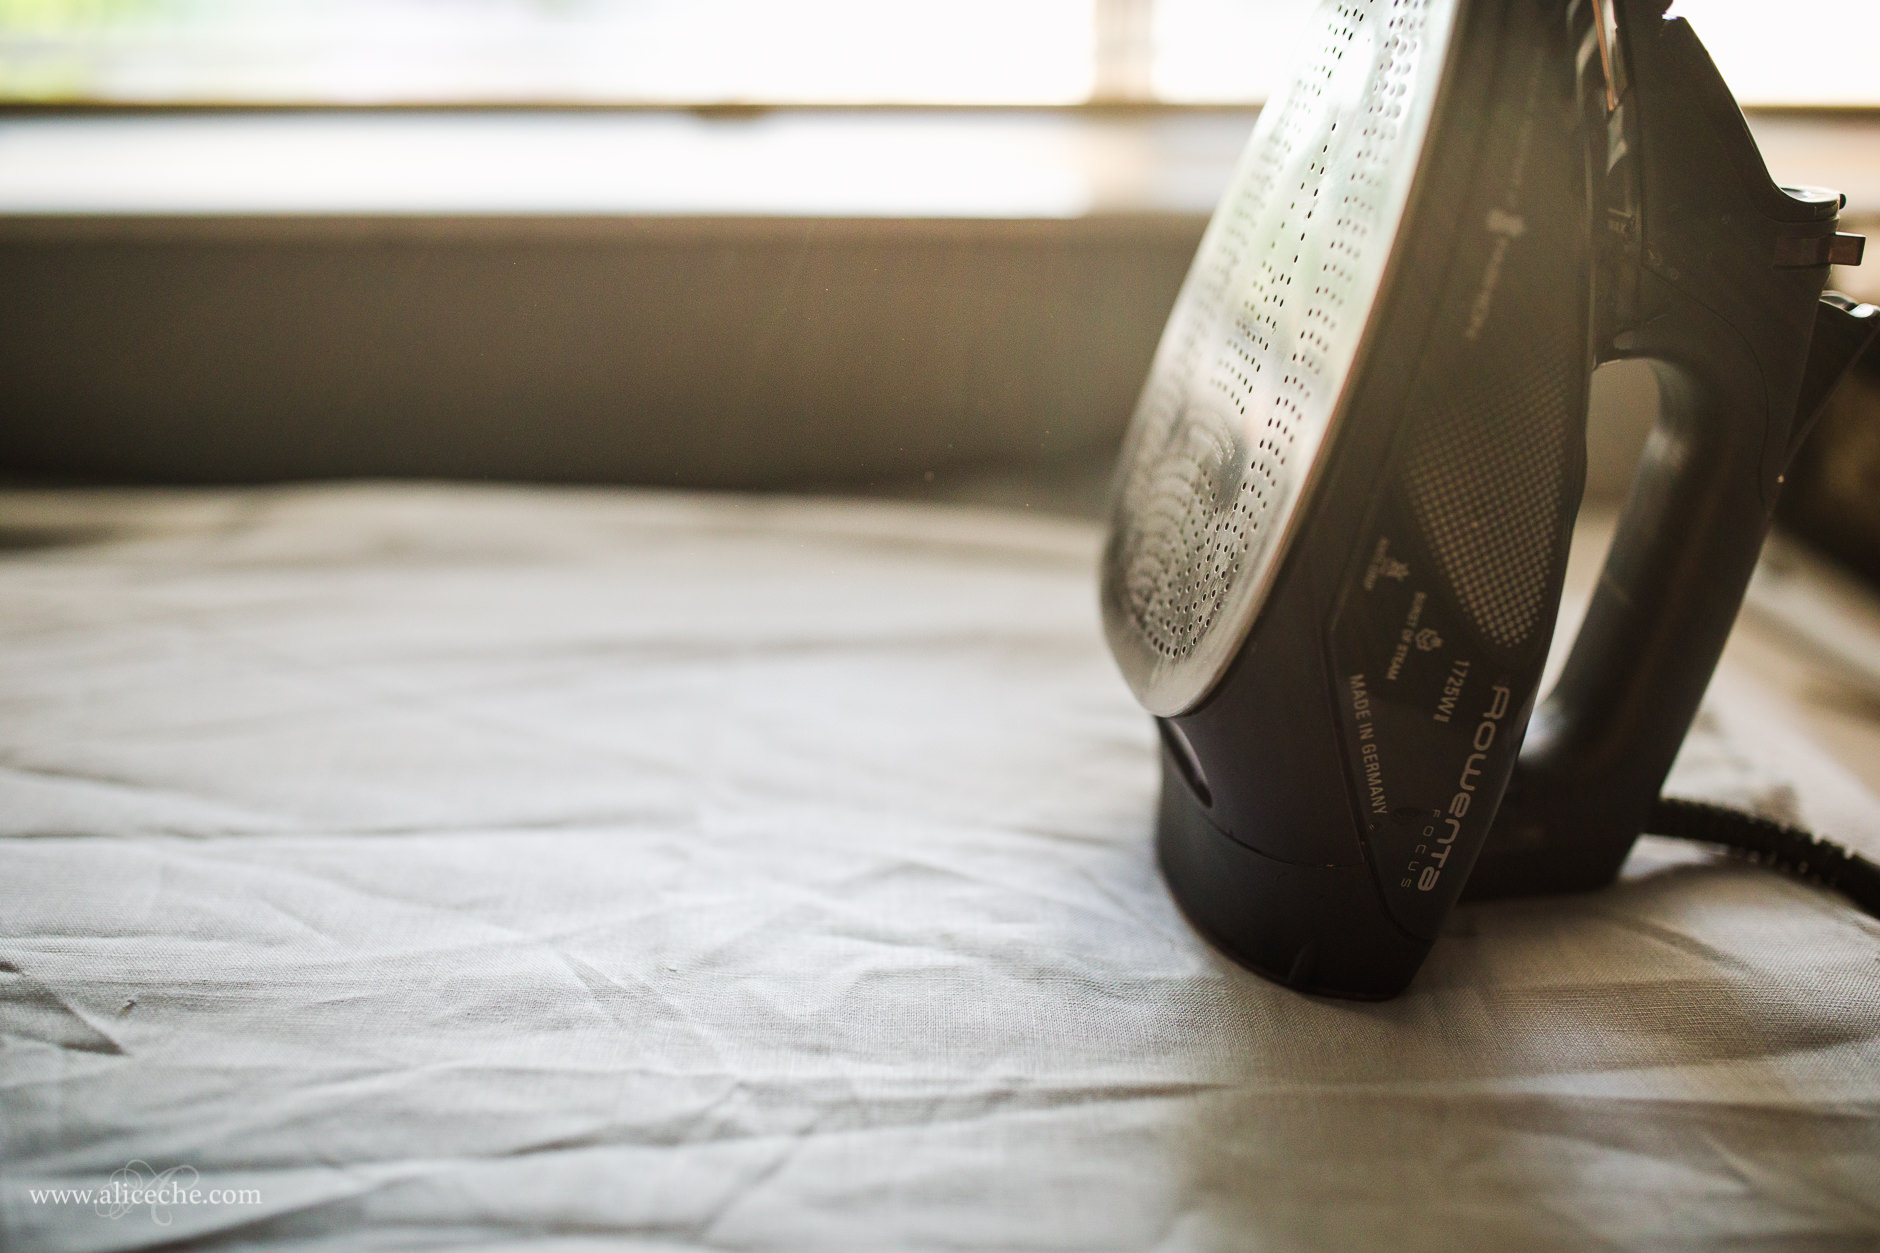
If you’re using 100% linen rather than a linen look-alike, it’s actually going to be pretty difficult to get the wrinkles out! The key to wrinkle-free linen is using lots of moisture. I found that even using steam and the highest setting on my iron didn’t fully get rid of wrinkles.
I did some googling and found that one of the best ways to get the wrinkles out is by using a damp cotton press cloth. I used my pillowcase, which is 100% cotton, and soaked it in water, wrung it out, and laid it on top of the linen. By the time the cotton was dry, I found that the linen was fairly wrinkle-free. Also, it doesn’t need to be /completely/ wrinkle-free after this step, as you’ll be doing some more ironing and stretching later on.
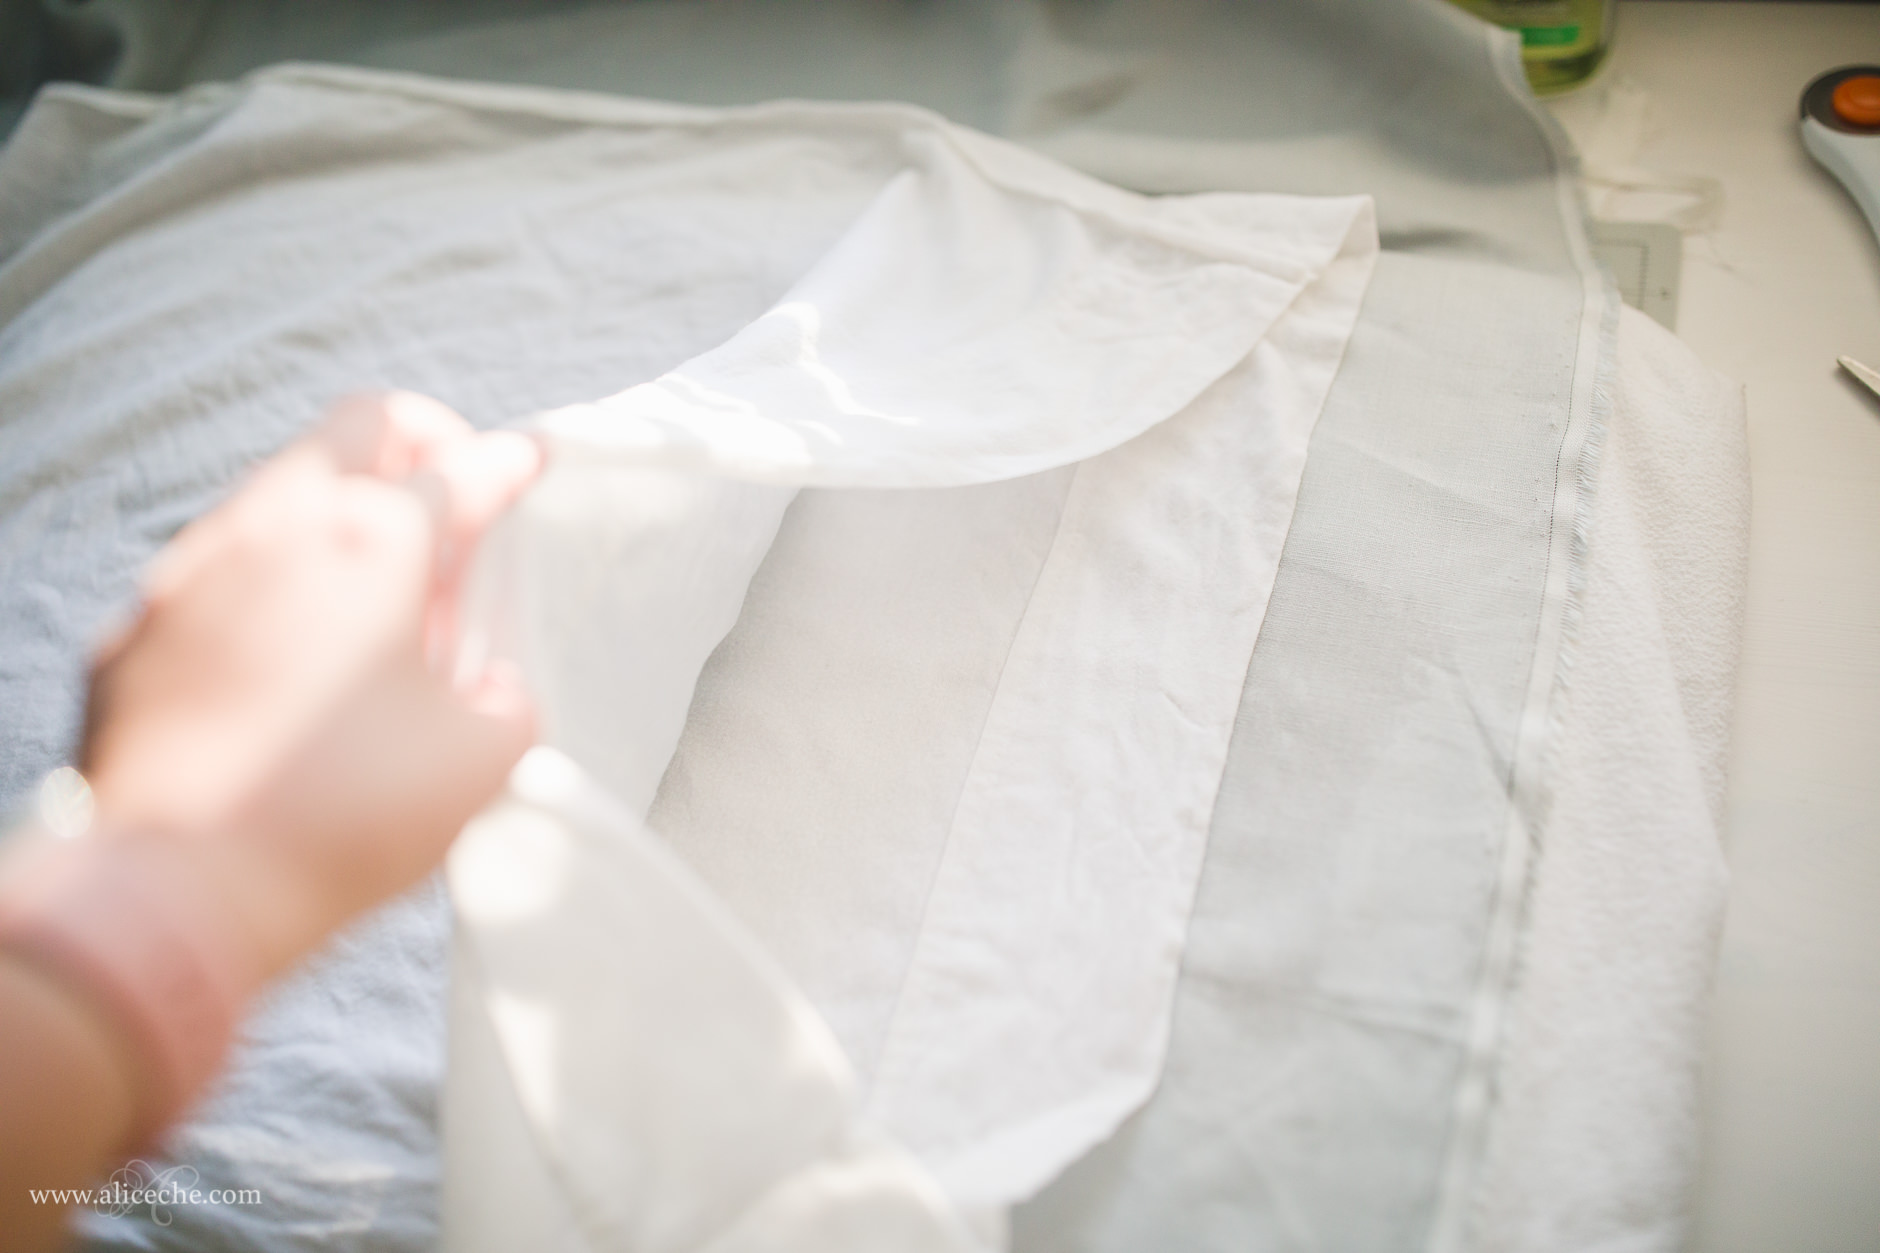
3 – Cut fusible interfacing to size.
Lay the fusible interfacing over the ironed linen and cut it exactly the same size. The closer you get, the better, as any overhang can melt onto your iron or ironing board.
4 – Attach fusible interfacing to linen.
Take the fusible interfacing and place the rough side of it down on the back side of your linen. In most cases, the front and back of the linen will be very similar, so it doesn’t matter which side you choose. Next, take your damp cotton press cloth and iron the fusible interfacing onto your linen. You’ll need quite a bit of heat and time for this as well. I moved the iron slowly across the interfacing, covering each area for at least 5 seconds to melt the glue. I suggest starting from the center and moving out
5 – Peel parchment backing from fusible interfacing.
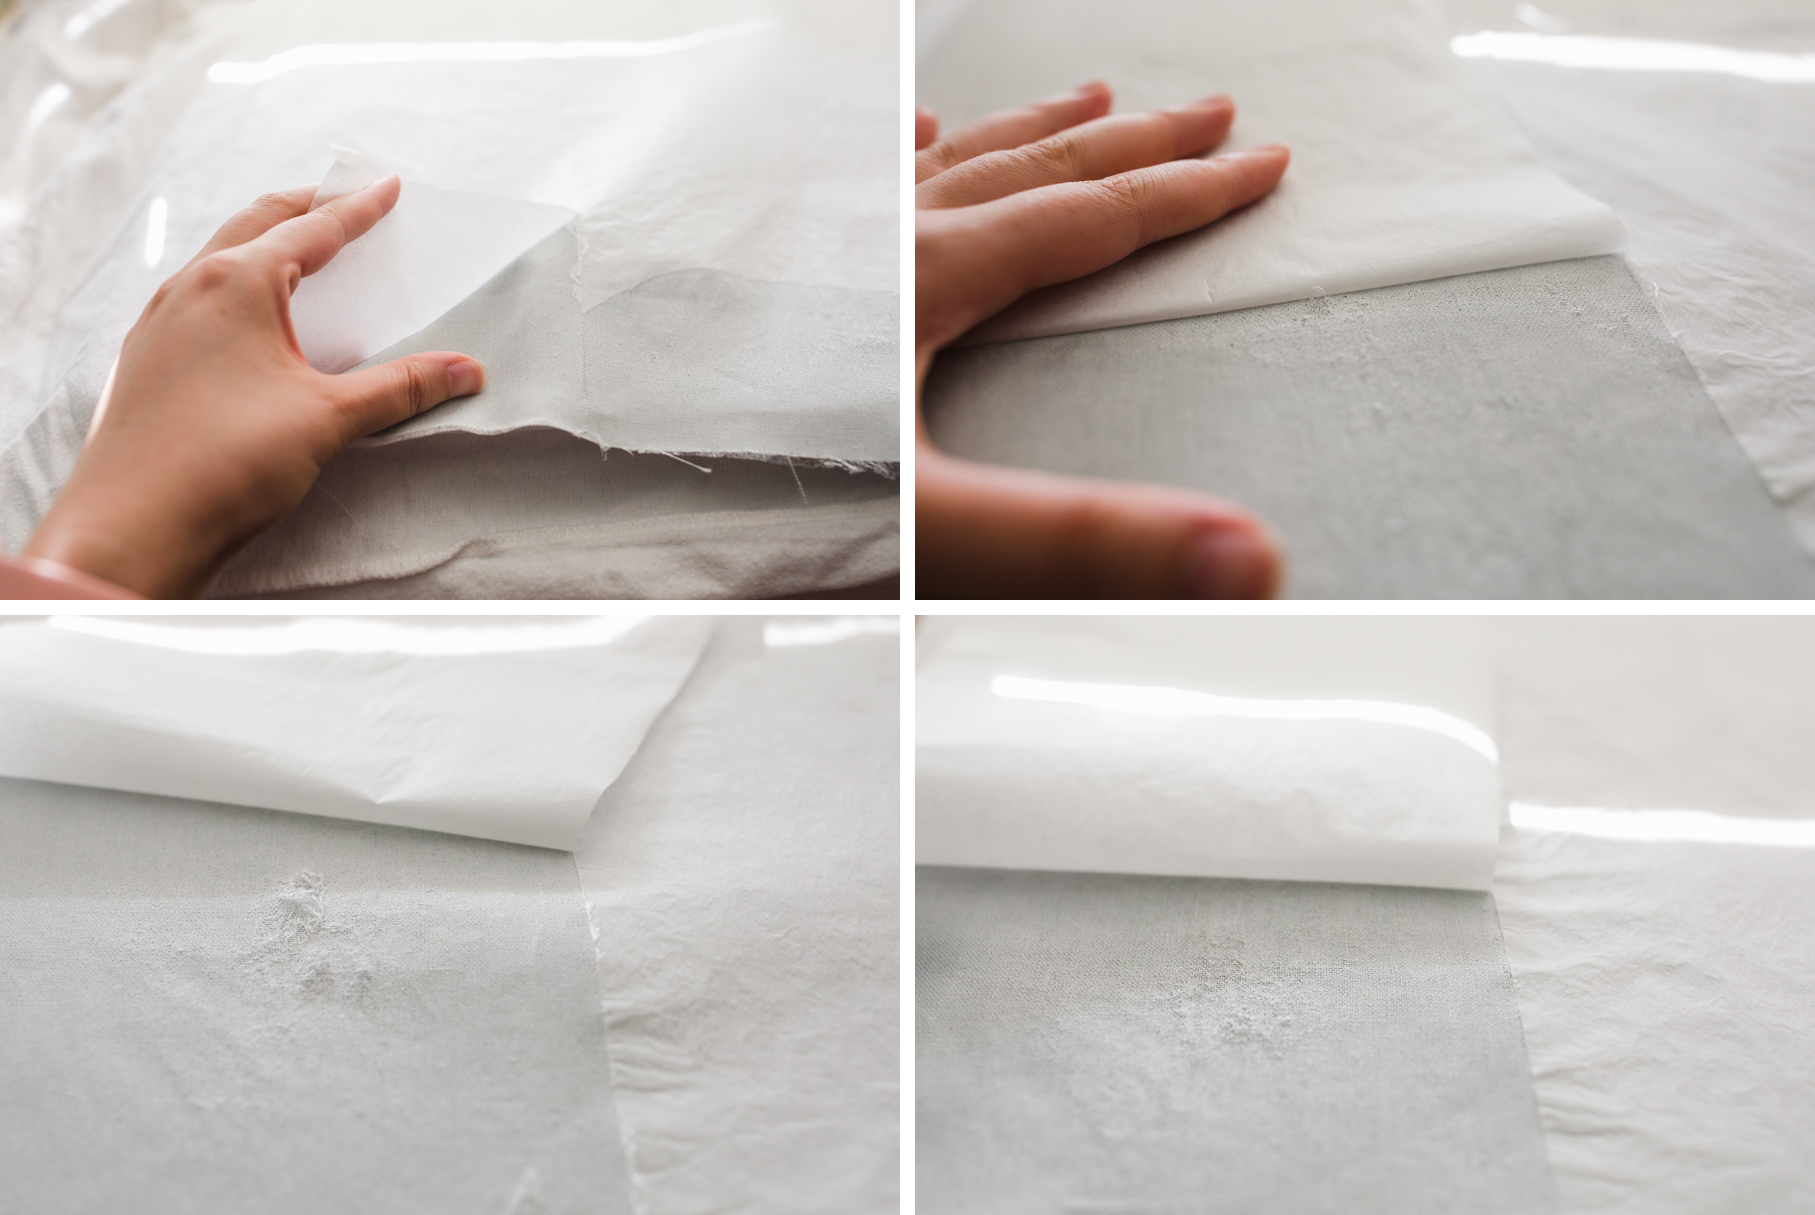
Remove the parchment from the back of the fusible interfacing. I found it was the easiest to hold down the fabric/interfacing while I pulled back.If you are having difficulty separating the parchment from the fusible interfacing and start pulling the interfacing away from the linen (like in the top right photo), you need to apply more heat. You want to put the parchment back down and go over that area with the iron to melt the glue to the linen more. In the bottom left, you can see how I pulled some of the glue up. The photo of the right is the same area after applying some more heat with the iron. DO NOT iron without the parchment between the iron and the fusible interfacing, otherwise you will make a huge mess on your iron.
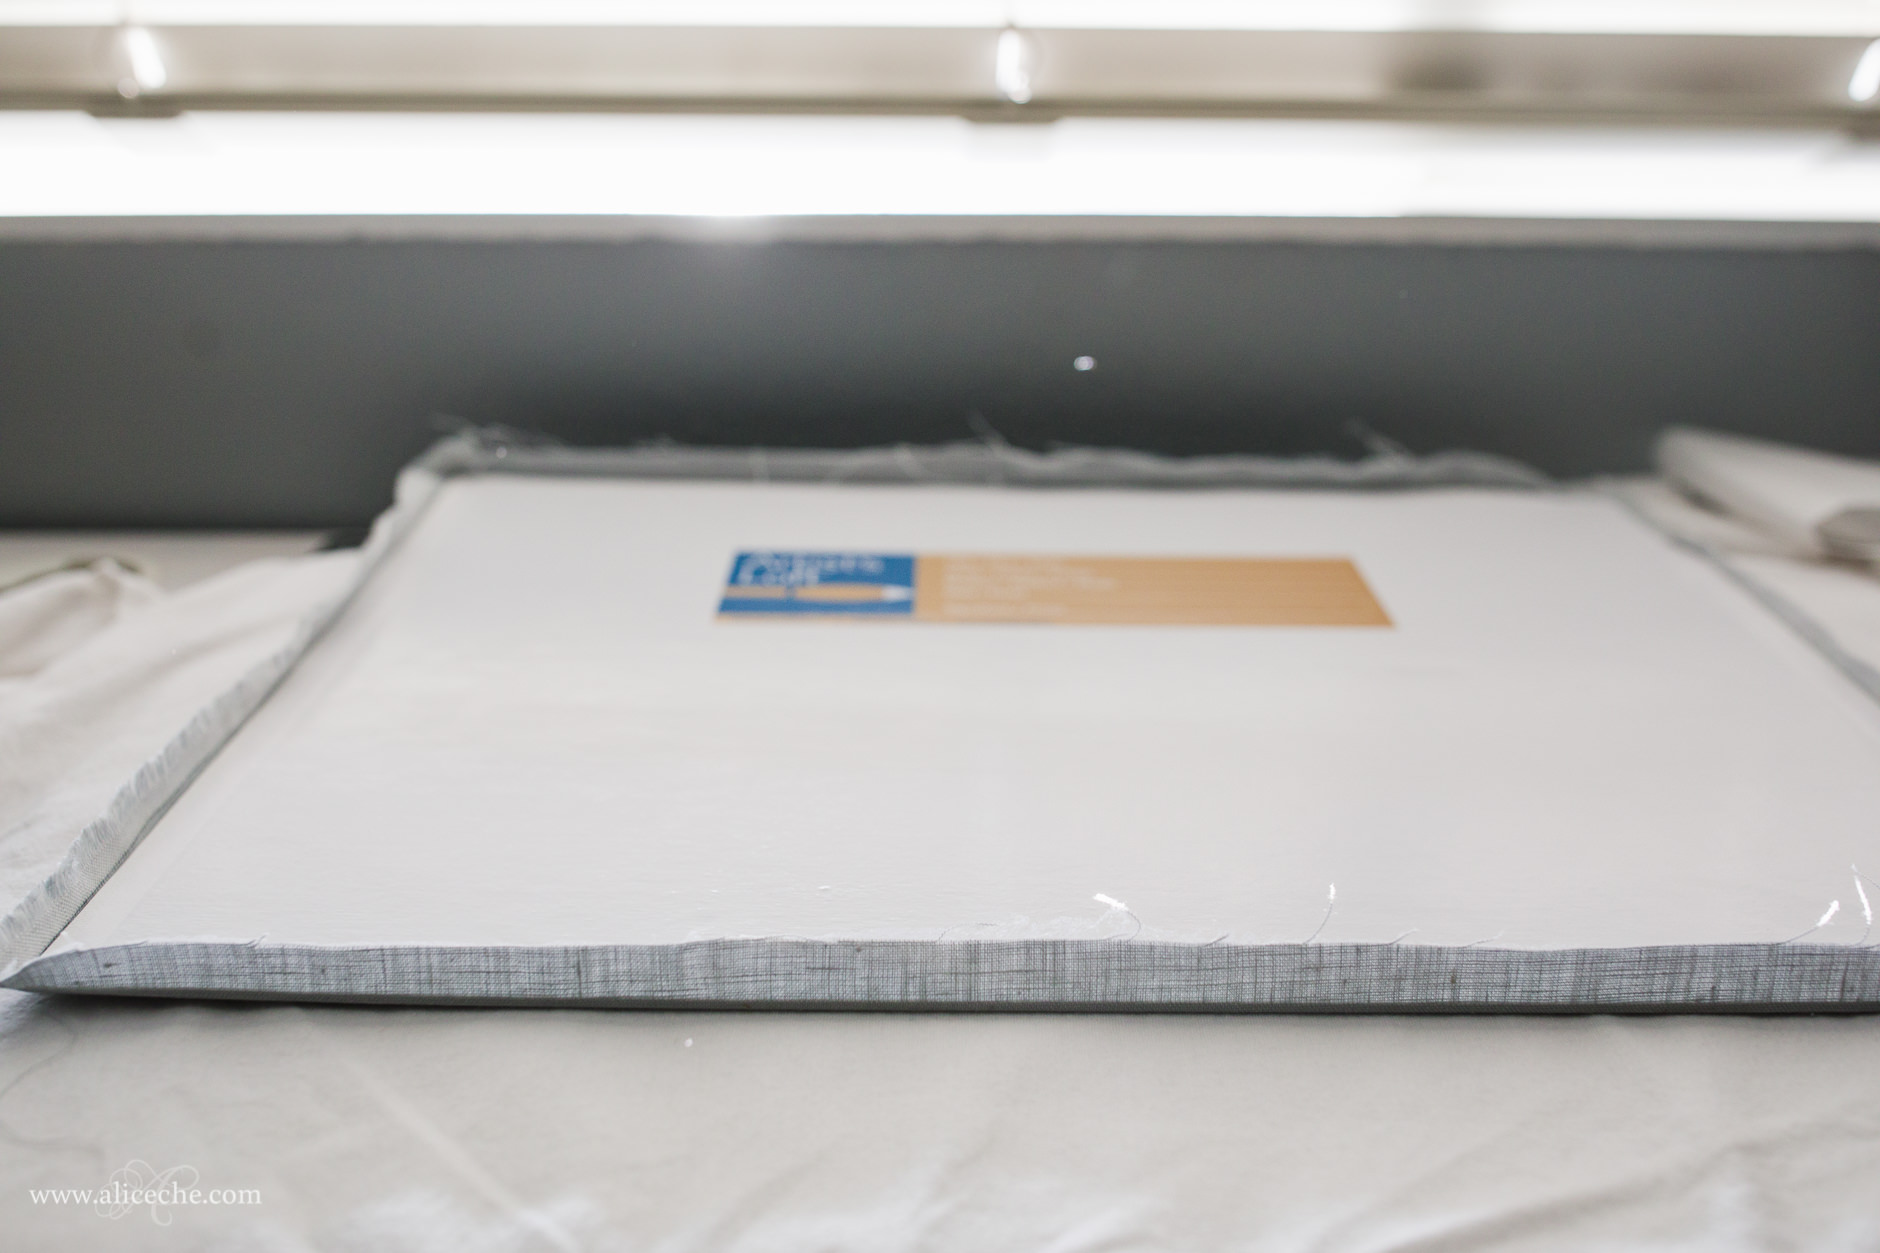
6 – Attach linen to artist’s board/foam core.
Center your linen + fusible interfacing over your artist’s board or foam core and, starting from the center, use the iron to melt the glue and attach the layers together.I used the press cloth here as well, but sometimes I just ironed straight on the linen too. Just be careful not to burn the linen, and you’ll be fine. Move from the center outwards to avoid any air bubbles, like you can see in the top right photo, between the linen and the board. If you get an air bubble, pull the linen up gently from the edge until you release the air from the bubble. Check the corners and make sure you have melted the glue all the way to the edge of the board (if it looks like the bottom right photo, you need more heat!).
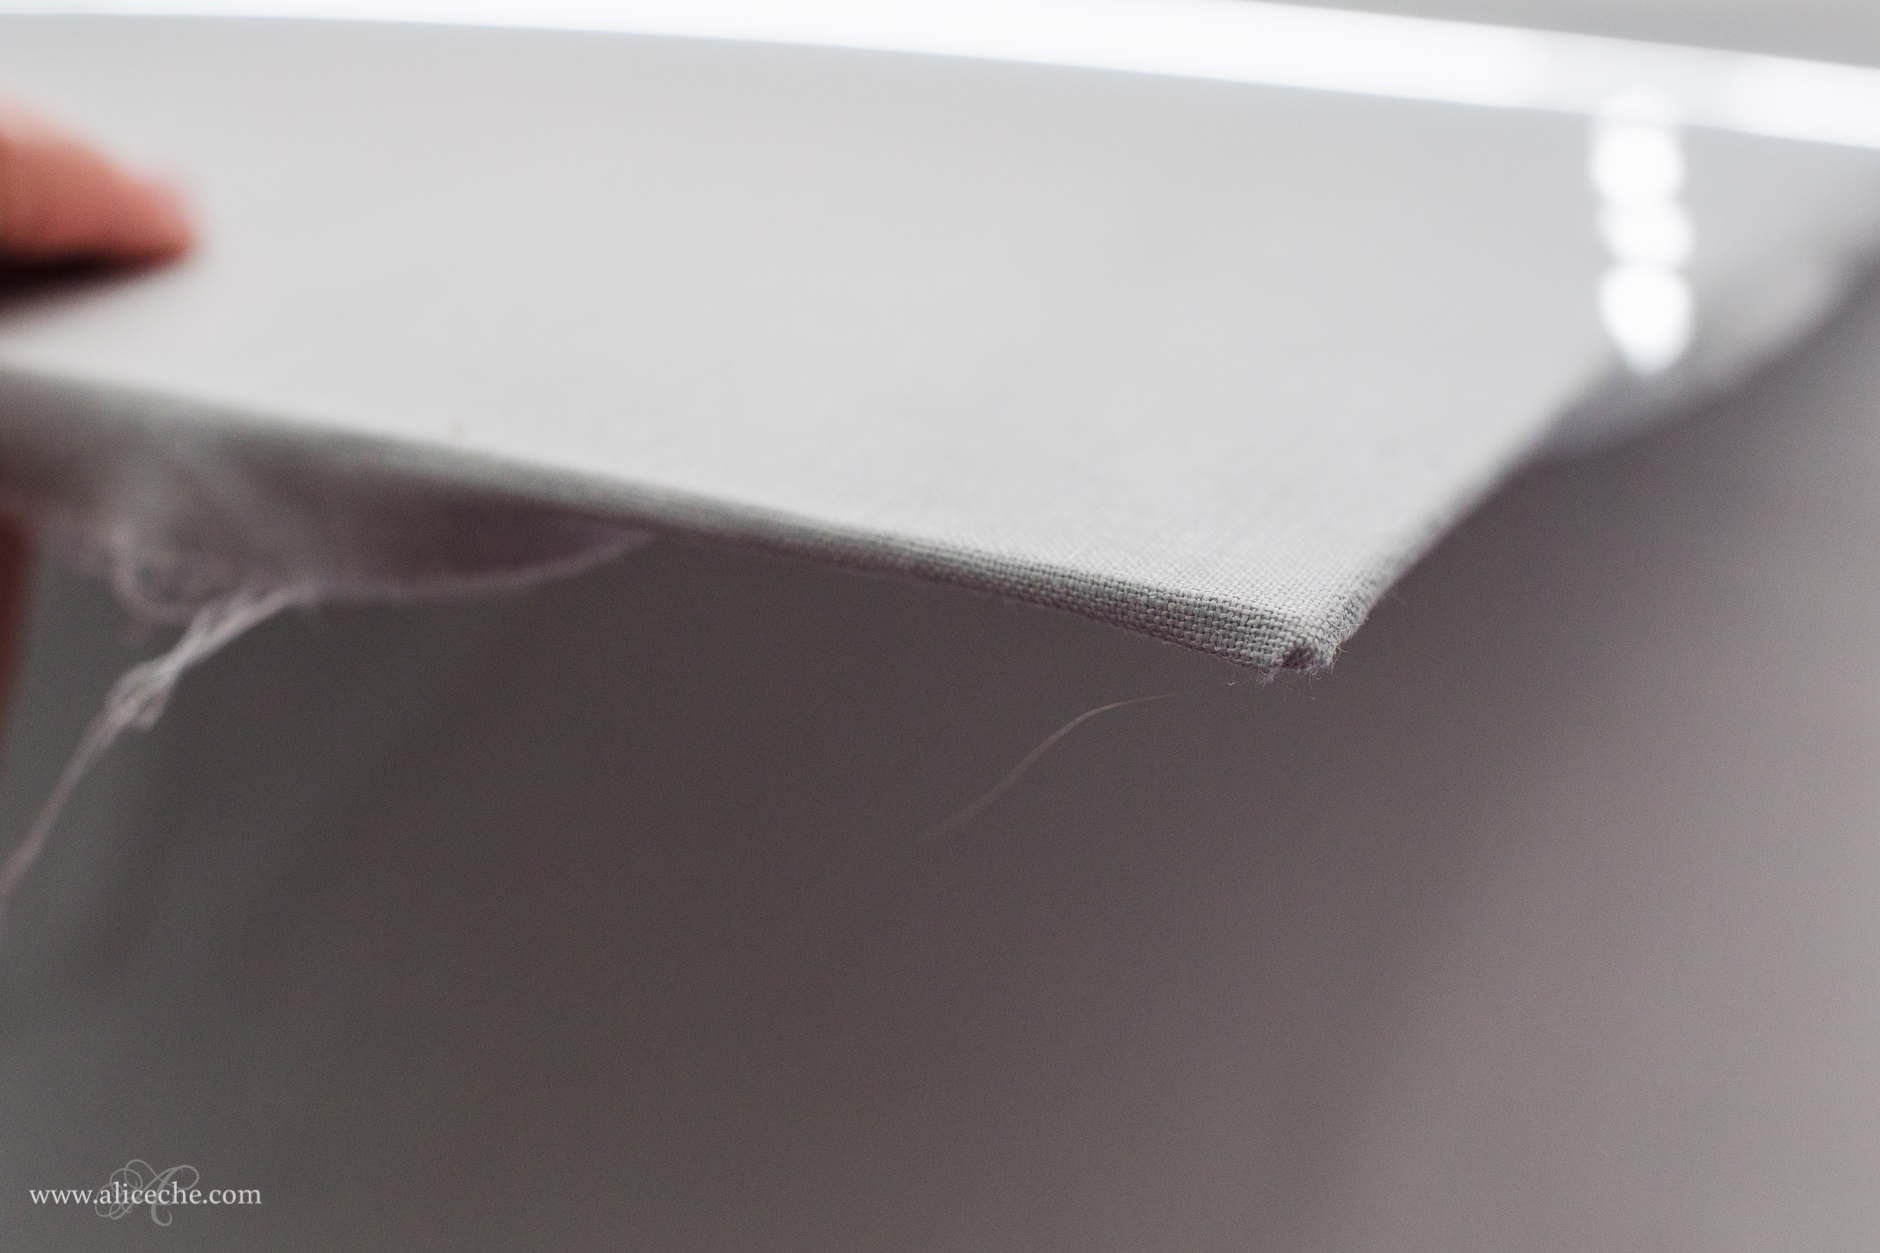
7 – Finish the edges of the board.
I wanted to make really nice, neat corners and edges, so I started by ironing/glueing the linen all the way around the edges of the board.
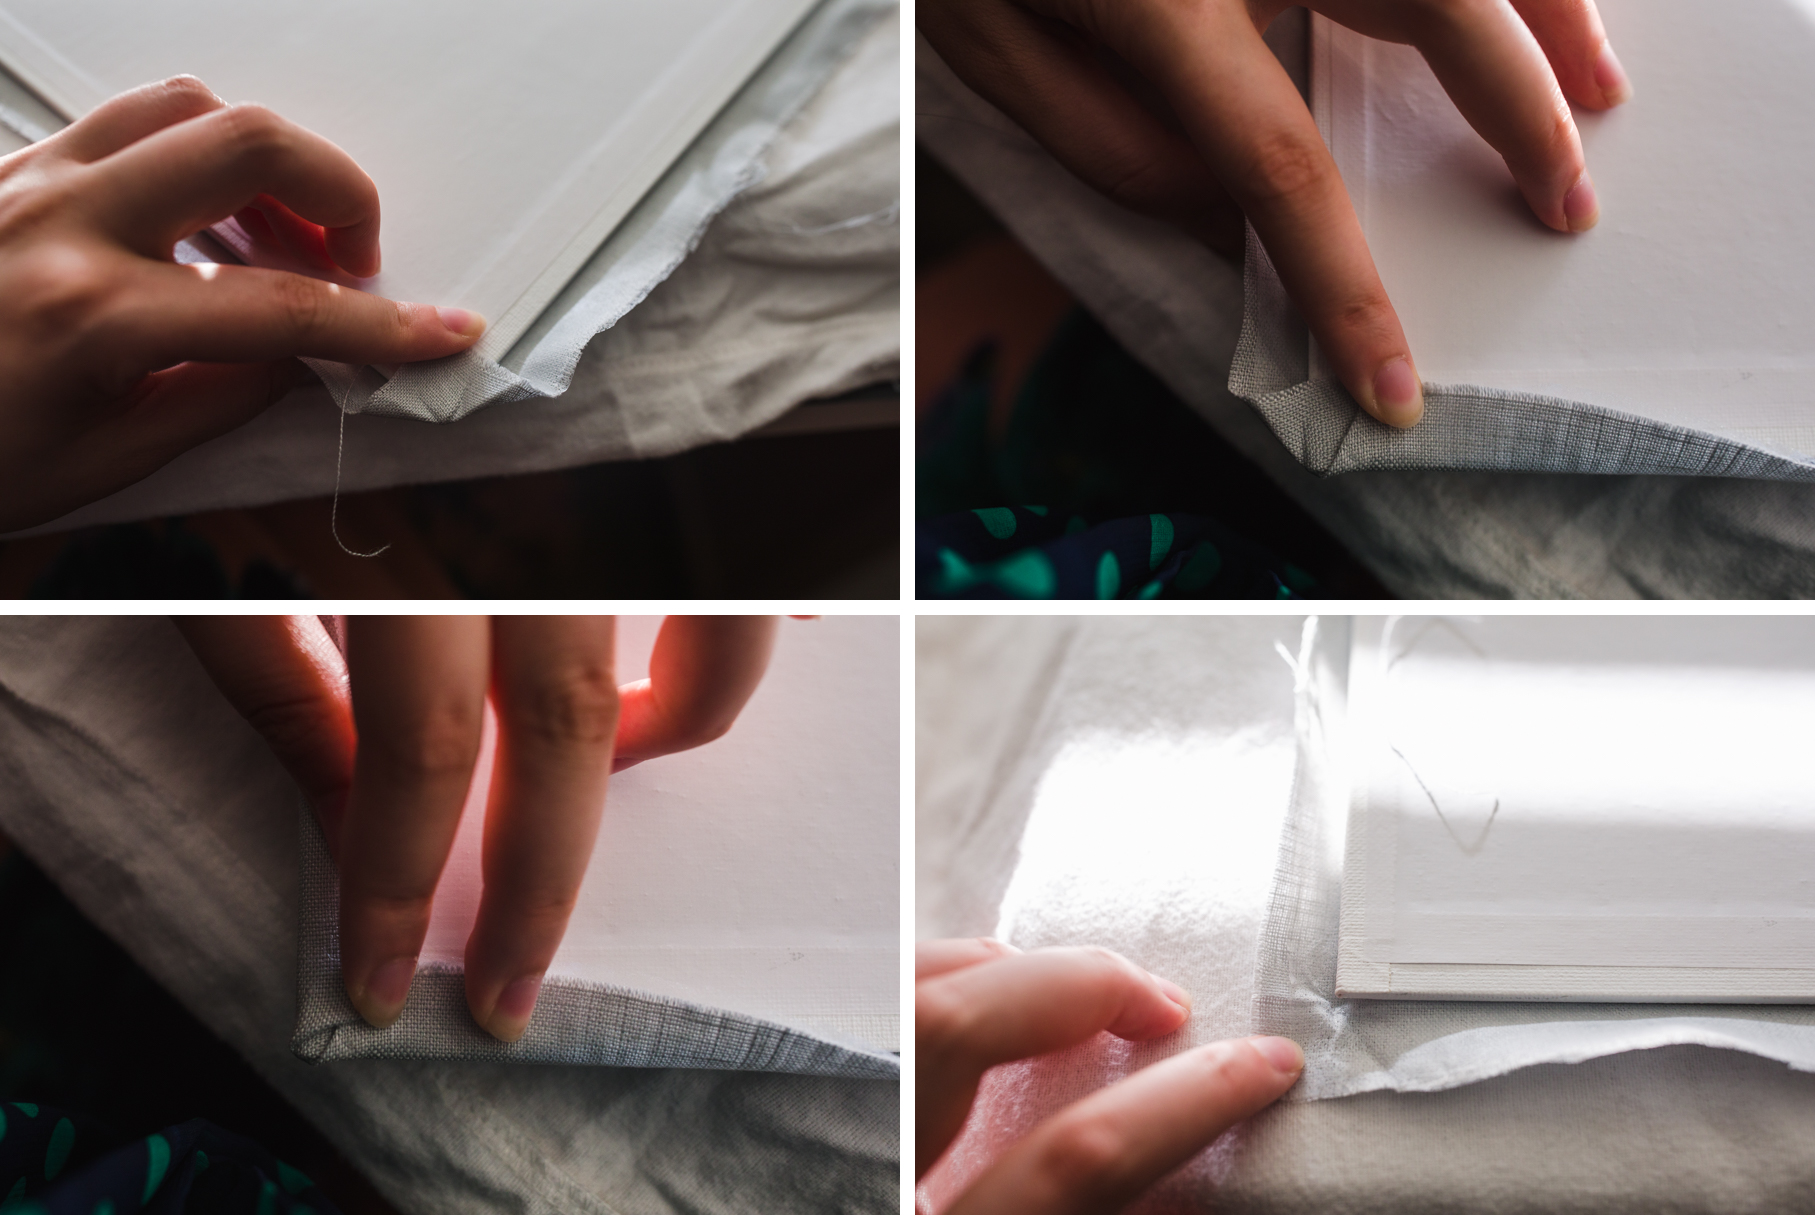
Next I folded a corner up, and then brought each edge in to the back of the board as tightly as possible.
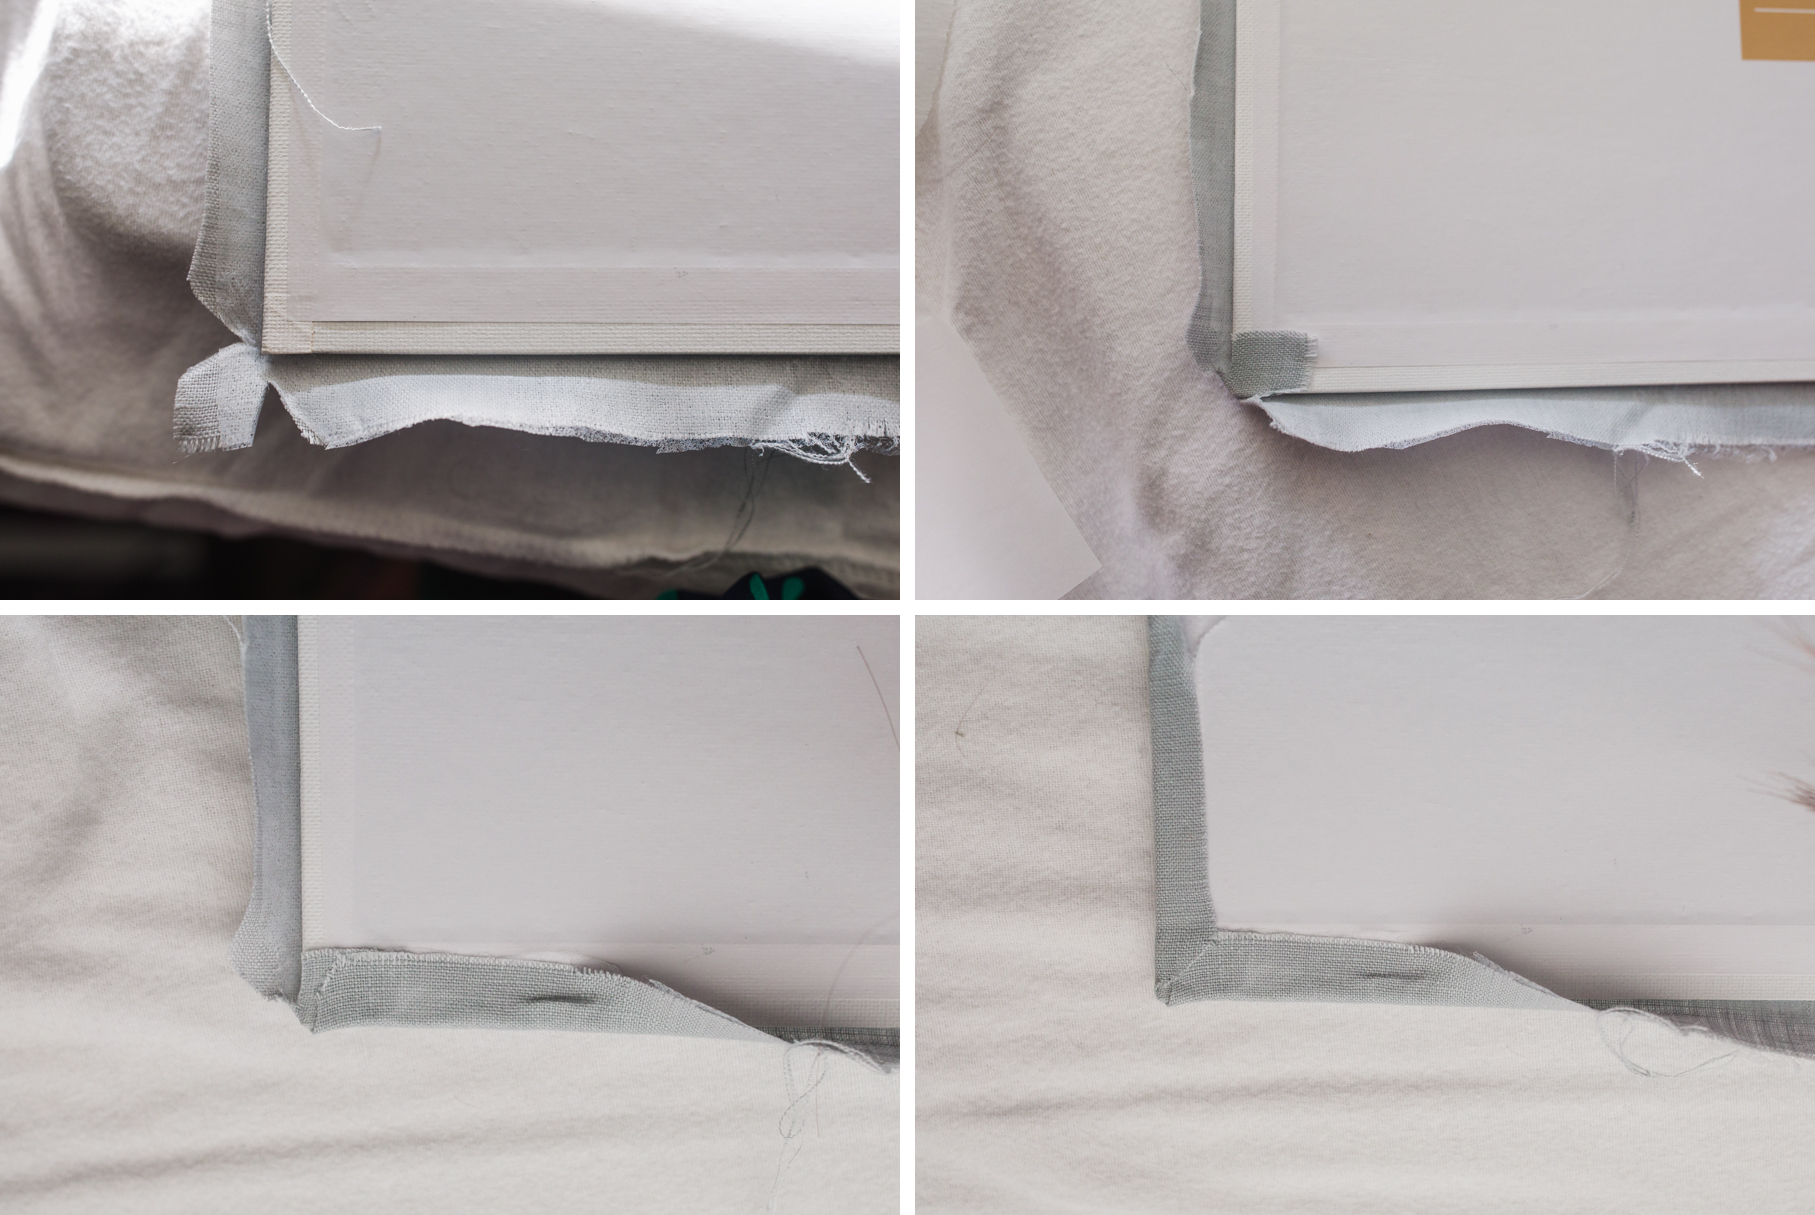
I unfolded the linen and cut triangles out as shown in the top left to create less bulk in the corners. I then brought the corner up again, ironed it to melt the glue, and brought the edges up one at a time.
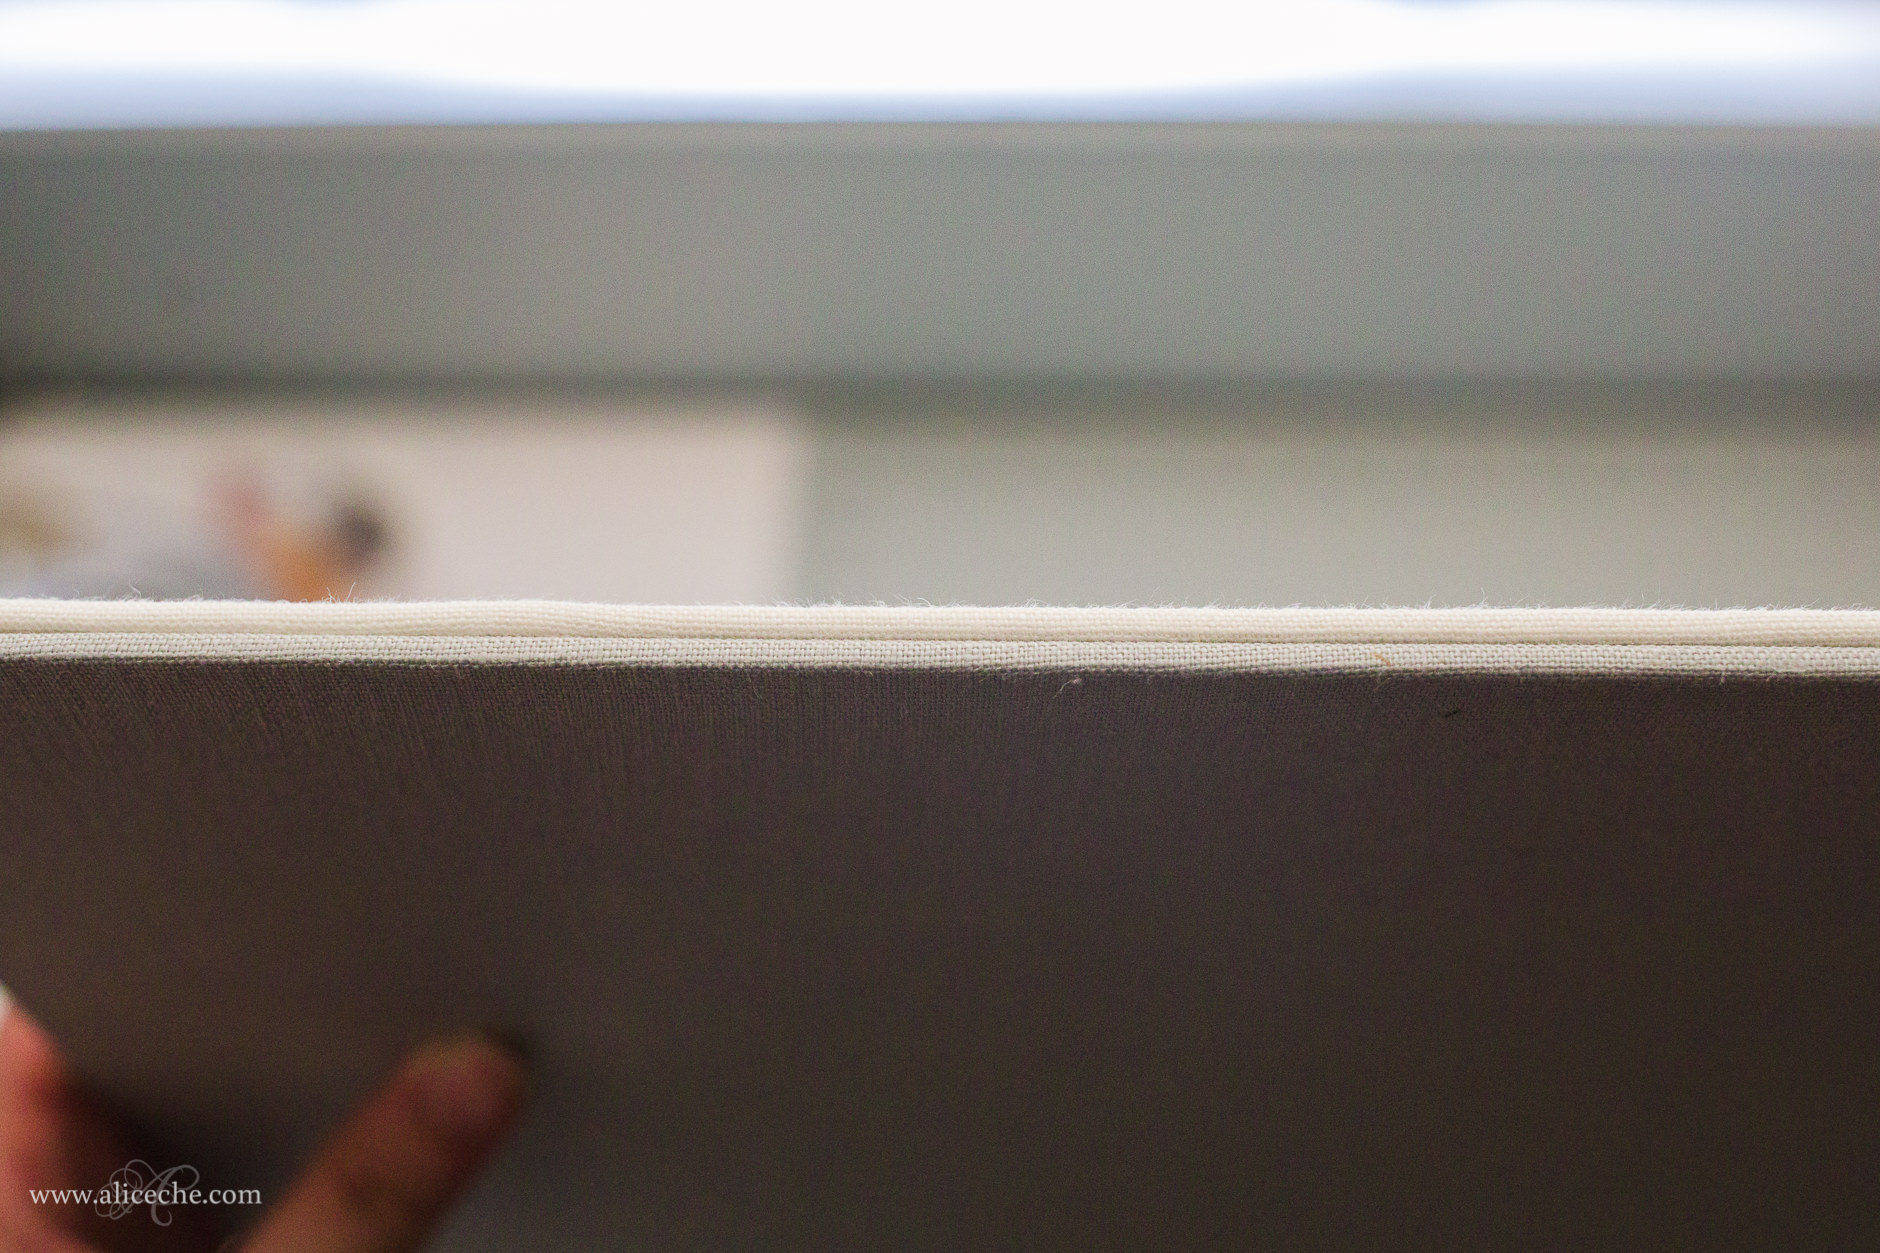
I took the iron and pressed the corner from the covered linen side down towards the back to push the fabric even tighter. Then I turned the board over and attached the linen to the back of the board along the edge starting from that corner and moving to the next corner. I stopped with enough room to be able to fold the corner, repeating for the remaining corners.
8 – Repeat steps 1-7 on another board.
If you want a double sided board, you’ll have to make another board following steps 1-9 above. If you only wanted one board, you’re done!
9 – Attach the boards together.
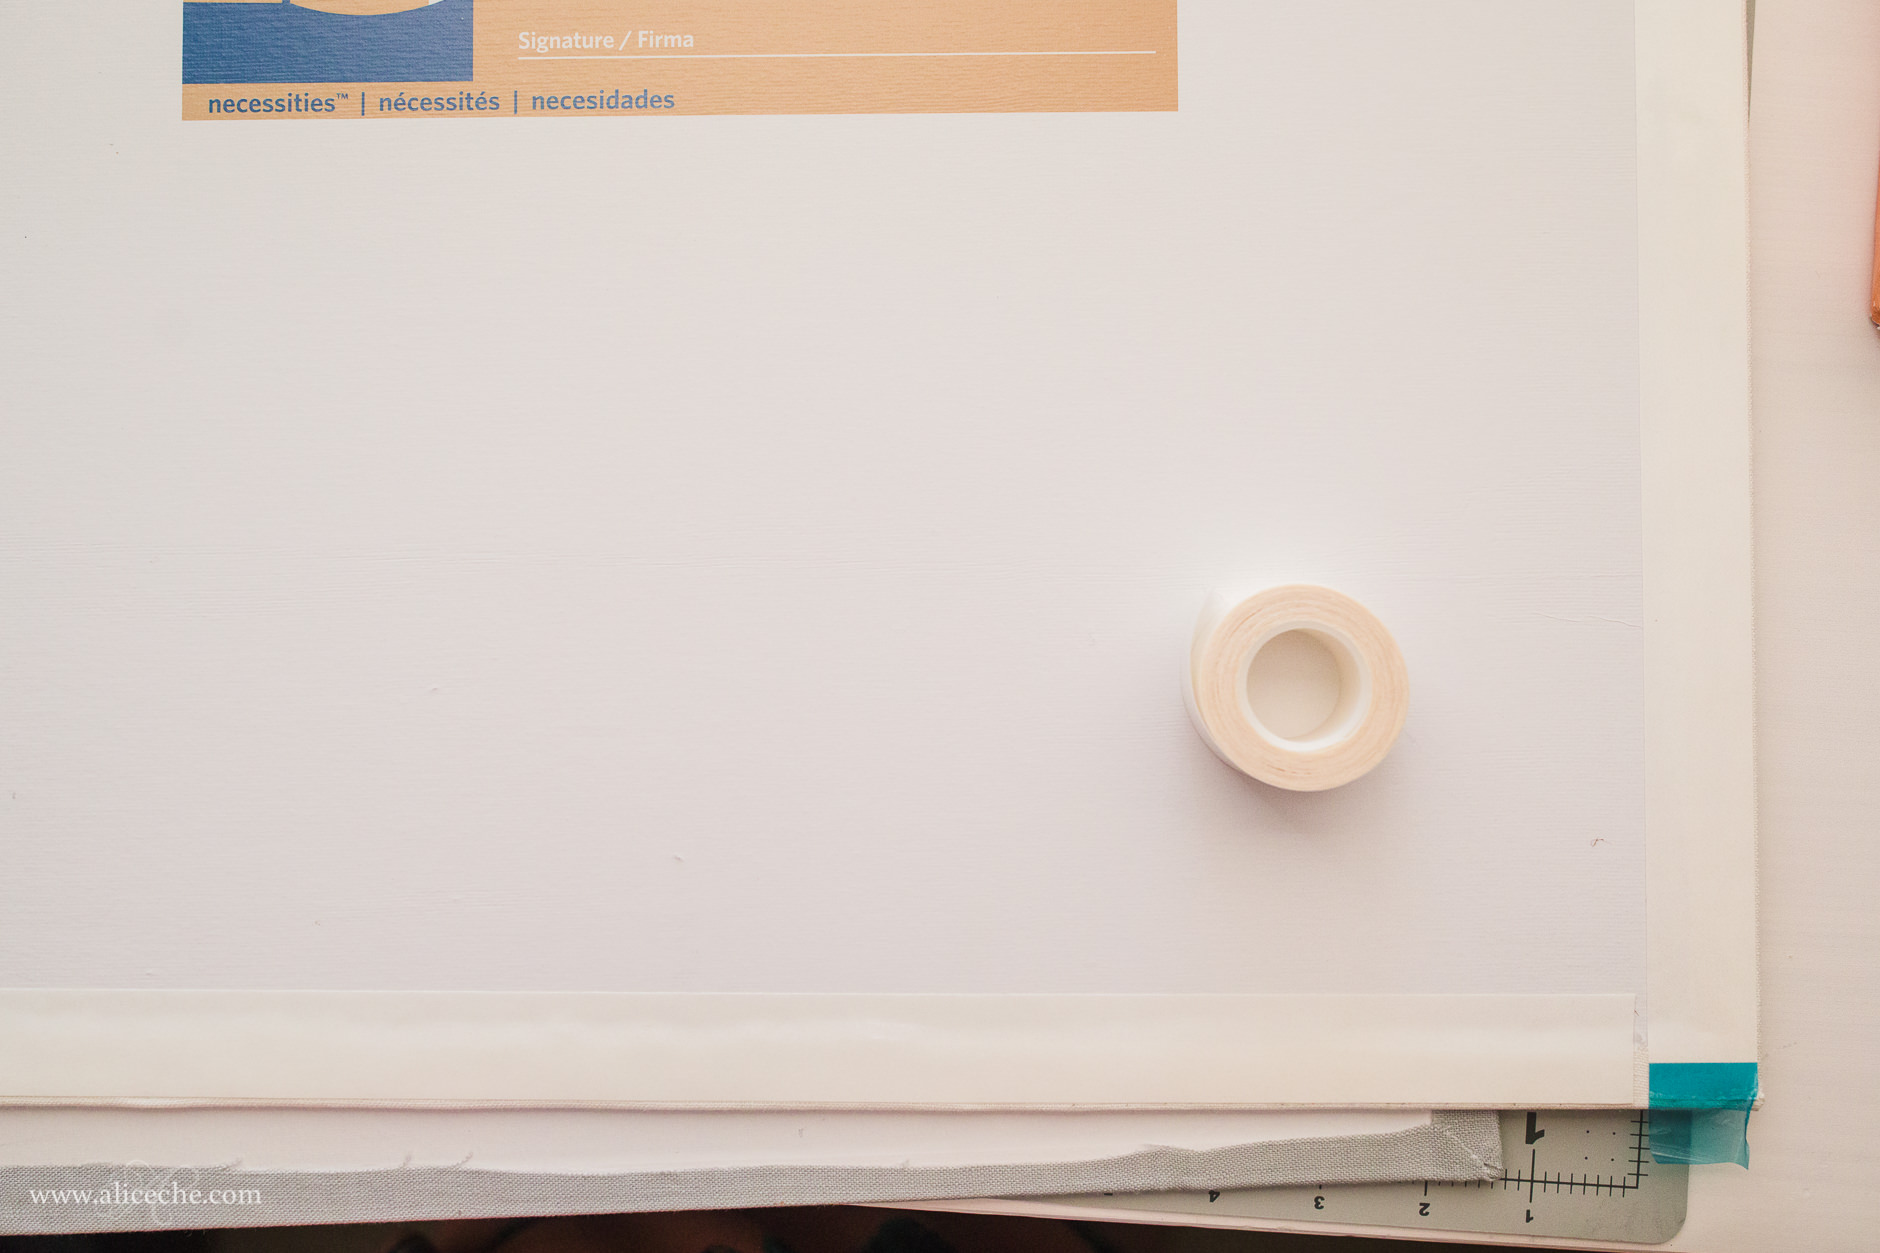
Put permanent fabric tape around the edges of the back of a board. Pull the parchment backing off.
Stand the boards up on the table on their long edges. This helps you align them before pressing them together. The fabric tape is pretty strong, so you’ll want them as closely aligned as possible before letting them touch! It will be very difficult to pull them apart to fix any misalignments.

As I mentioned at the beginning of the post, if you wanted to, you can also use foam board and spray glue. Follow the steps 1-2 for cutting and ironing the linen, skip 3-5 and then use spray glue to attach the linen to the foam board instead of the fusible interfacing. I used the same methods for finishing the corners as I did above. I think the spray glue works better than hot glue because you are gluing the linen to the front of the board as well, allowing you to pull it tighter and get rid of more wrinkles. This method is a lot quicker than the fusible interfacing and, especially for the 20 x 30 size, foam board is quite a bit cheaper and lighter than canvas panels. That being said, I personally prefer the canvas panels + fusible interfacing because it is more durable and will last longer.
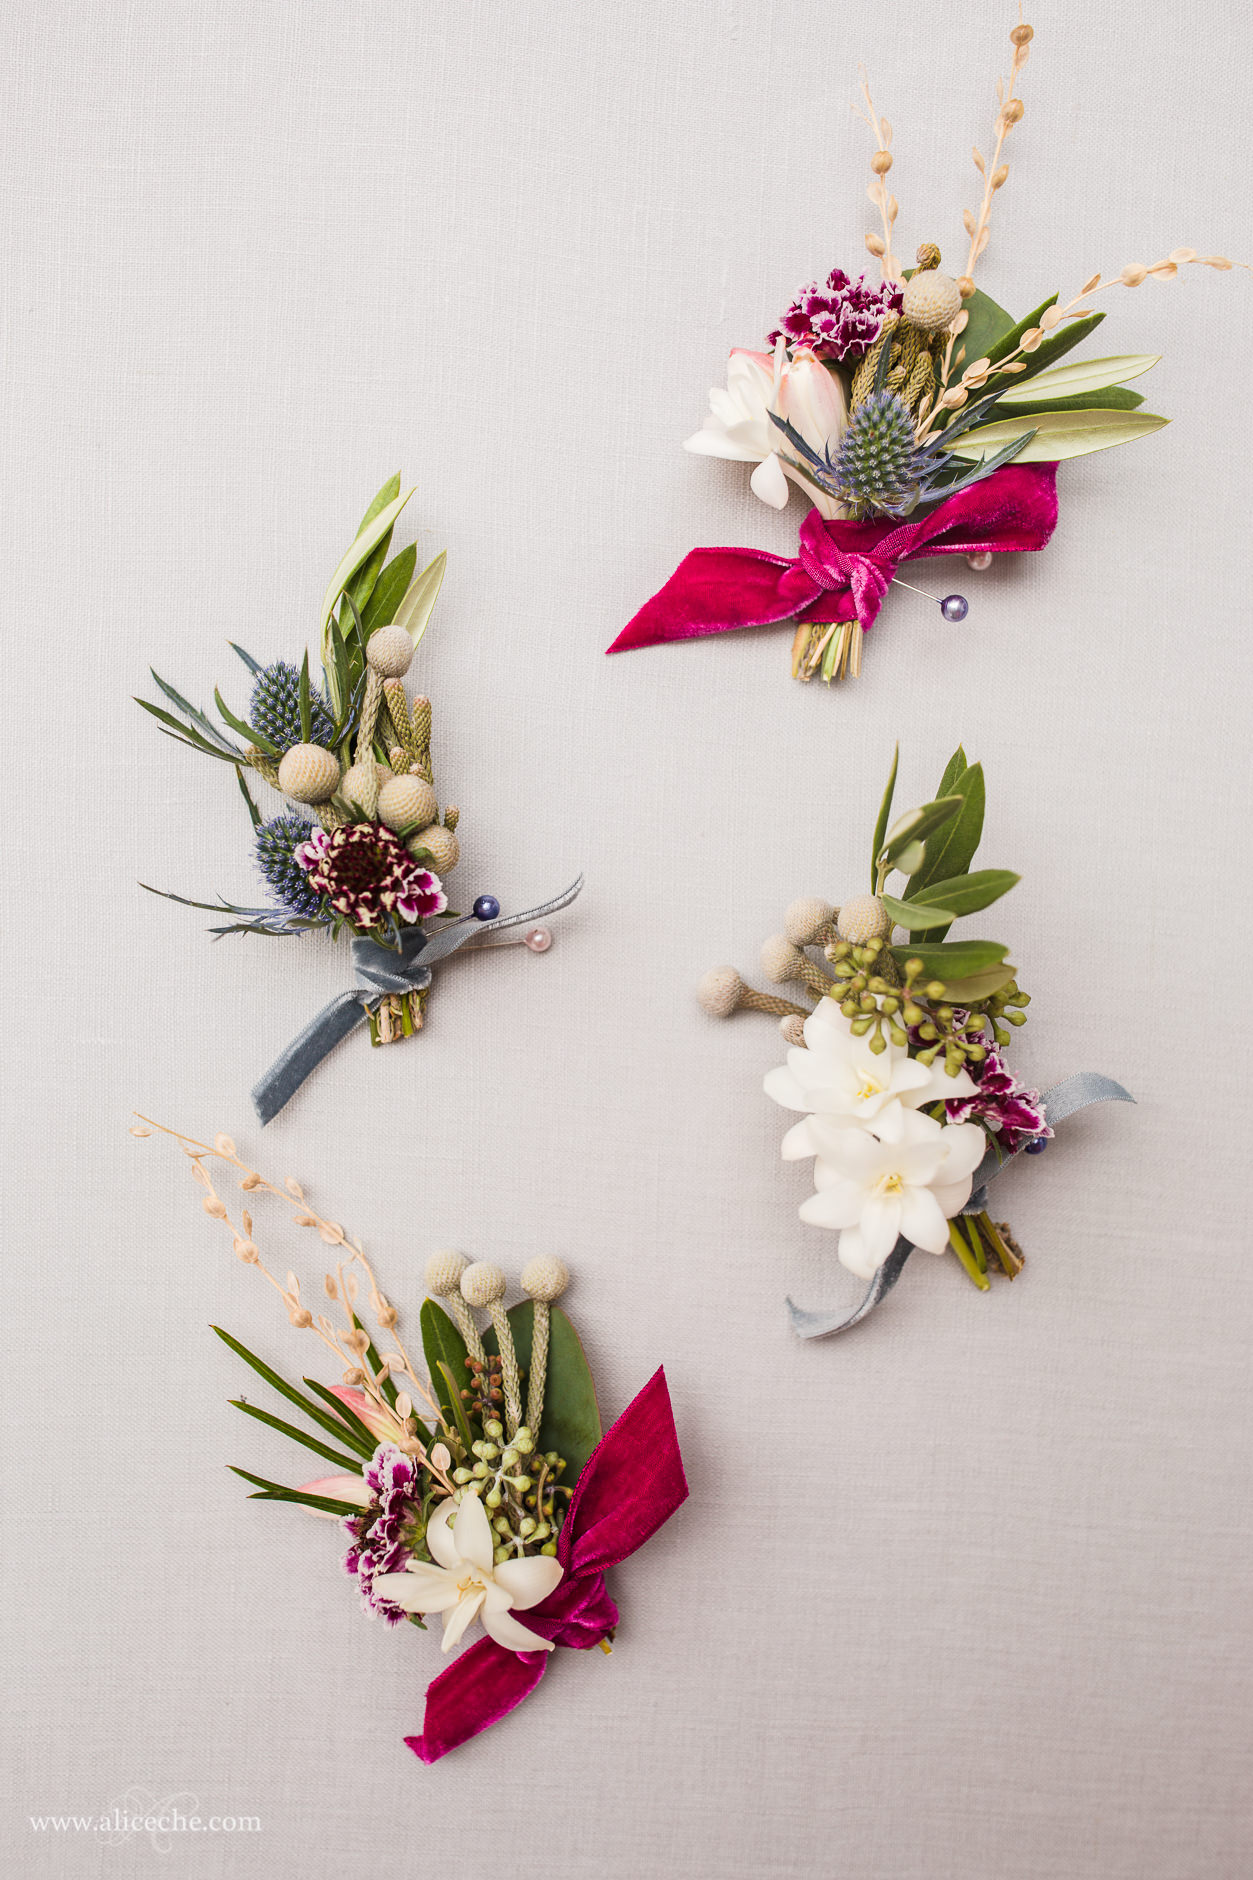
Here’s an example of some beautiful boutonnieres by Juna Alinea photographed on one side of my styling board.
I hope you enjoyed this tutorial on making your own linen styling board! If you make one, I’d love to see any photos you take with it! Keep your eye out for a tutorial on making crepe paper cherry blossoms to add to your styling kit!
DIY Linen Styling Board for Wedding Details


