ENGAgements
tips for brides
editorial
weddings
categories
And thanks for stopping by! My work reflects my desire to add some whimsy, enchantment and beauty to the world. It is my way of sharing a bit of my heart. I love the laughter and smiles, but I am also drawn to the quiet, intimate moments that are filled with emotion. My goal is to capture the essence of your wedding day, all the little things that come together to paint the big picture.
welcome to my blog...
Cherry blossoms are one of my favorite flowers. I always look forward to the cherry trees blooming in the spring and wish they would last longer than those few glorious days. I absolutely adore those delicate pink blossoms! One of the main reasons I first started making crepe papers was due to a gorgeous ombre plum blossom branch from Thuss and Farrell’s book. The flowers from that book are quite pretty, but I wanted something more delicate and true to life. I knew that 60 gram crepe paper would be perfect for the petals and was inspired to use chili powder for the pollen of the stamen after I saw Jennifer of Papetal use tumeric! Before I used chili powder, I dipped the stamen in dark pink acrylic paint, which worked fairly well too. The chili powder is more realistic, but also a bit messier, haha. I hope you love my version of crepe paper cherry blossoms and find this Crepe Paper Cherry Blossom Tutorial helpful!
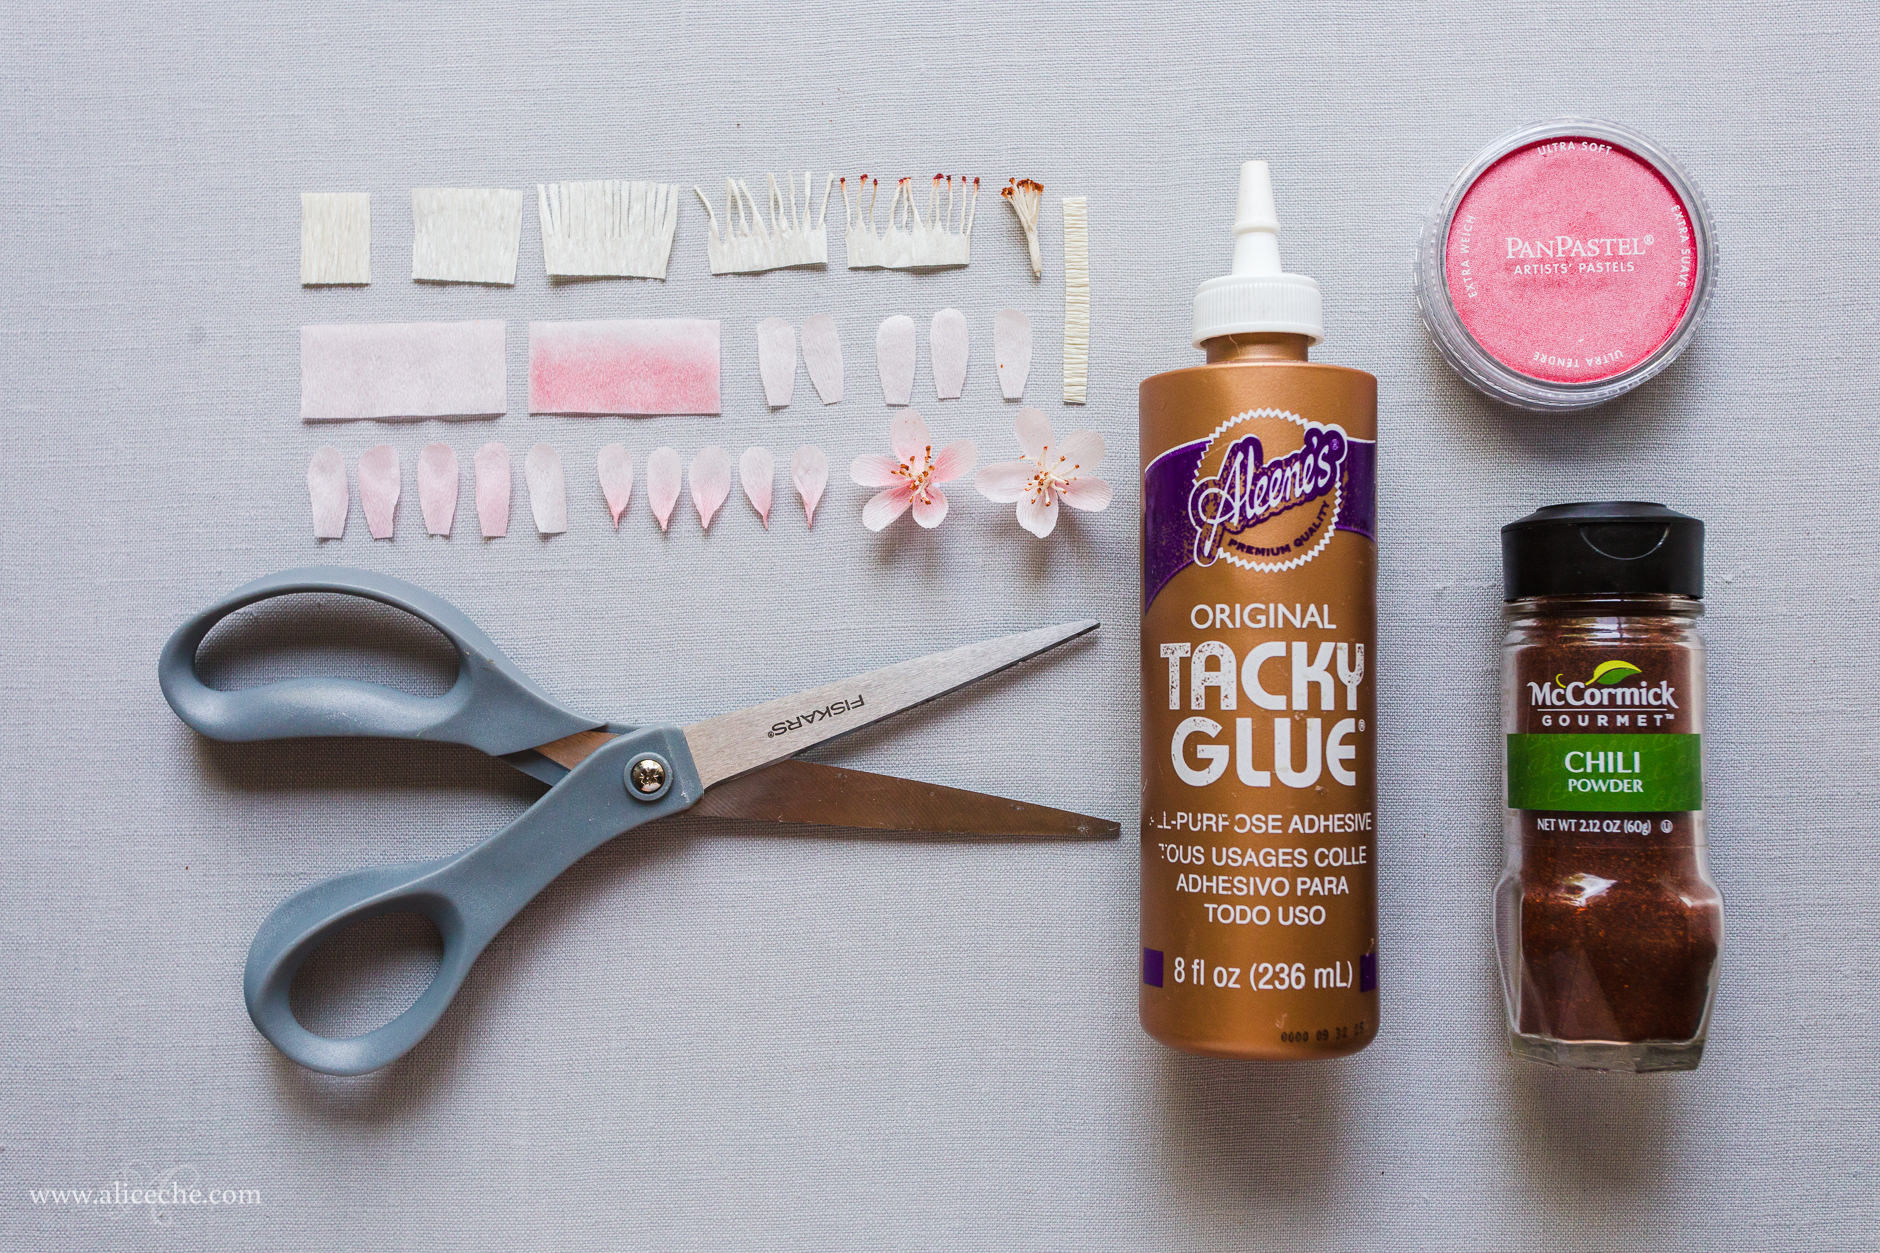
Materials
- white 180 gram crepe paper
- white or pink 60 gram crepe paper
- chili powder
- Alene’s tacky glue
- scissors
- (optional) 20 gauge wire
- (optional) Pearlescent Red Panpastel
- (optional) Design Master Perfect Pink ColorTool
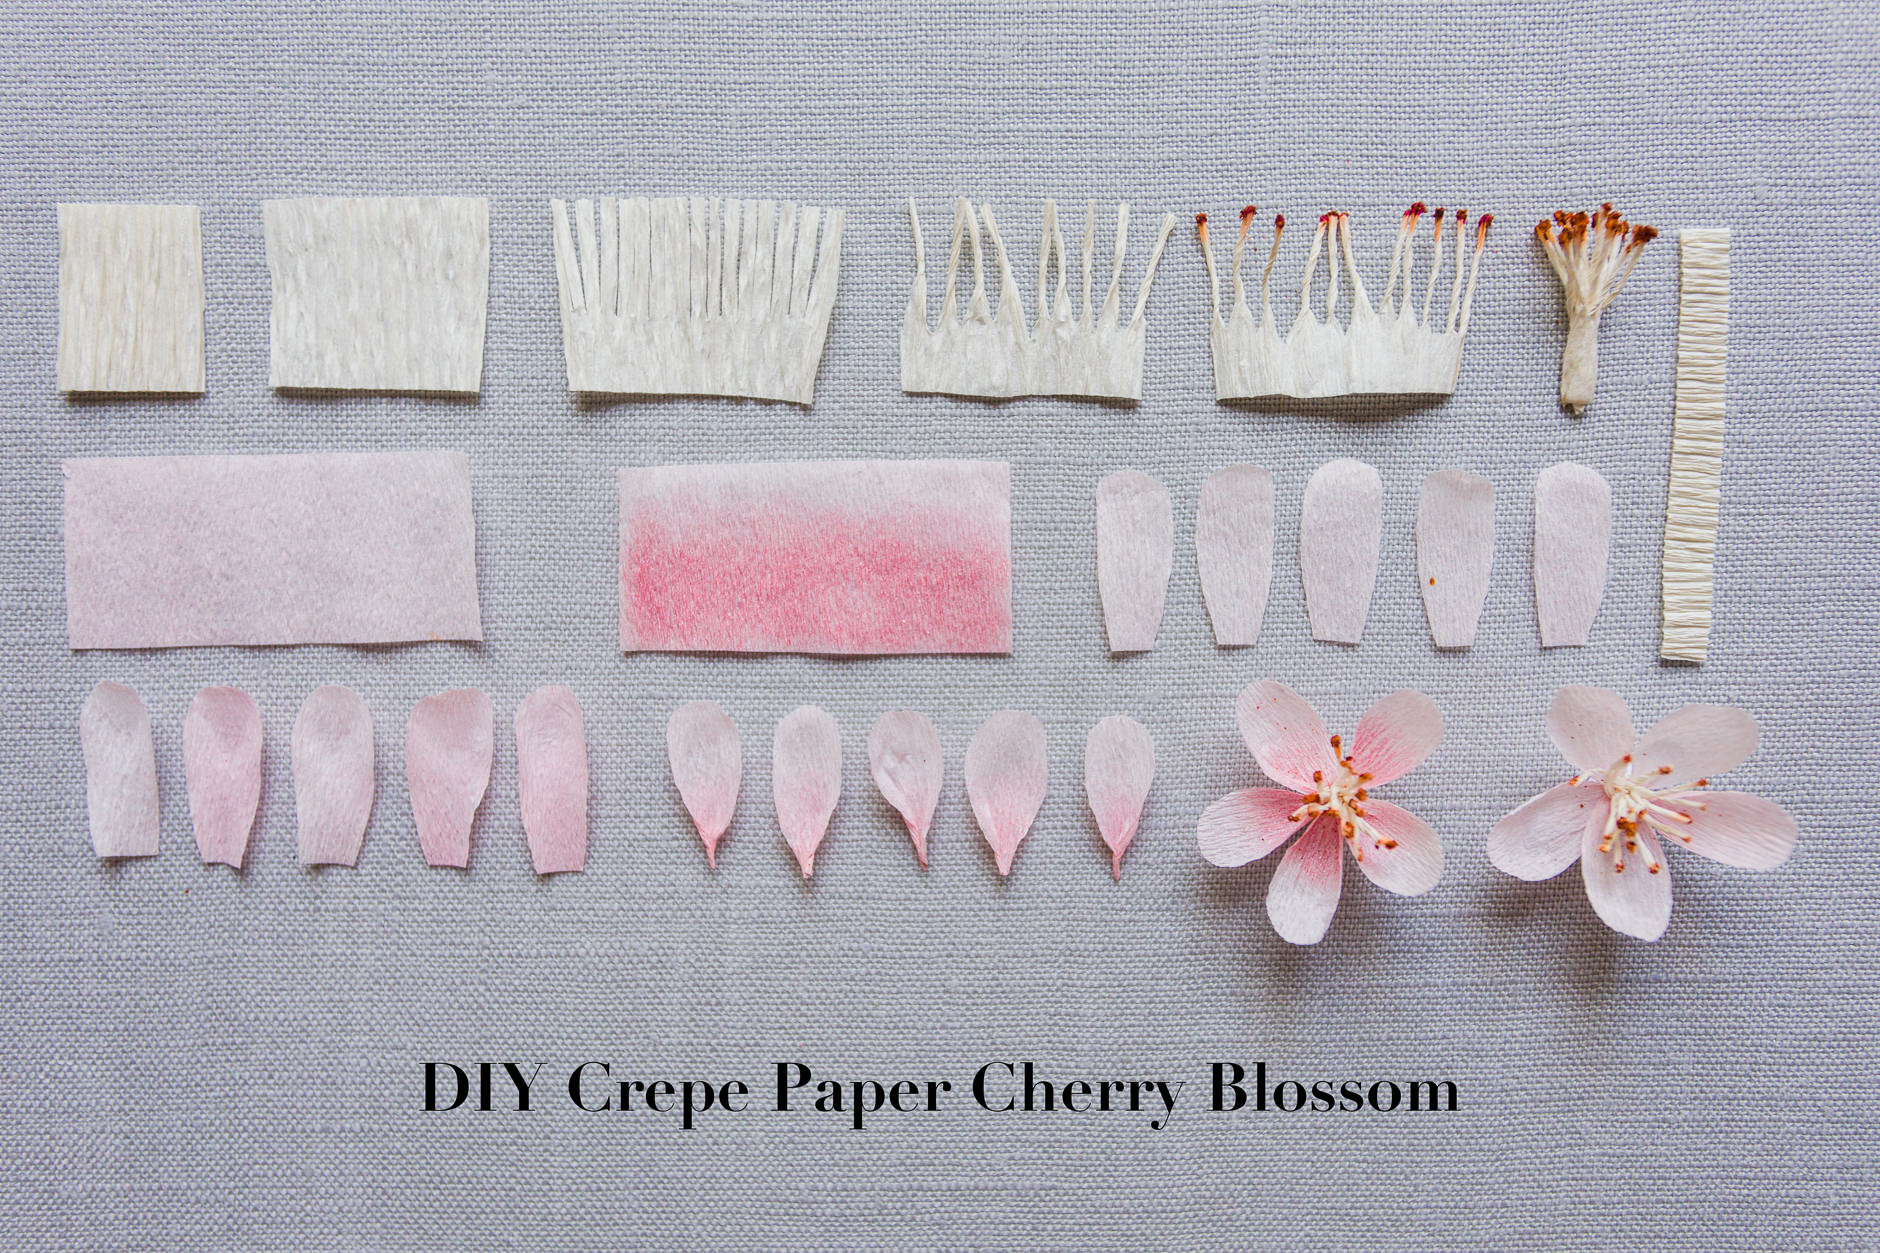
DIY Crepe Paper Cherry Blossom Tutorial
1 – Cut strips of crepe paper for stamen, petals and tape.
Cut a 1.5cm x 2cm strip of white 180g crepe paper for the stamen. Cut a 4.5cm x 2cm strip of white/pink 60g crepe paper for the petals (this can be wider if you want rounder petals). Cut a small strip of white 180g crepe paper to use as tape.
2 – Prepare the stamen.
Stretch the strip of white crepe paper to make it easier to fringe it finely. Fringe the strip 2/3 of the way down. Twist each individual stamen. Put glue on the tips of the stamen. You can either pour some glue into a dish and dip the stamen into it or dab glue onto the tips. Next, dip the stamen into chili powder.
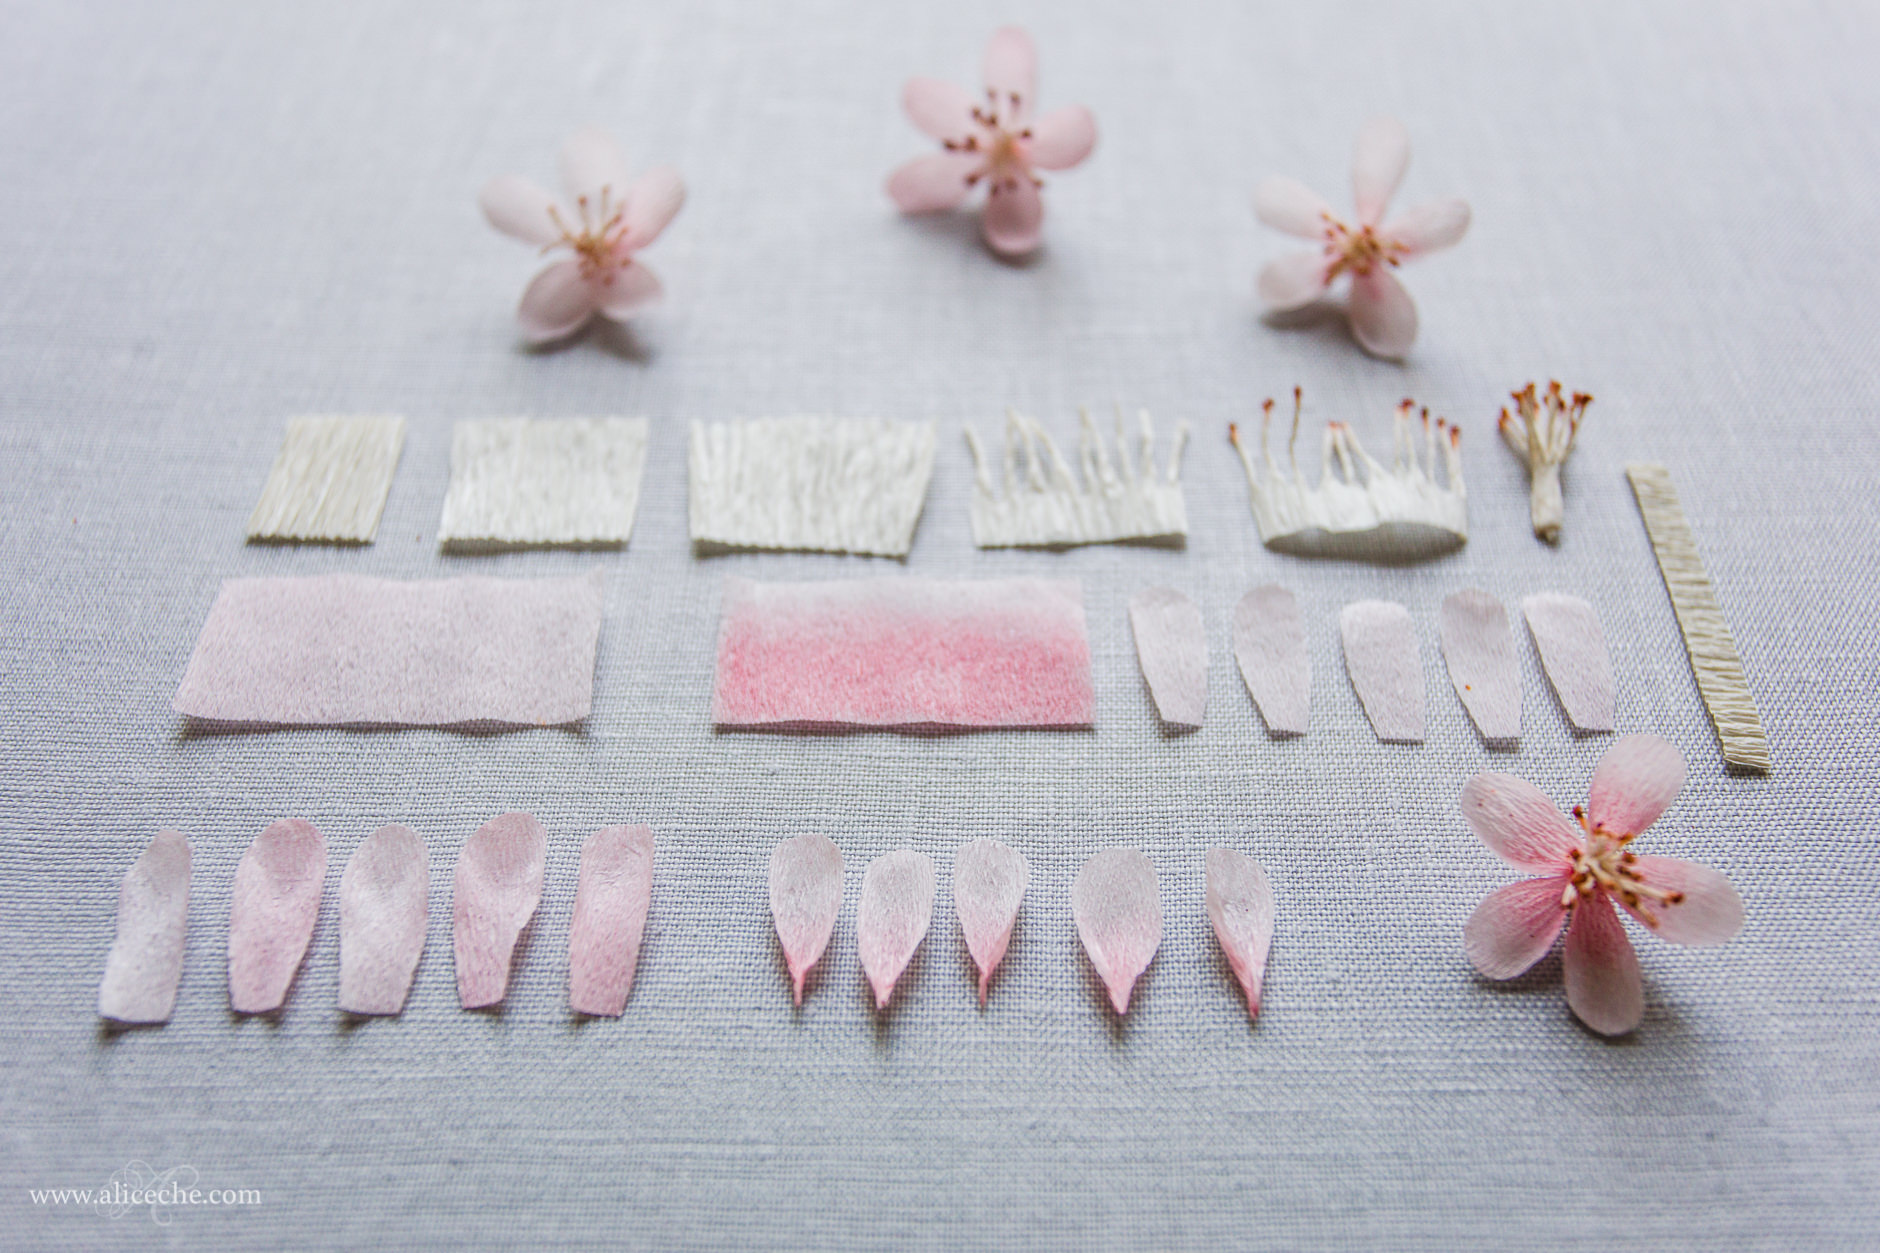
3 – Prepare the petals.
If you want to, you can color the petals. I did this by spraying the white crepe paper with pink ColorTool to create a softer pink than I could buy. Alternatively, you can use Panpastel to color the petals and create a gradient to add some more variety. I prefer to color the entire strip to save time. Once you’ve colored your strip, fold it in fifths and cut petals out of it. Cup the petals and twist the bottoms to help it hold the cupped shape better.
4 – Assemble the flower.
I usually make crepe paper flowers on wires, but I was making these flowers as photo props, so I actually wanted them to sit flat. Regardless of whether you use a wire or not, you want to start by wrapping the stamen as tightly as possible. Use the small strip of crepe paper (with dots of glue dabbed on it) to wrap the stamen tighter. Continue to use the small strip of crepe paper to attach the five petals. Try to space them evenly around the stamen and overlap them as little as possible.
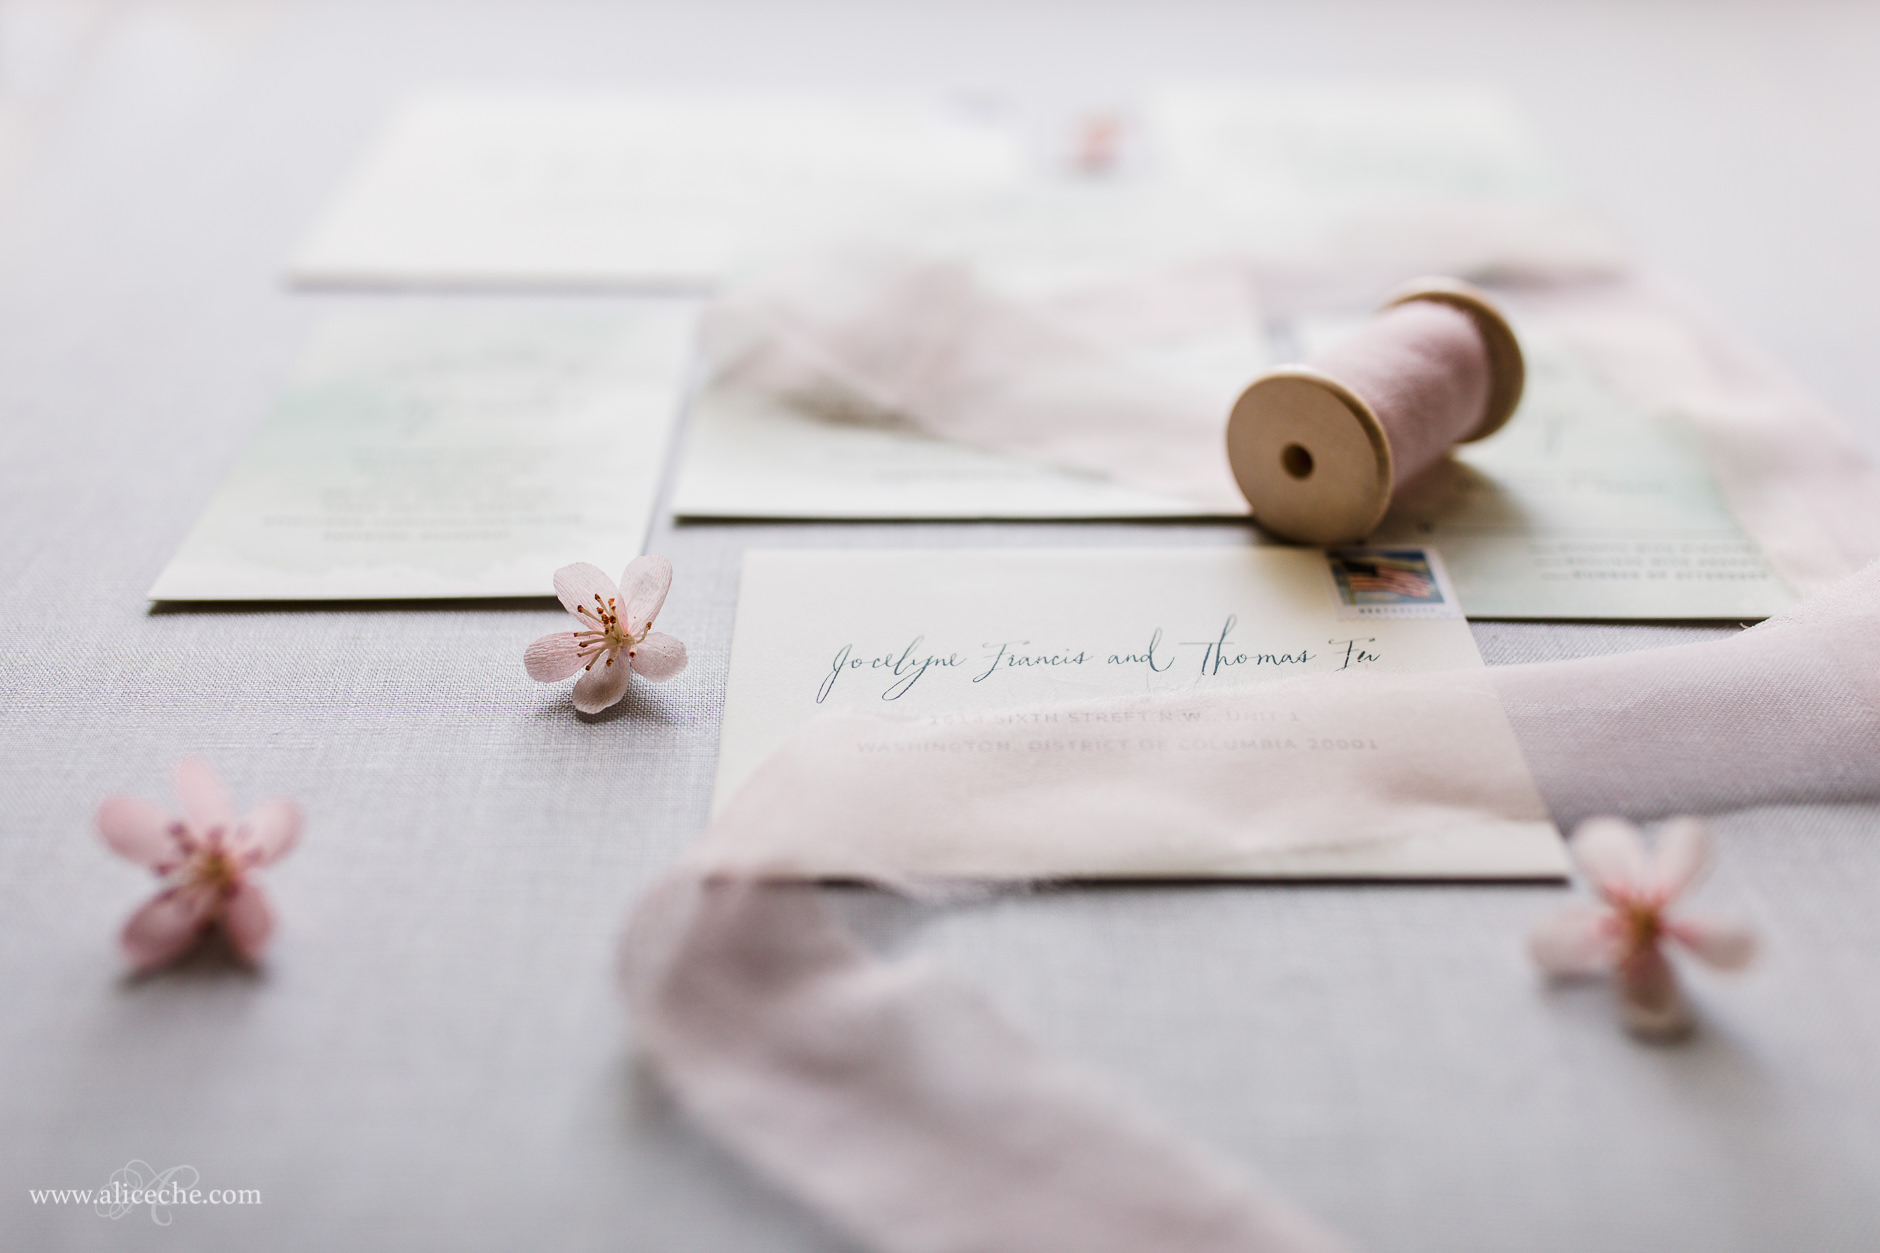
I hope you like this tutorial for DIY crepe paper cherry blossoms! I’d love to see how you use these, whether you create a beautiful flowering branch (hot glue onto a branch would work nicely!) or use them for photo props or bouquet filler, send me a photo so I can see!