ENGAgements
tips for brides
editorial
weddings
categories
And thanks for stopping by! My work reflects my desire to add some whimsy, enchantment and beauty to the world. It is my way of sharing a bit of my heart. I love the laughter and smiles, but I am also drawn to the quiet, intimate moments that are filled with emotion. My goal is to capture the essence of your wedding day, all the little things that come together to paint the big picture.
welcome to my blog...
Okay, so a little background! I realized that I write about my clients and my life all the time… but one aspect of my photography life that I never mention is the mentoring side of things. Photography is a huge passion of mine and I love sharing my knowledge with everyone I can. I was honored to become a mentor at ClickinMoms just about a year ago… and I often post tutorials on the forums there frequently. I also TA for at least one workshop every month and have a breakout on self portraiture in the store. ClickinMoms is my online home, but this year, I want to start posting more photography tutorials on my blog too! I’ll start with updating ones that were already posted on CM, but I’m planning on writing fresh content too, so please let me know if there’s anything you’d like to hear about!
I wrote this tutorial last winter and thought that it was the perfect time to revisit it. Many of you know that I work as an engineer full-time… which means that this time of year, I always find it difficult to make time for shooting. With the sun rising later and setting earlier, it’s usually dark long before work is over. Although I have started to incorporate artificial light in my work, I am still a lover of natural light, so I tend to slow down and shoot less during the winter. I’ll make excuses and say that I don’t have the time, but, to be completely honest, that’s just an excuse! In fact, some of my favorite photos have been taken during the winter. Even if you are at the office the entire time the sun is up, you can still take photographs. Here are the ways I do it.
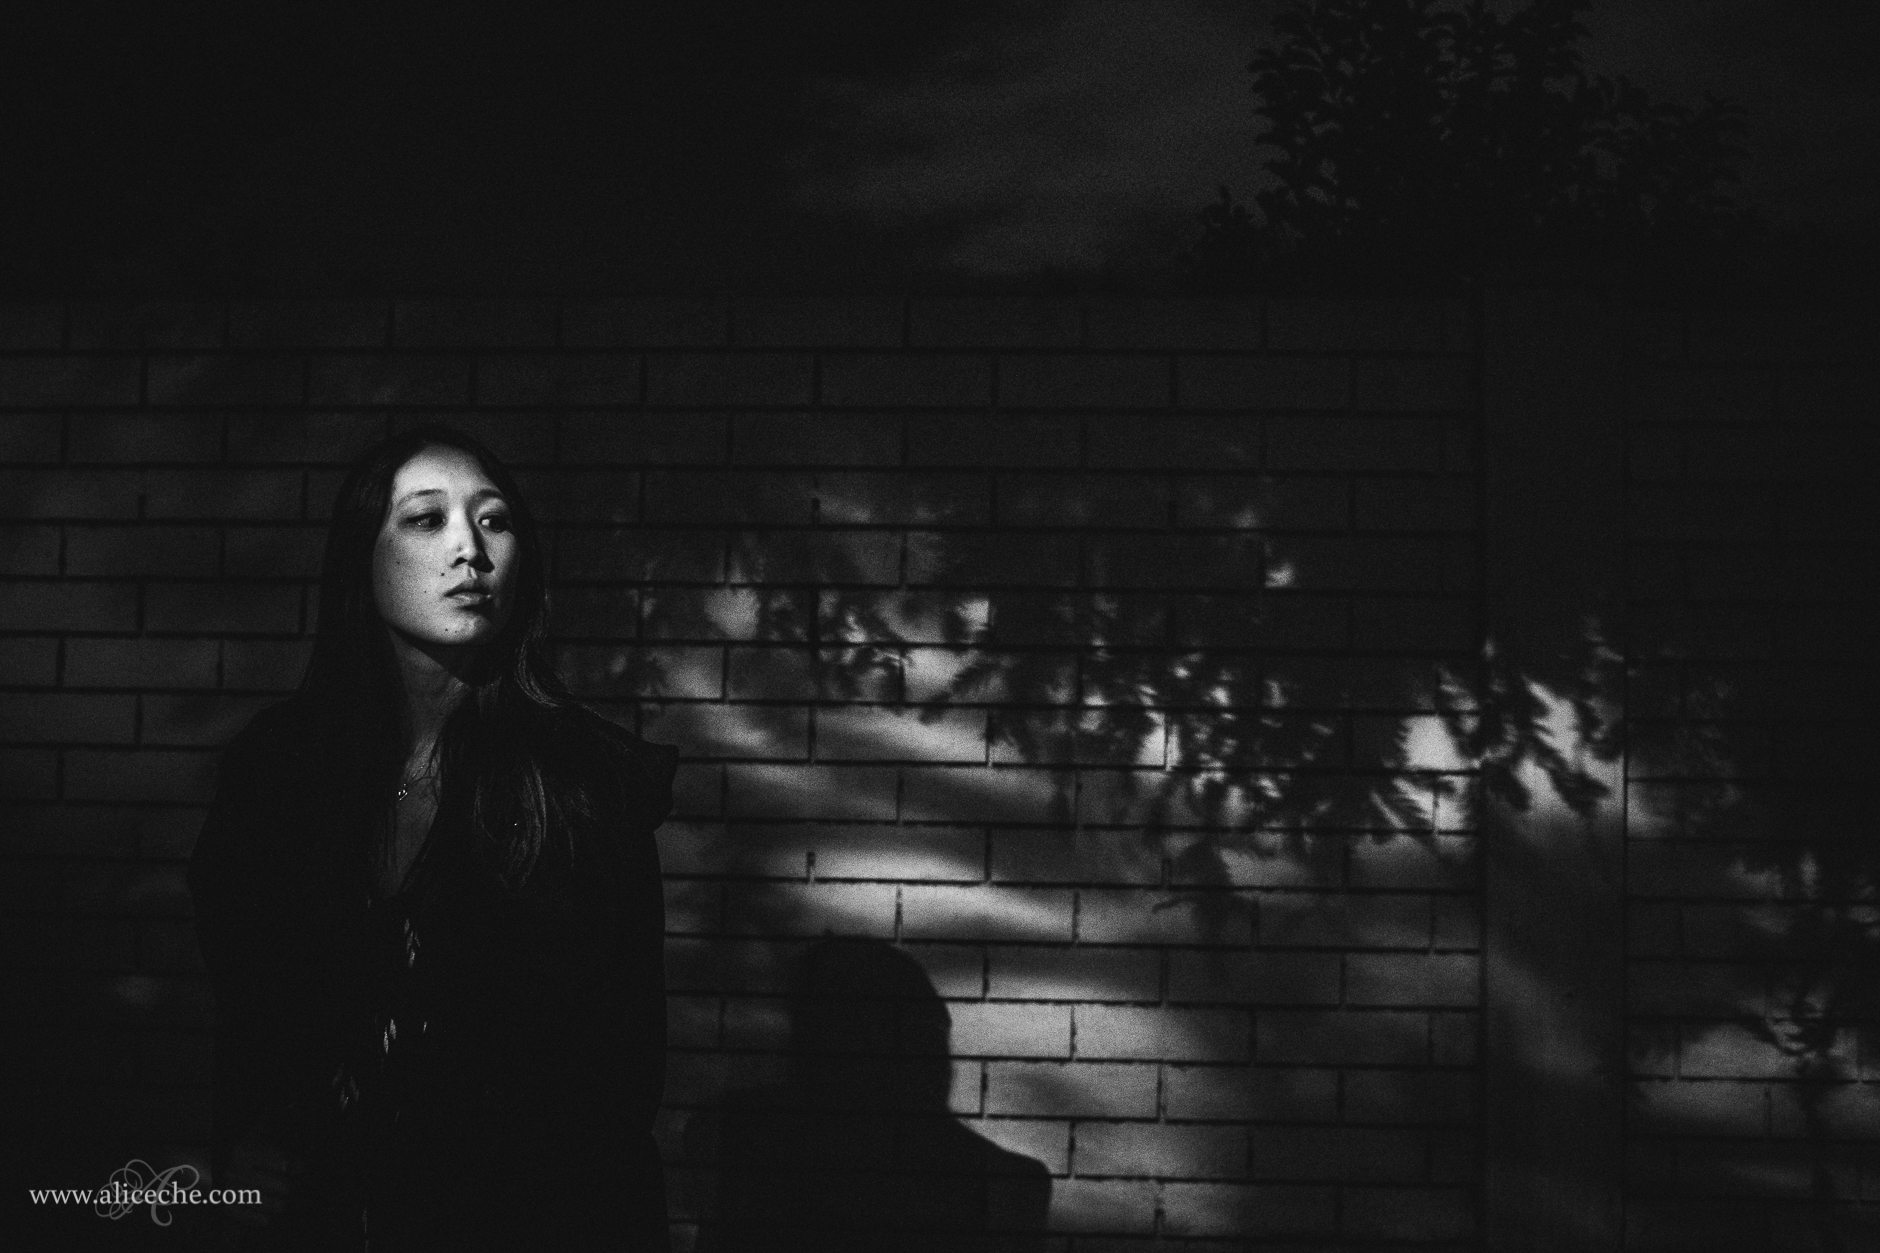
- Find beautiful artificial light and rock the low light photography! Don’t stop looking for light when the sun goes down. There is often really fun, dramatic light to be found using just the simple lights in the street! I passed this wall every night on my walk from my car to my apartment and I was always attracted to the beautiful play of light and shadows. It wasn’t until I was prepping for a blog post on shadows for the CM blog that I actually stopped to take a photo. It’s literally just the light from a street lamp falling through the branches of a tree onto a wall, but it makes for some pretty awesome shadows. The light was quite low and I couldn’t augment it with flash without losing the shadows, so I ended up bumping my ISO up to 10000.
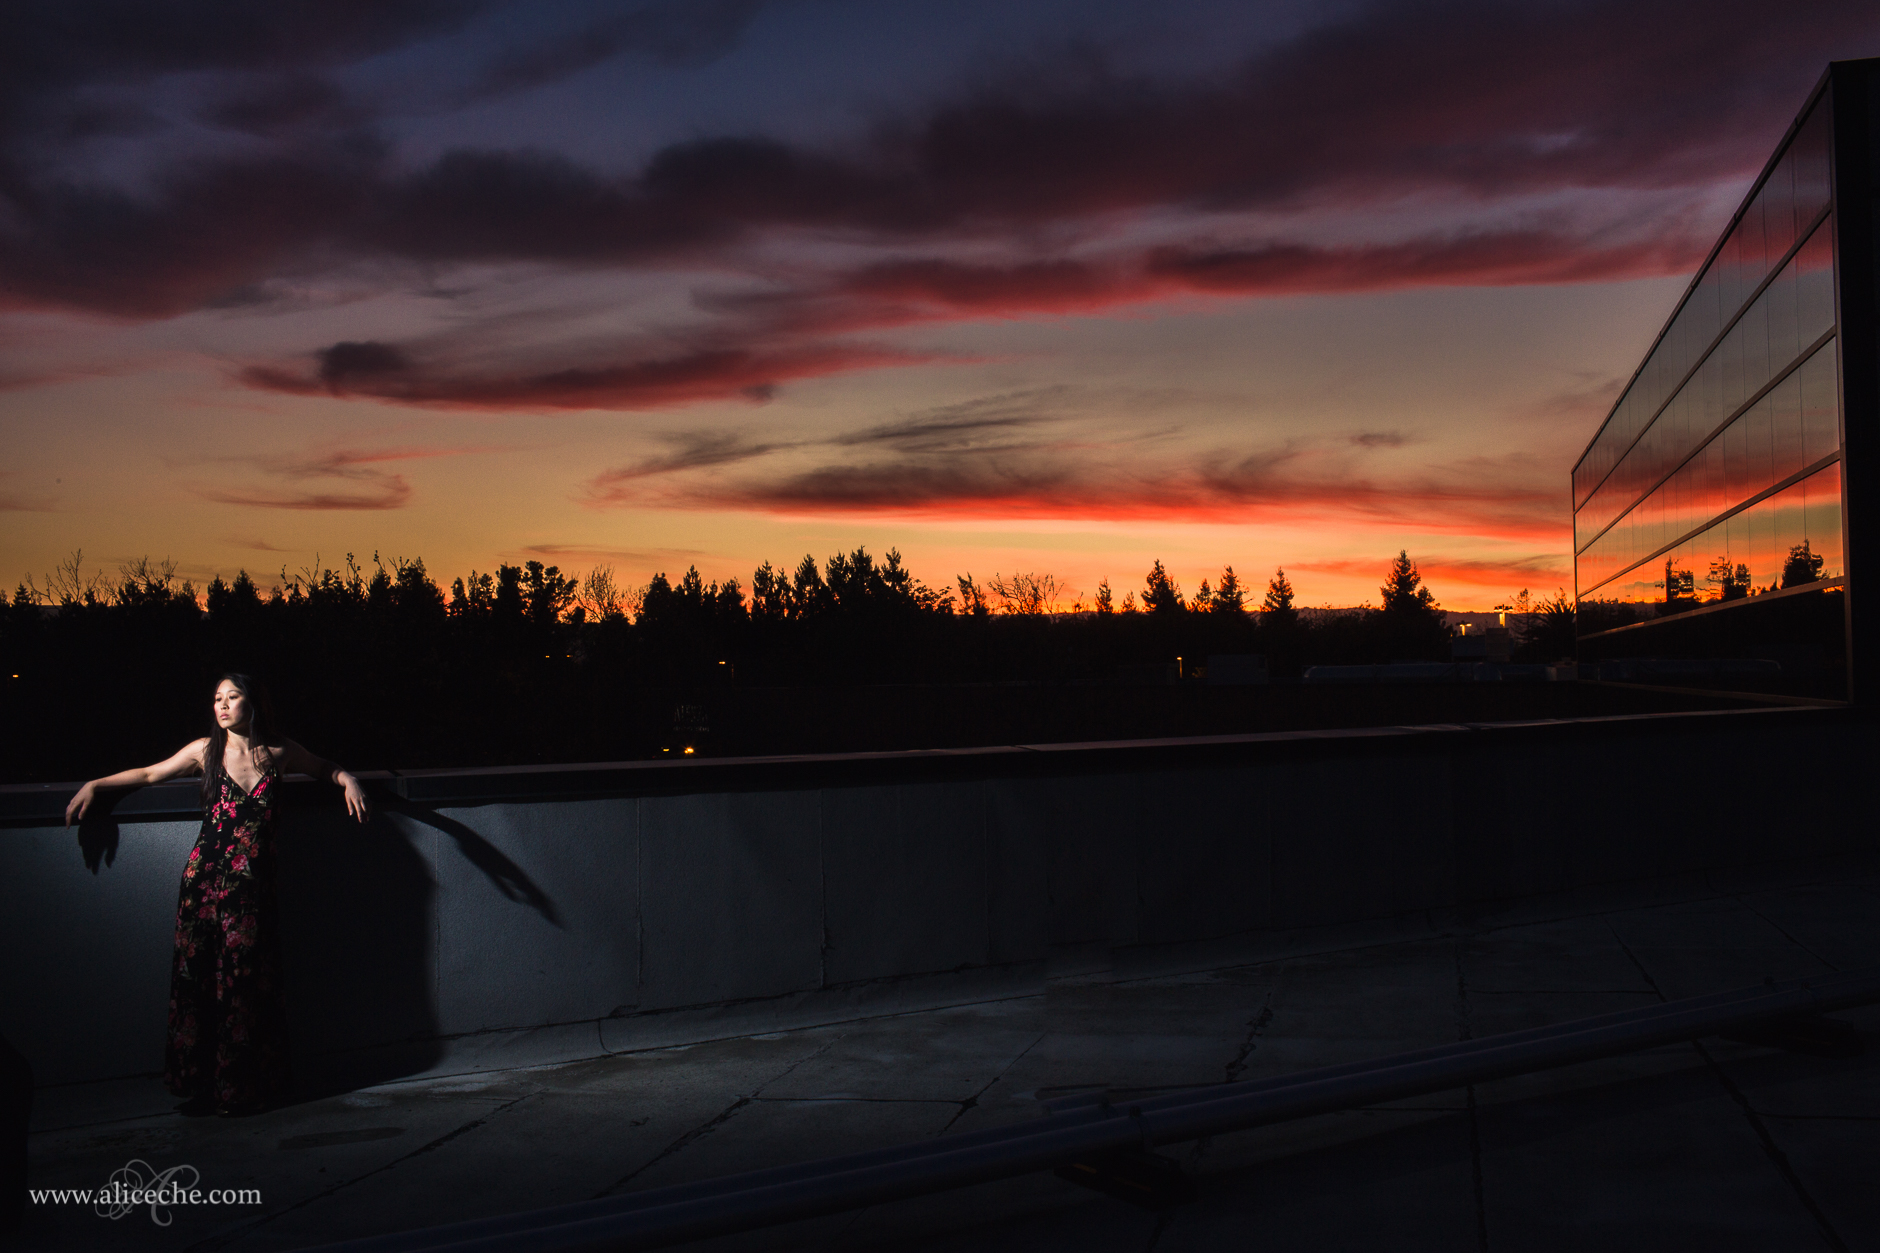
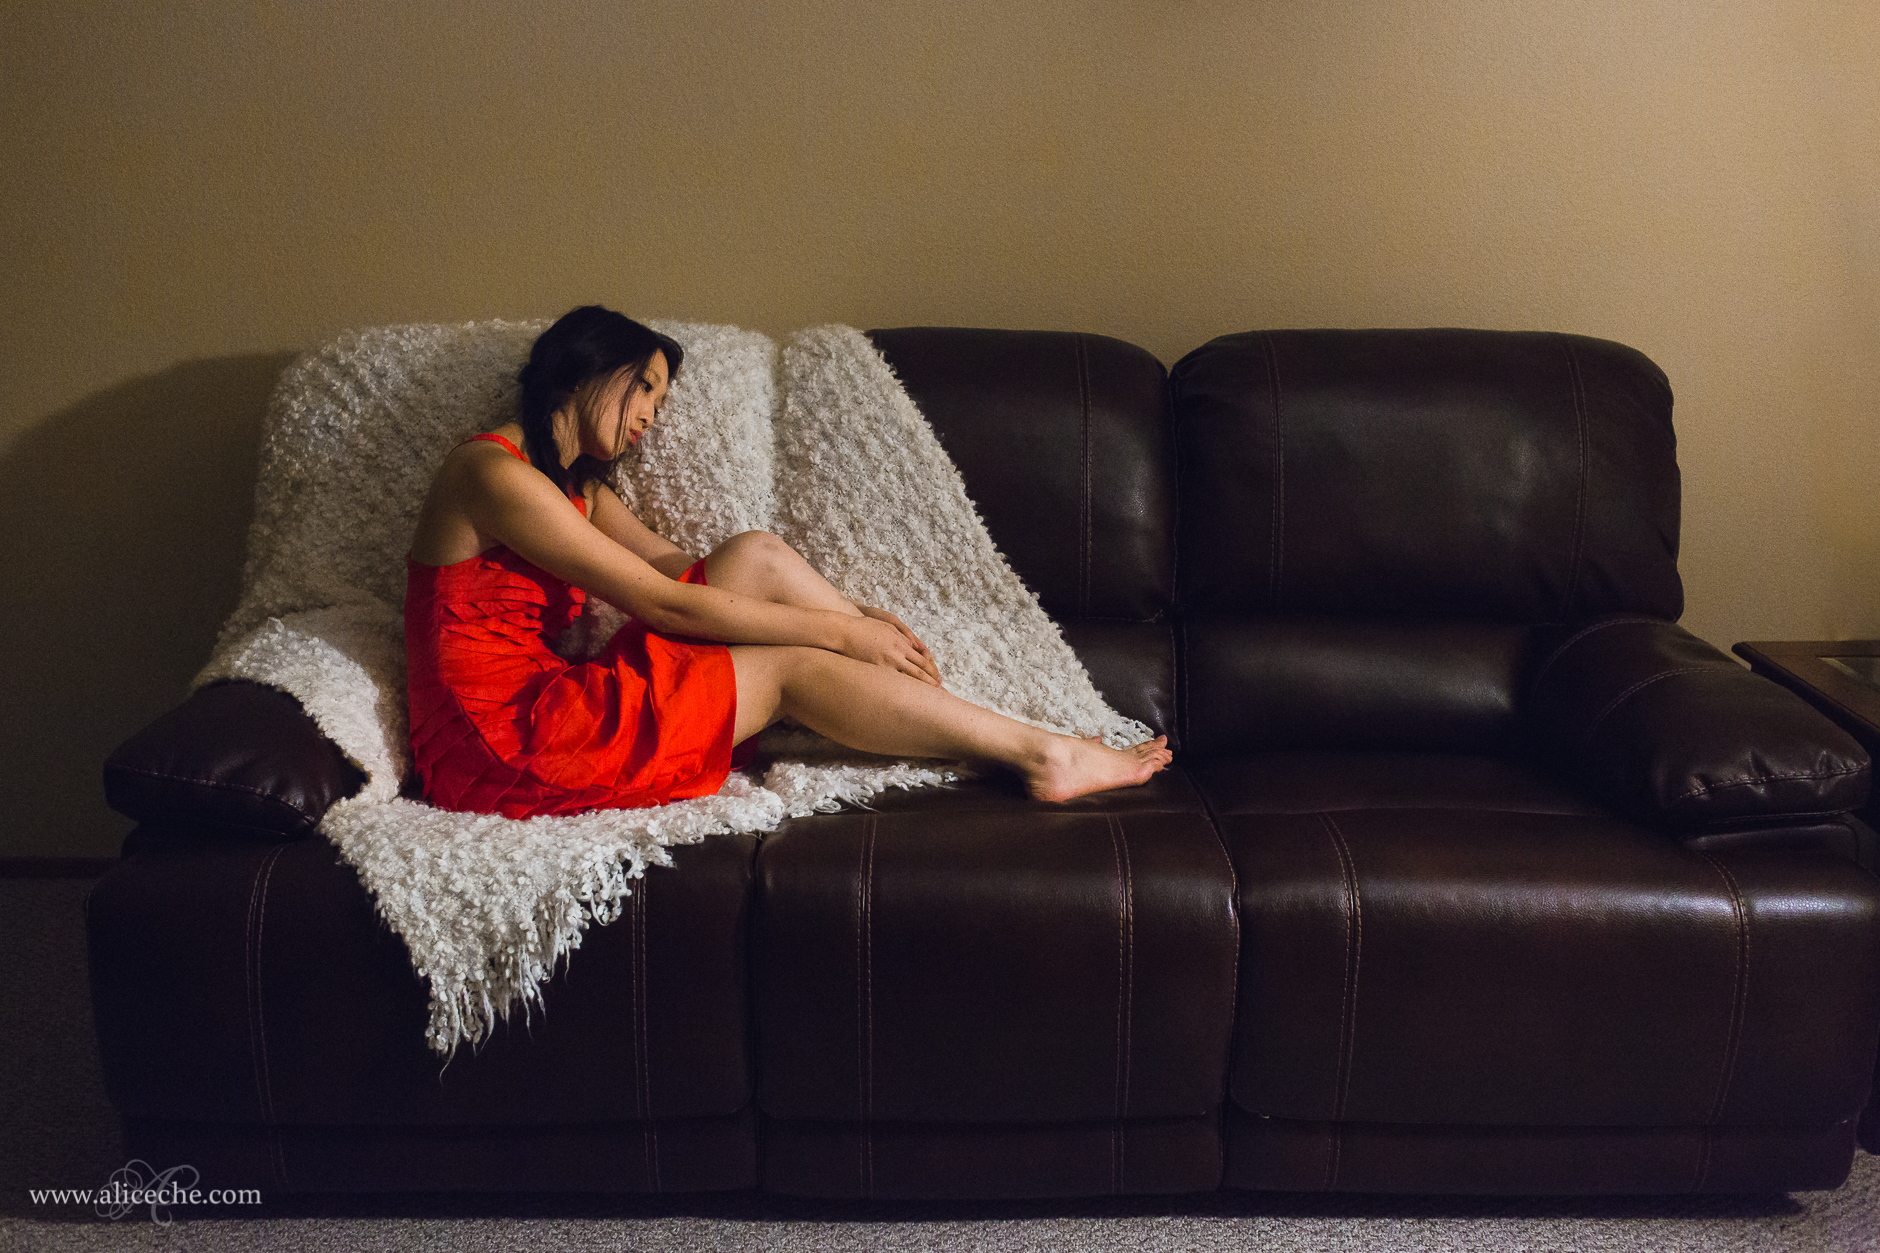
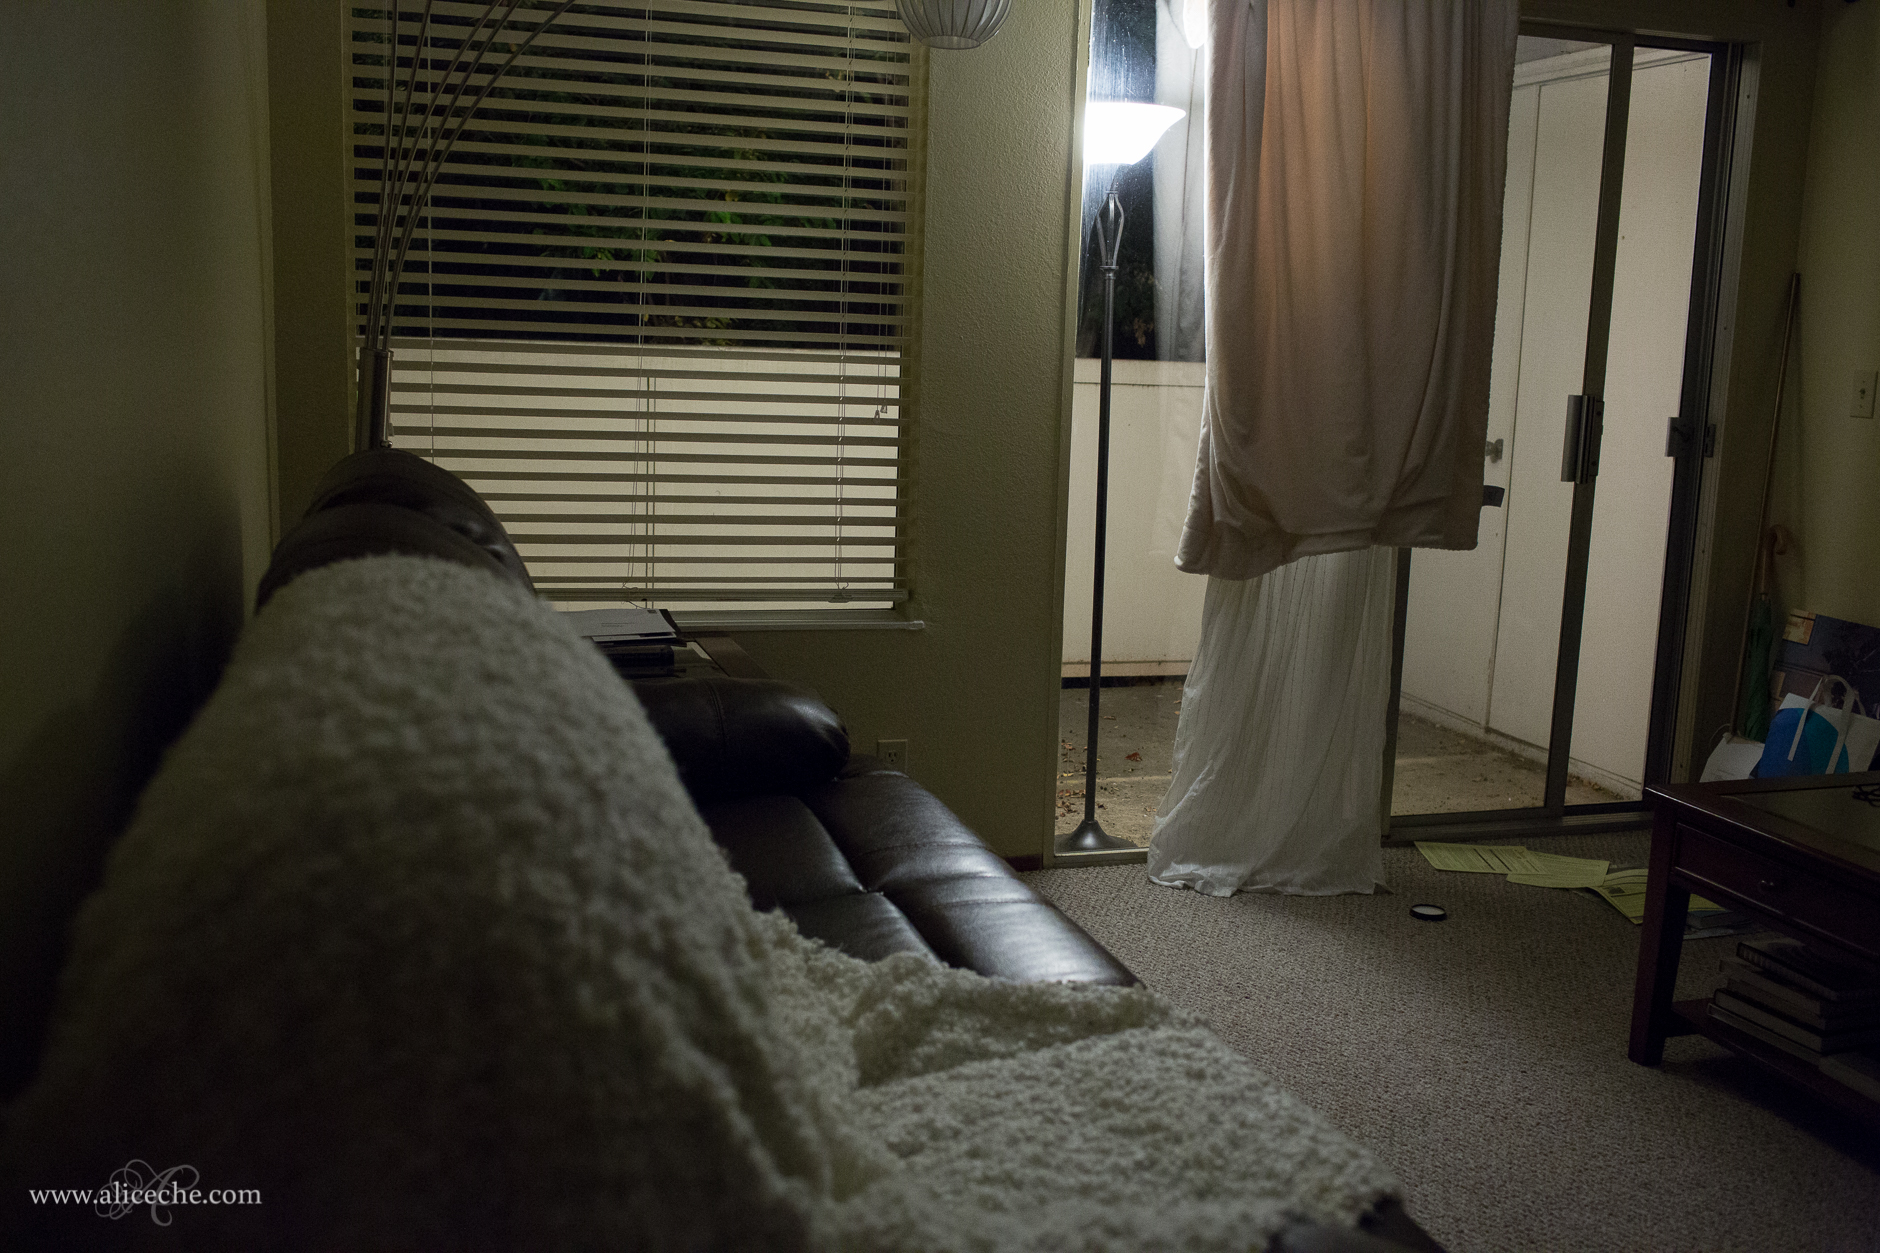
- Make your own light. If you have a flash and know how to use it, then great! Bounce it off a wall to mimic natural window light, or take it off camera and pair it with the sunset for dramatic lighting. If you don’t know how to use a flash, what I will often do instead is modify the light I do have. I will turn off overhead lights, move lamps around, drape cloth to diffuse light or half close doors to reduce the amount of light. For the photo below, I moved my lamp outside so I could mimic window light and then draped a blanket over my curtain rod to give more of a spotlight feel. This was taken well after the sun had set.
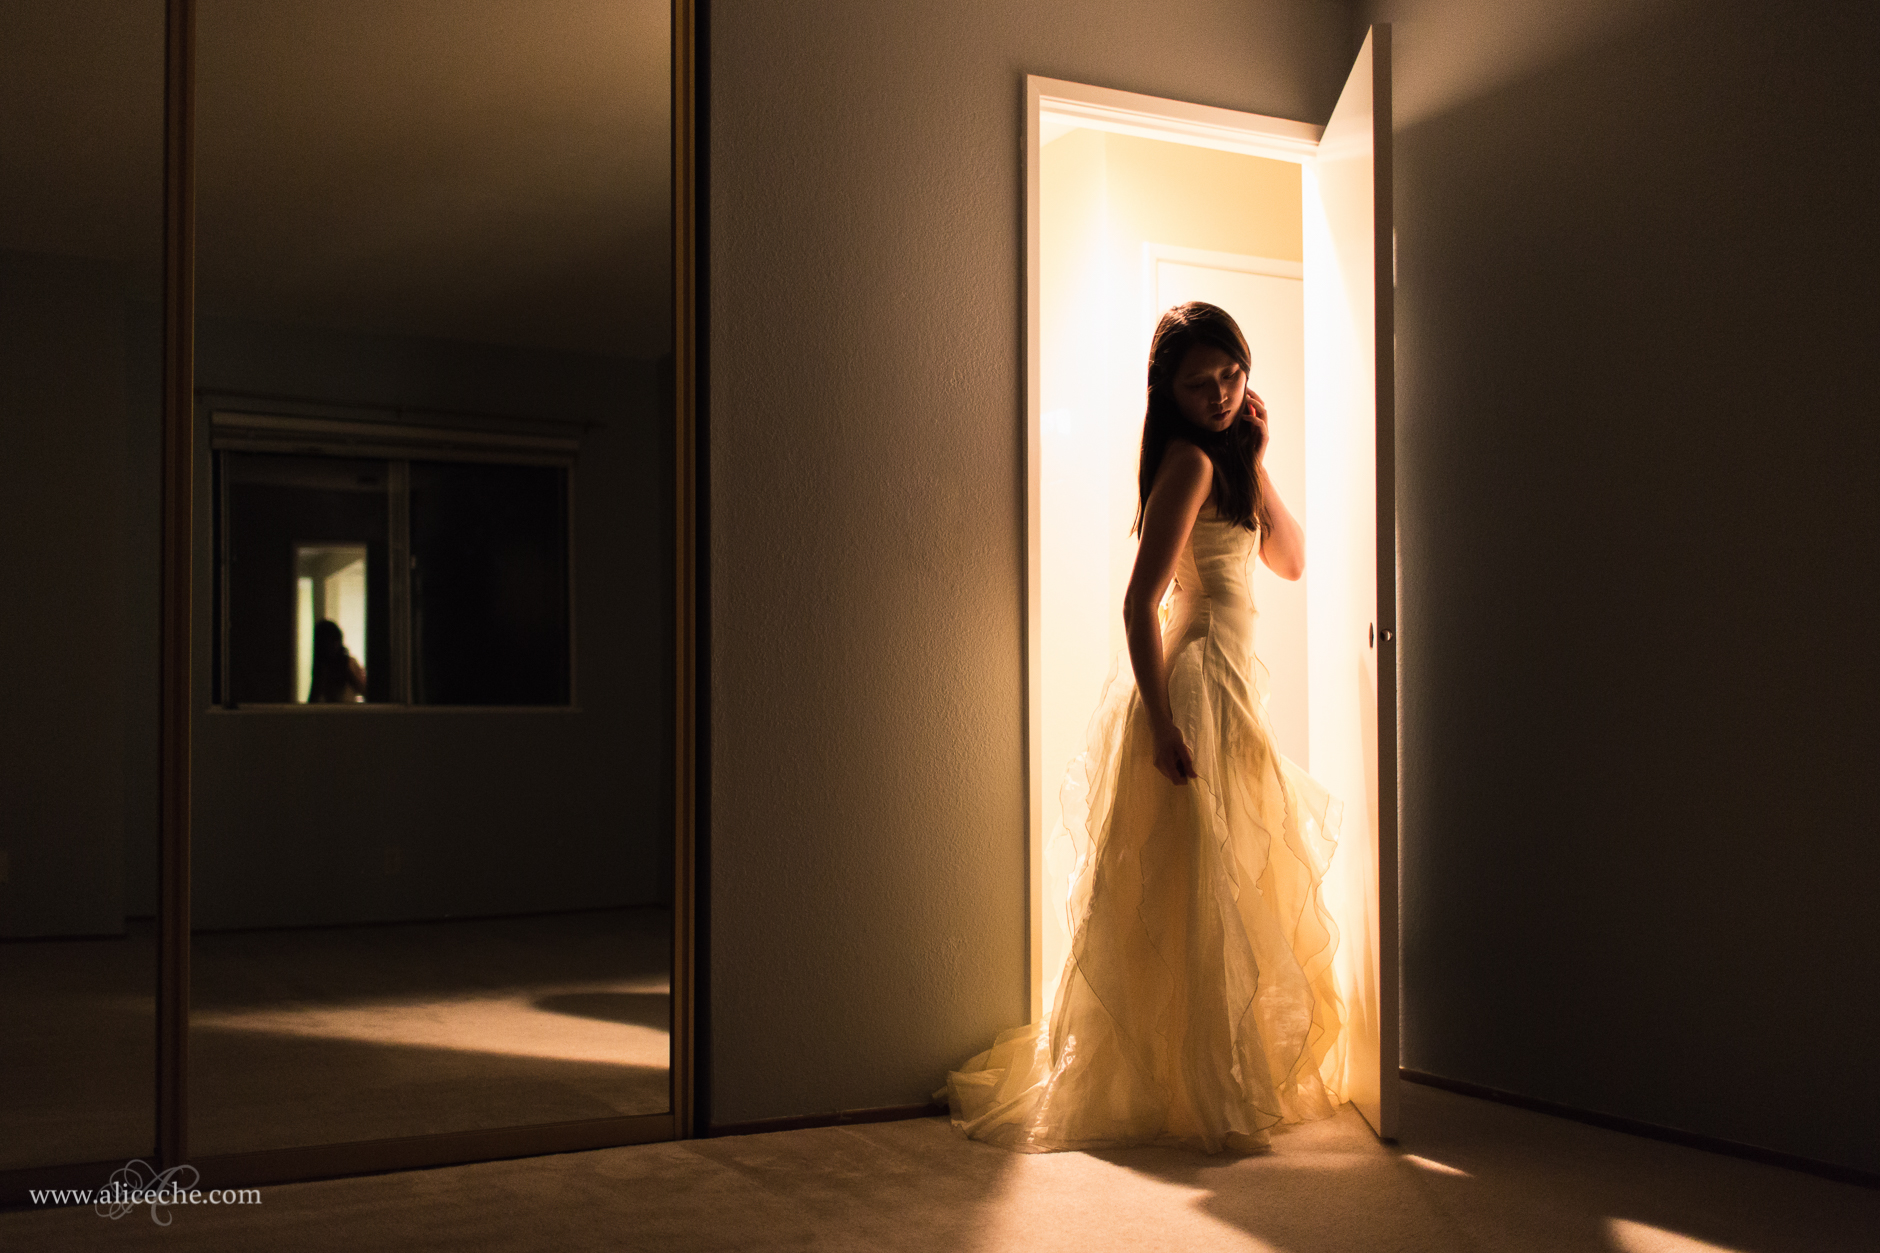
- In the photo above I used the overhead light in my hallway and also moved another lamp into the hallway to add even more light. Then I used the door to frame and backlight. Closing the door partially helped control the spill of light into the room, giving a more dramatic photo than if it had been well lit.
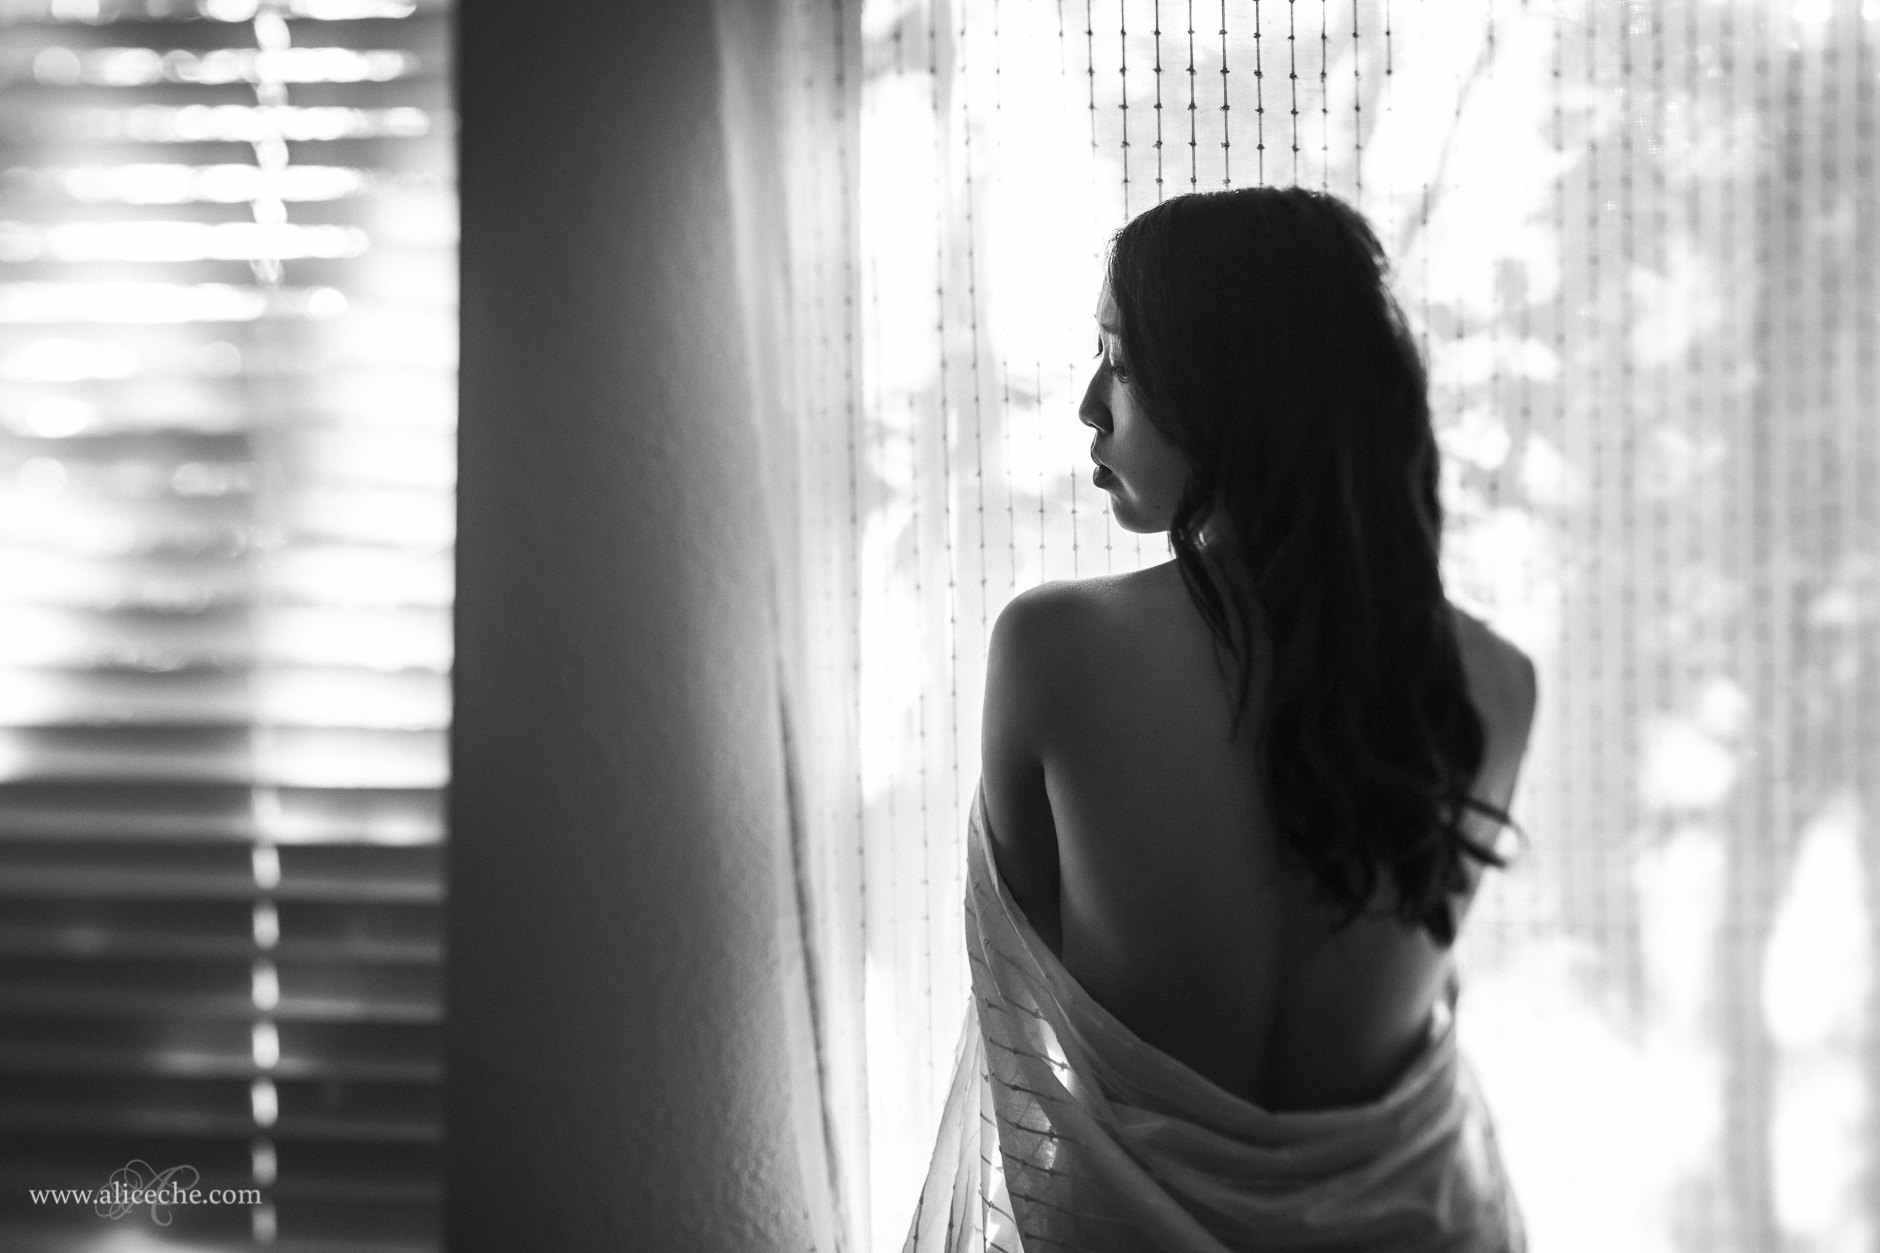
- Wake up earlier. If you absolutely need to have natural light, wake up a bit earlier and catch the sun before you head to work. I don’t do this very often because I like my sleep and I also like to be put-together in my photos… and that means I have to wake up early enough to shower and put on makeup too… but the way the morning sunlight streams in is really beautiful and often has a completely different feel from afternoon golden hour. You also get more variety because you can use different rooms and windows around your house than you would in the afternoon.
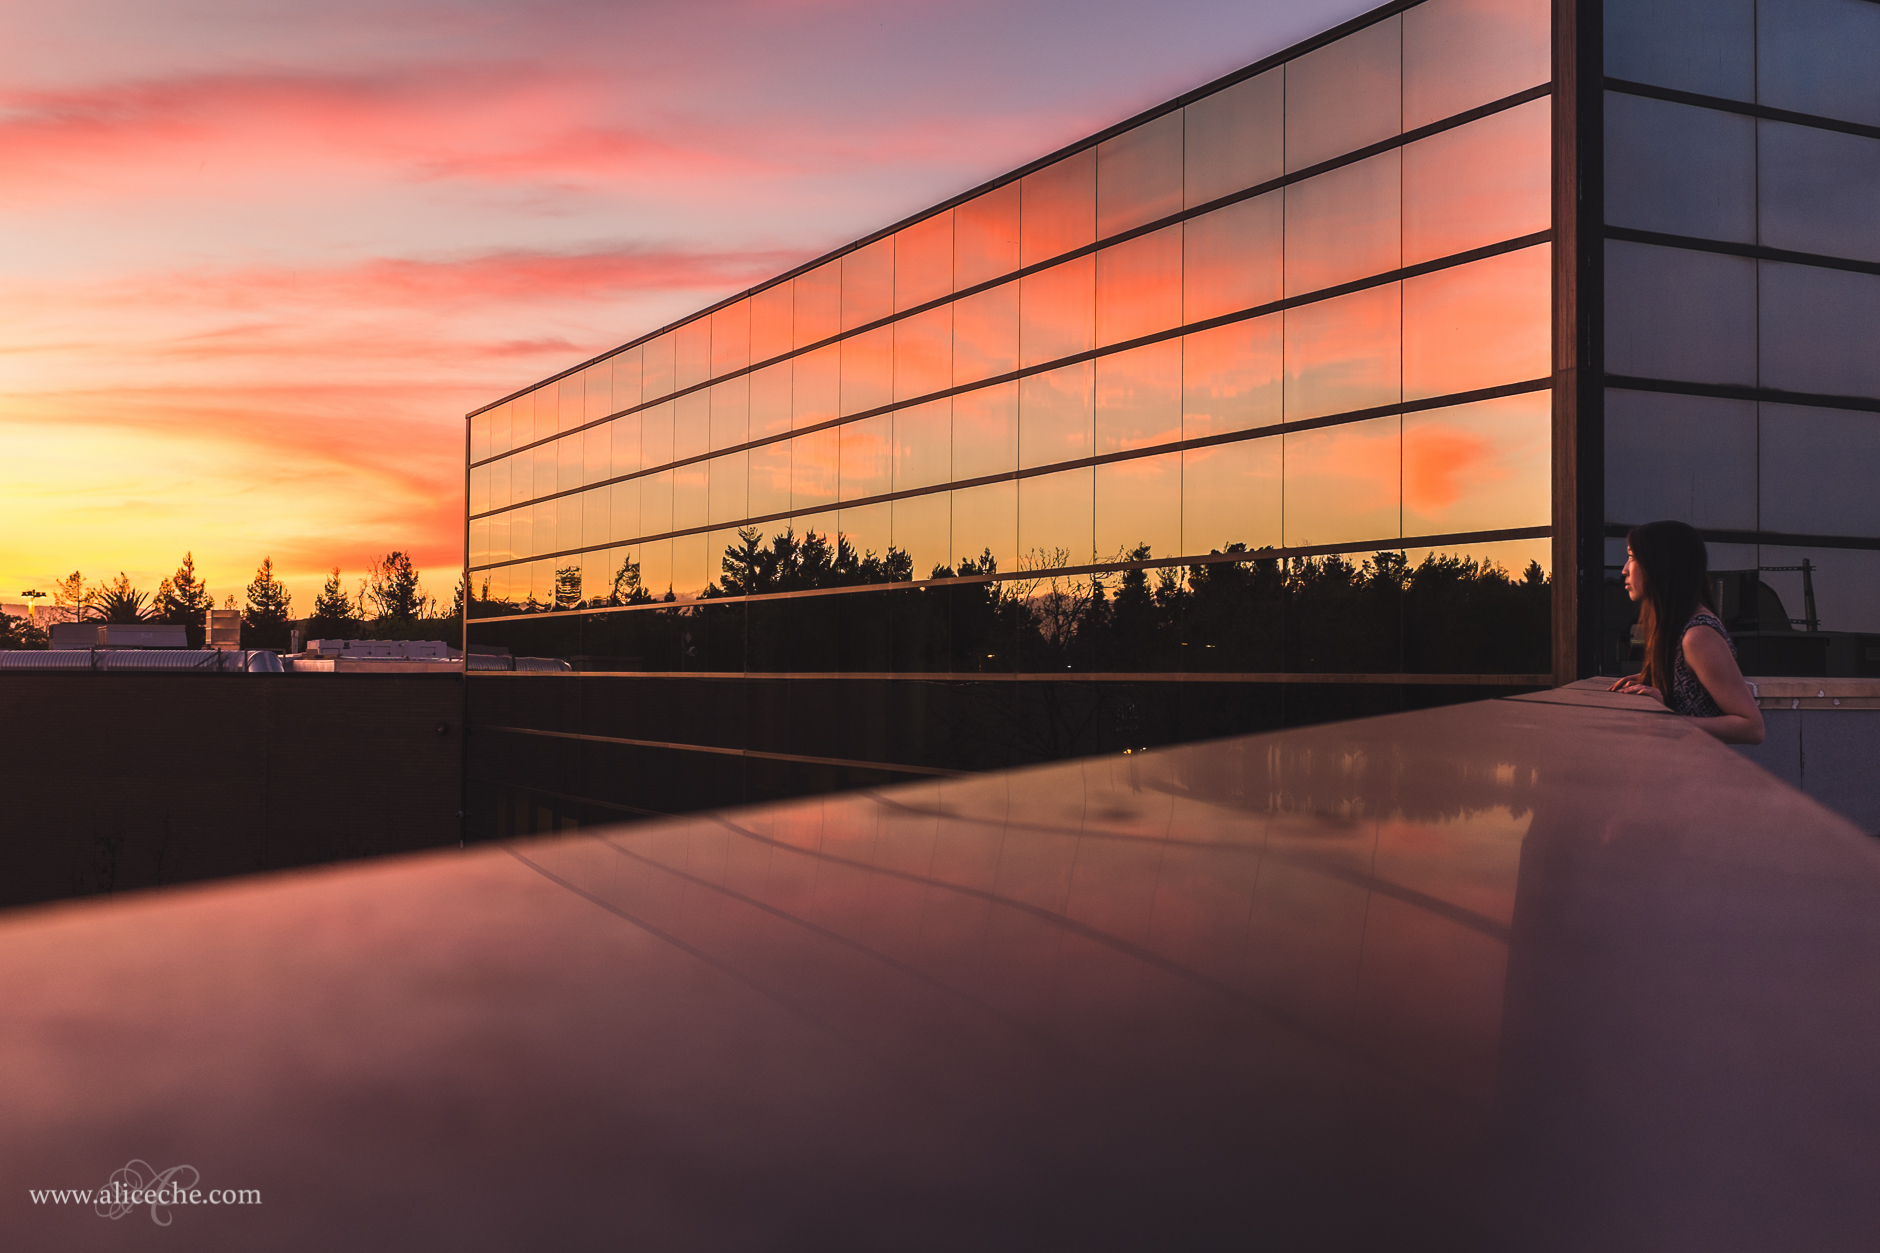
- Bring your camera with you to work. Another way to make sure you have natural light is to bring your camera to work and take a photo during the work day. I often take a half hour break right around sunset to go out and take a photo before heading back to work for another hour or so. I will happily go home a half hour later if it means I can get a beautiful photo at sunset… bonus points, the skies are generally stunning during the winter.
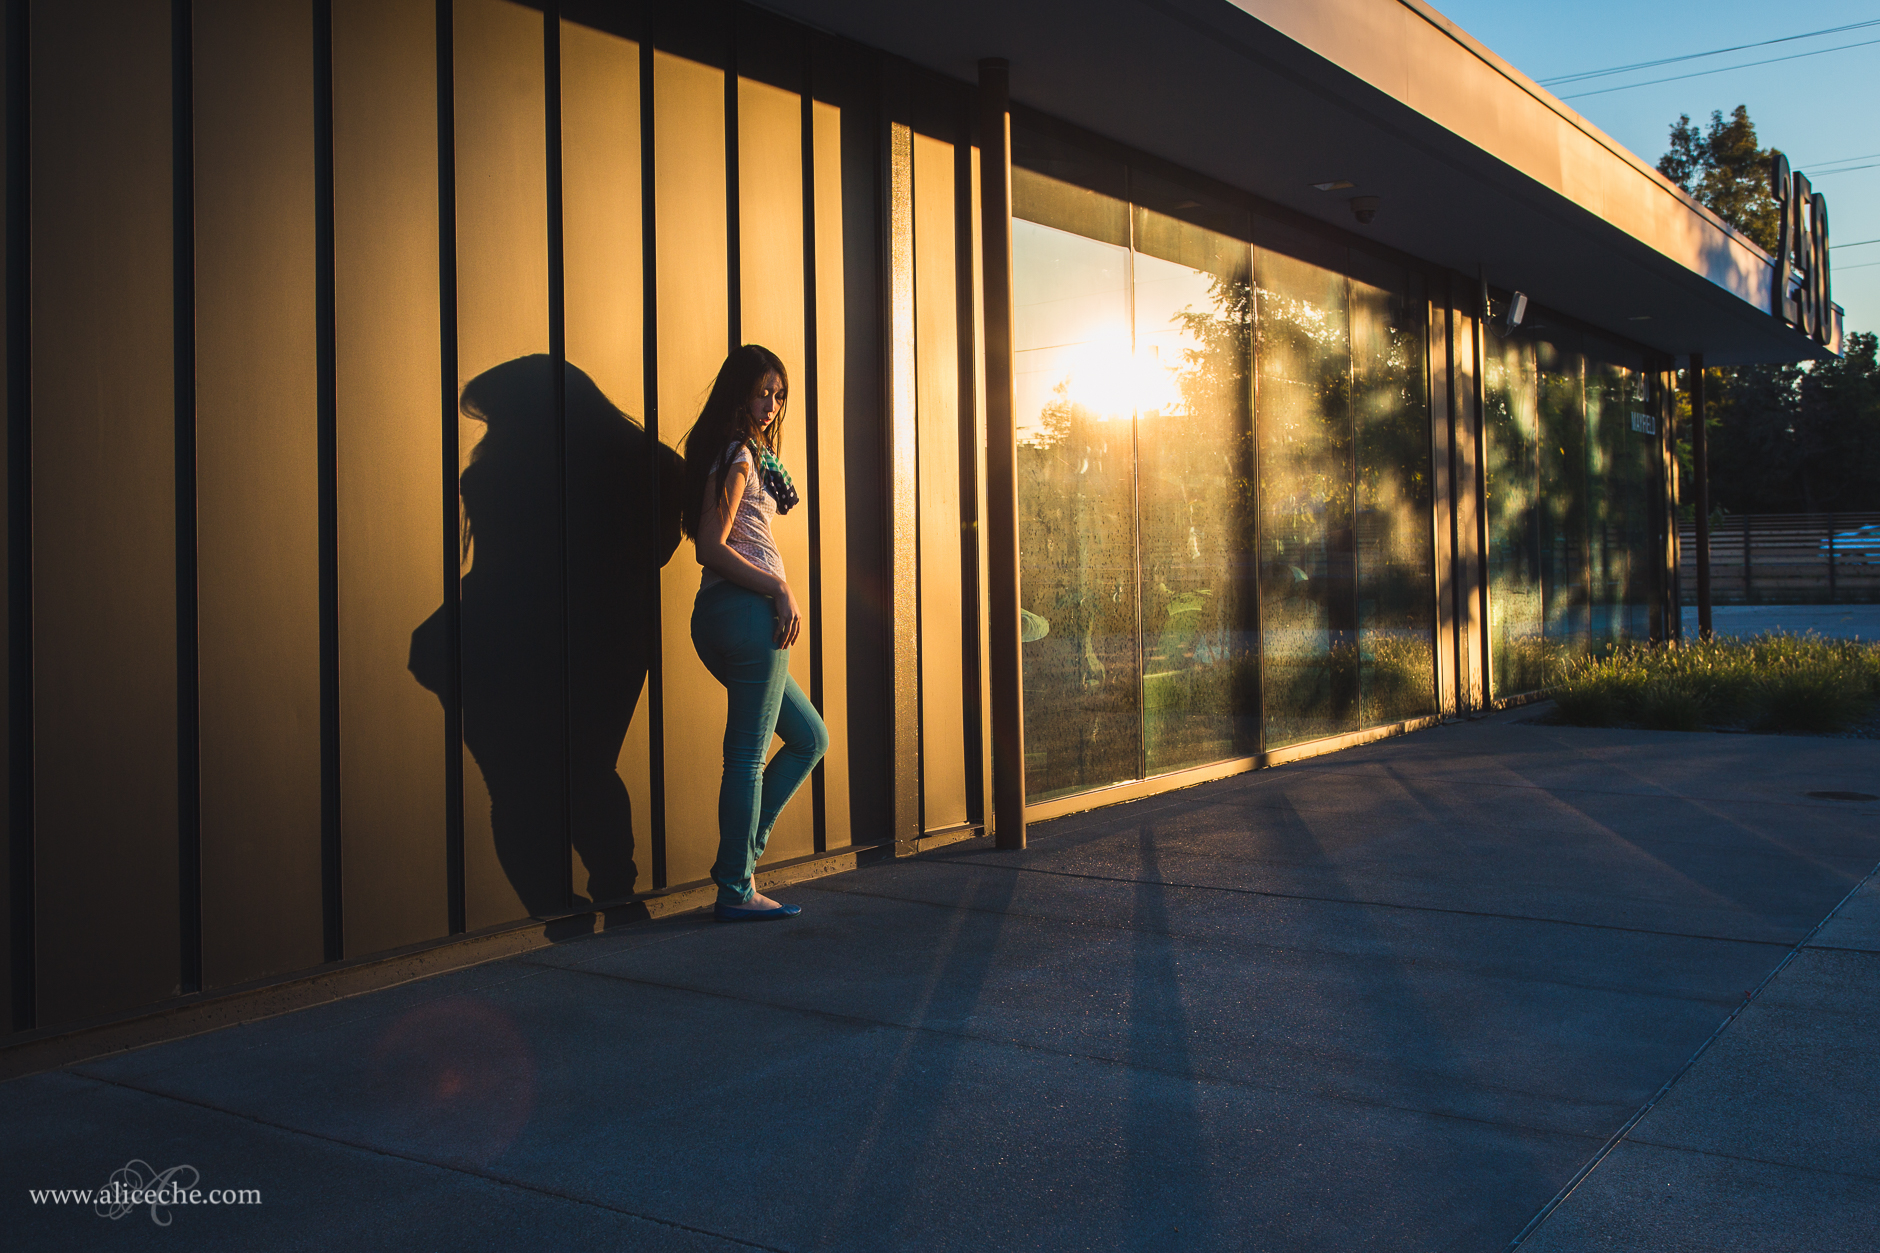
- My current office actually has absolutely stunning light all around it. I am constantly ooing and aaing over it! When I saw this light on my way back to the office from the gym, I knew I had to get a photo. I have a bunch of other locations around the office that I need to use as well, but they’re less secluded, so I’m actually planning on heading back to the office on a weekend or holiday to get my photos.
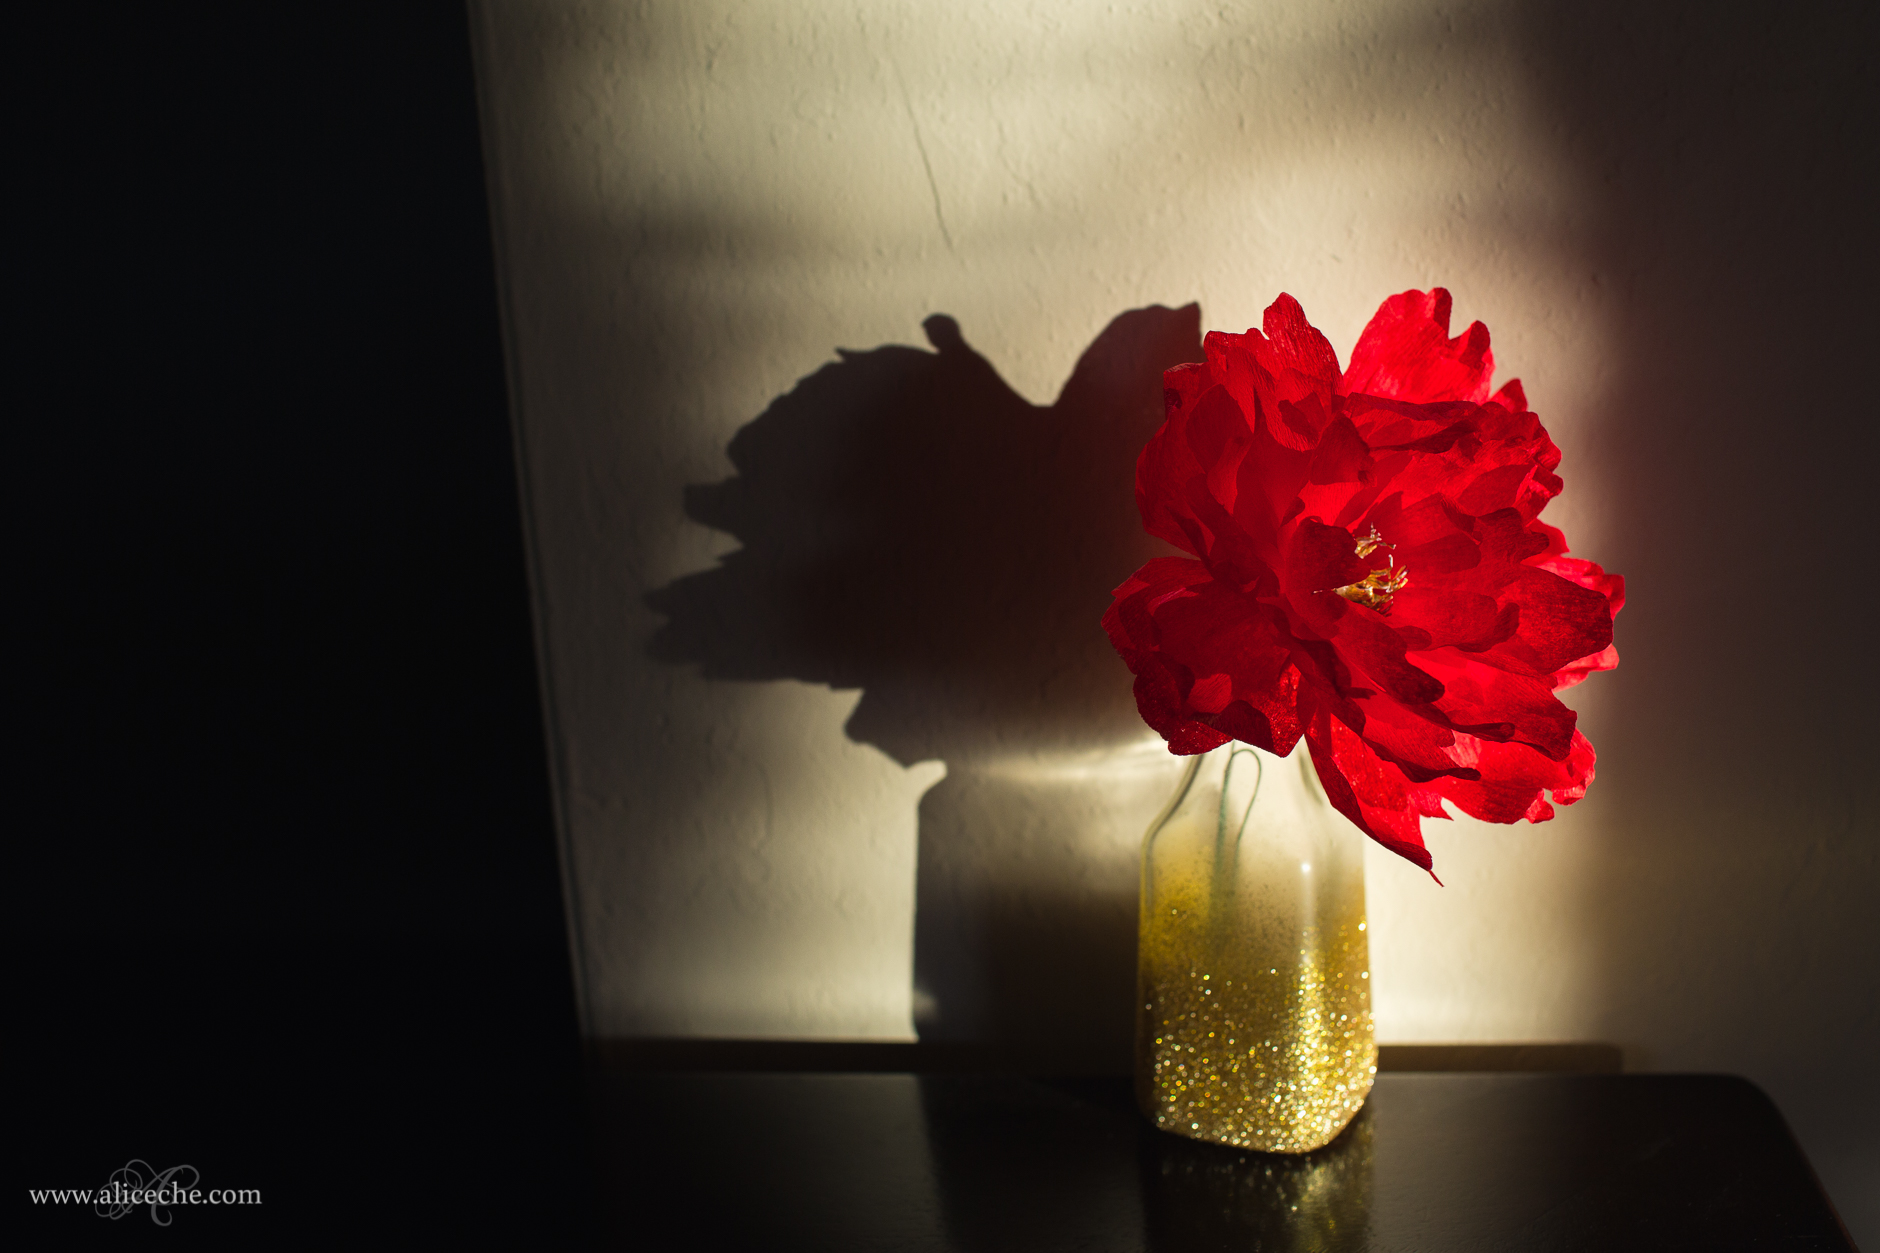
- Shoot on the weekends. Don’t forget that you don’t always need to shoot during the week! Take advantage of the beautiful winter sunlight over the weekends when you are home. I made this peony for our Christmas dinner tablescape (which I still need to share here) and managed to capture the last rays of light in this photo.
I hope all these tips were helpful! Let me know in the comments section if there’s anything else you’d like me to cover. I am super excited about this series!
Alice Che is a San Francisco Bay Area photographer specializing in wedding, engagement, couple and boudoir photography. Serving the South Bay, Peninsula, and East Bay: San Jose, Sunnyvale, Mountain View, Palo Alto, Redwood City, San Carlos, Burlingame, Los Altos, Milpitas, Union City, Fremont, Berkeley, El Cerrito and surrounding areas. She is also a Mentor at Clickinmoms and has an ebook on self portraiture in the CMStore and is working on a new ebook – Composing Boldly with Light in conjunction with Melina Nastazia Photography.
These are great tips, Alice. Thanks so much for sharing. I especially appreciated the pullback on that lamp-outside-the-window shot. That really helped me understand what you were saying.
Awesome! I’m so glad it was helpful Donna!!